Copyright Themesflat 2018
made with the Documenter v2.0
made with the Documenter v2.0
Evockans is the most powerful, easy to use versatile multi-purpose WordPress theme. With many features and elements to help you build your business website in minutes. Without touching a line of code. Explore your creativity. By build a website without any restrictions. With theme option customizer you can almost turn on or off every feature in the theme
You just need install our theme and included plugins then use one-click demo install. After that, you can set up your site as you need it. With over 15 unique multi-purpose design concepts, 200 beatiful demo page, plus super-flexible Framework Perfect for corporate business of any size and purpose, your website will spring to life within minutes. This theme also covers the needs of freelancer, consulting, Markerting, Startup, Creative Studio ..
If you have any question please create ticket id at https://themesflat.ticksy.com/ or contact us byRecommended PHP configuration limits
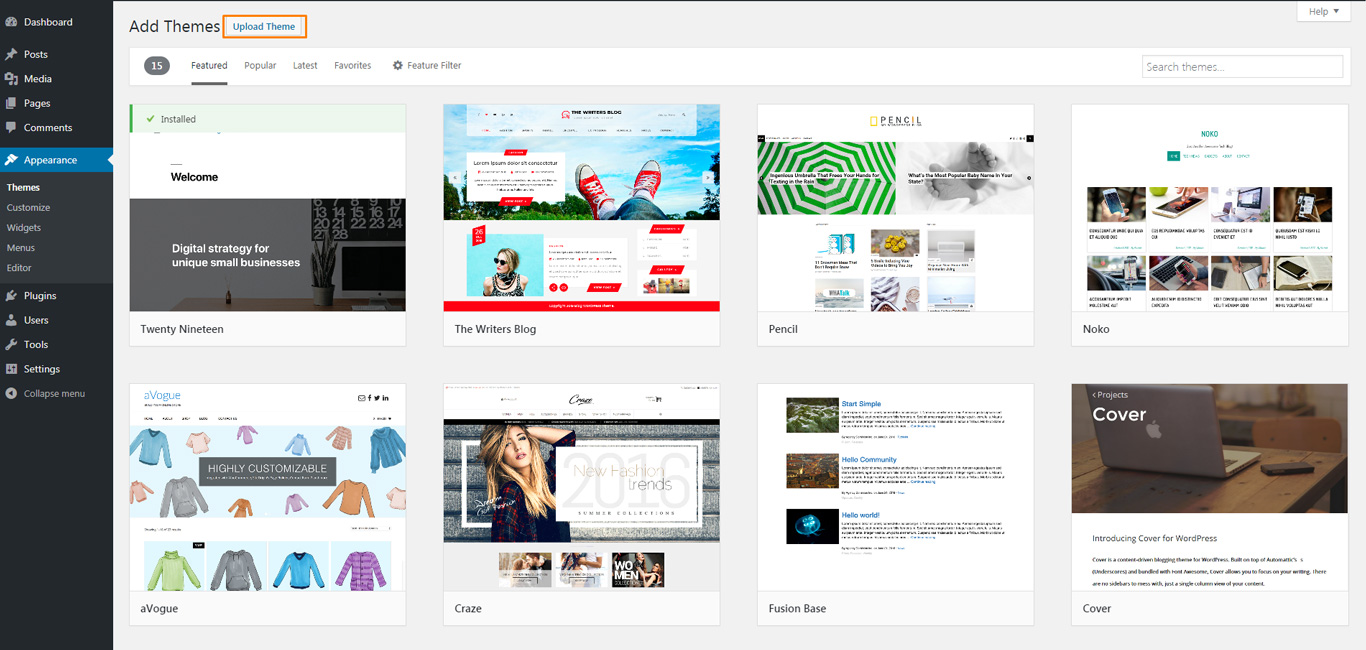
After purchase and download we have file themeforest-20396082-themename.zip Continue we need Extract Files i have 3 files 1 theme 2 theme-child 3 documentation
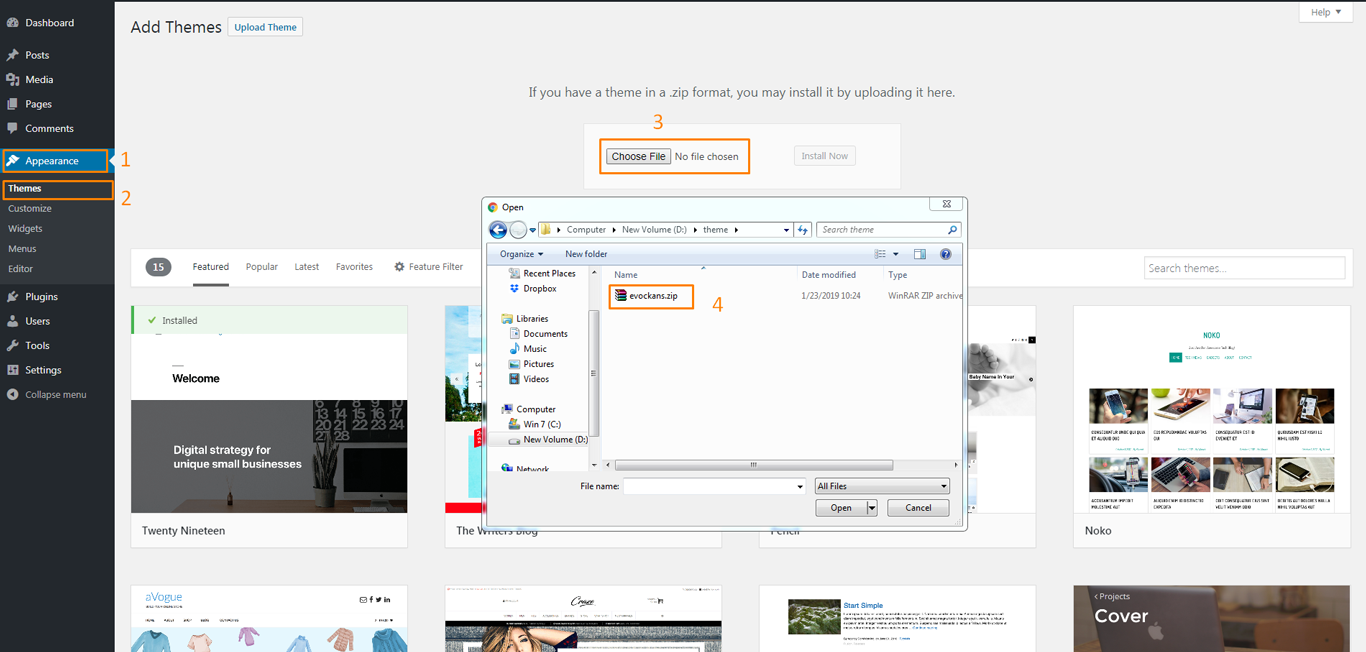
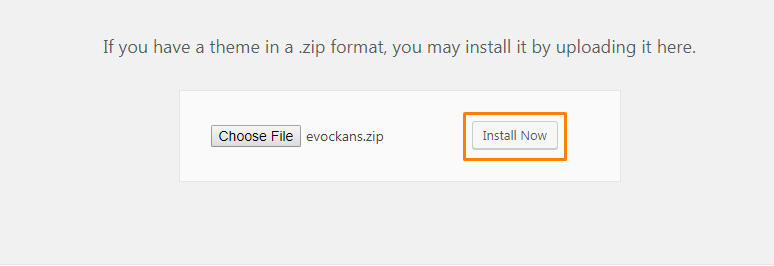
Please, follow the steps below to install Theme.
in some case. Hosting configuration is low one install have problem. you can install by manual
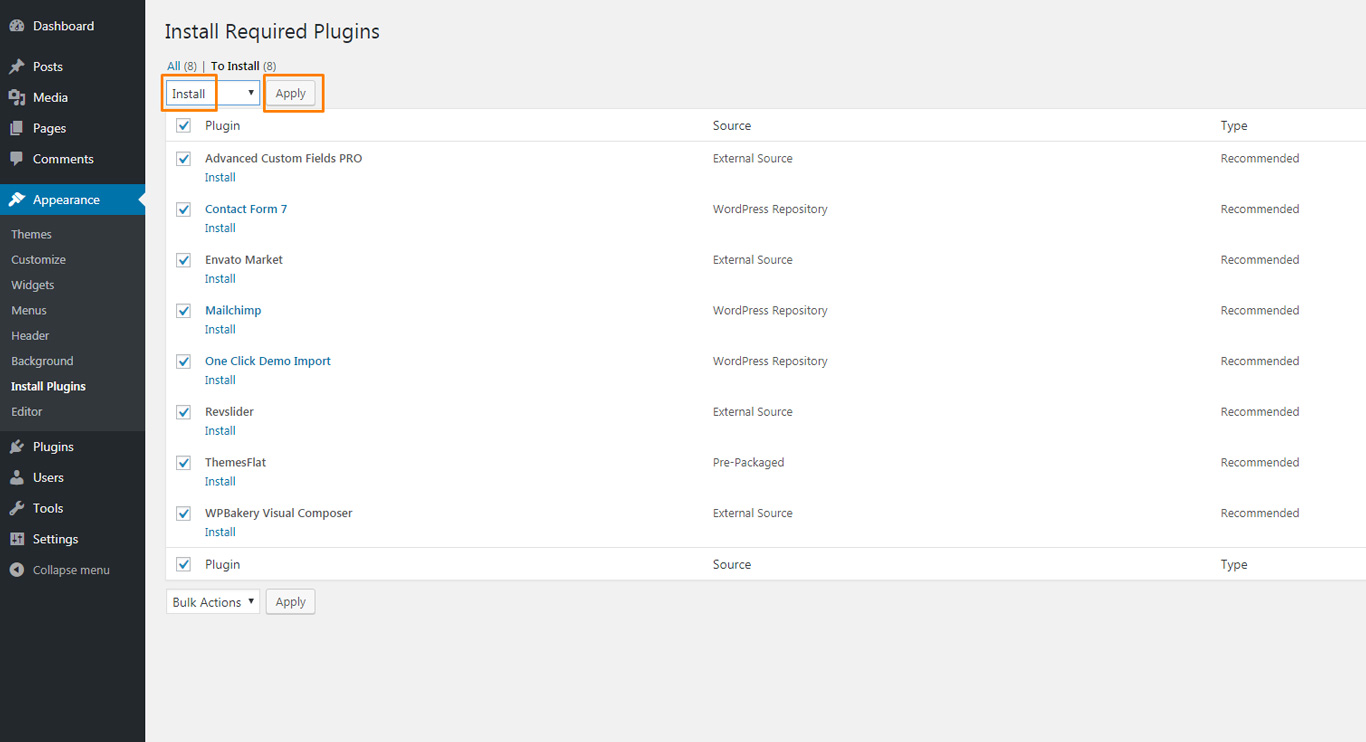
This is probably the simplest way for most users. Here are steps you need to take:
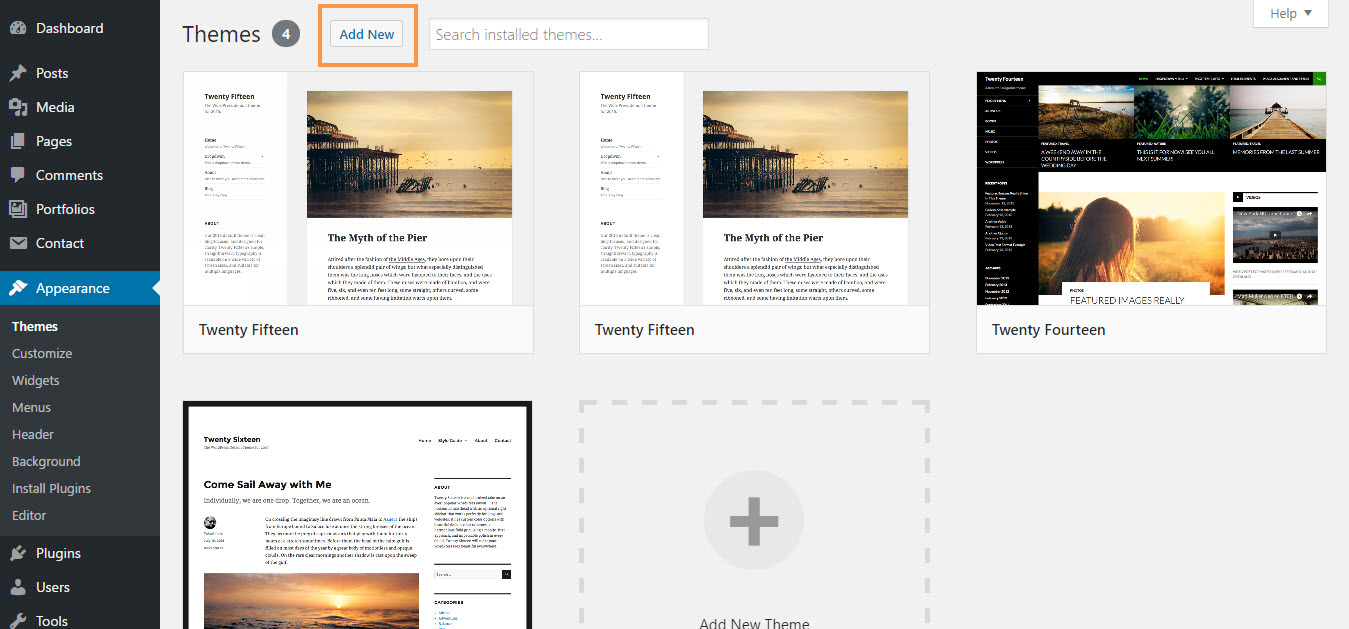
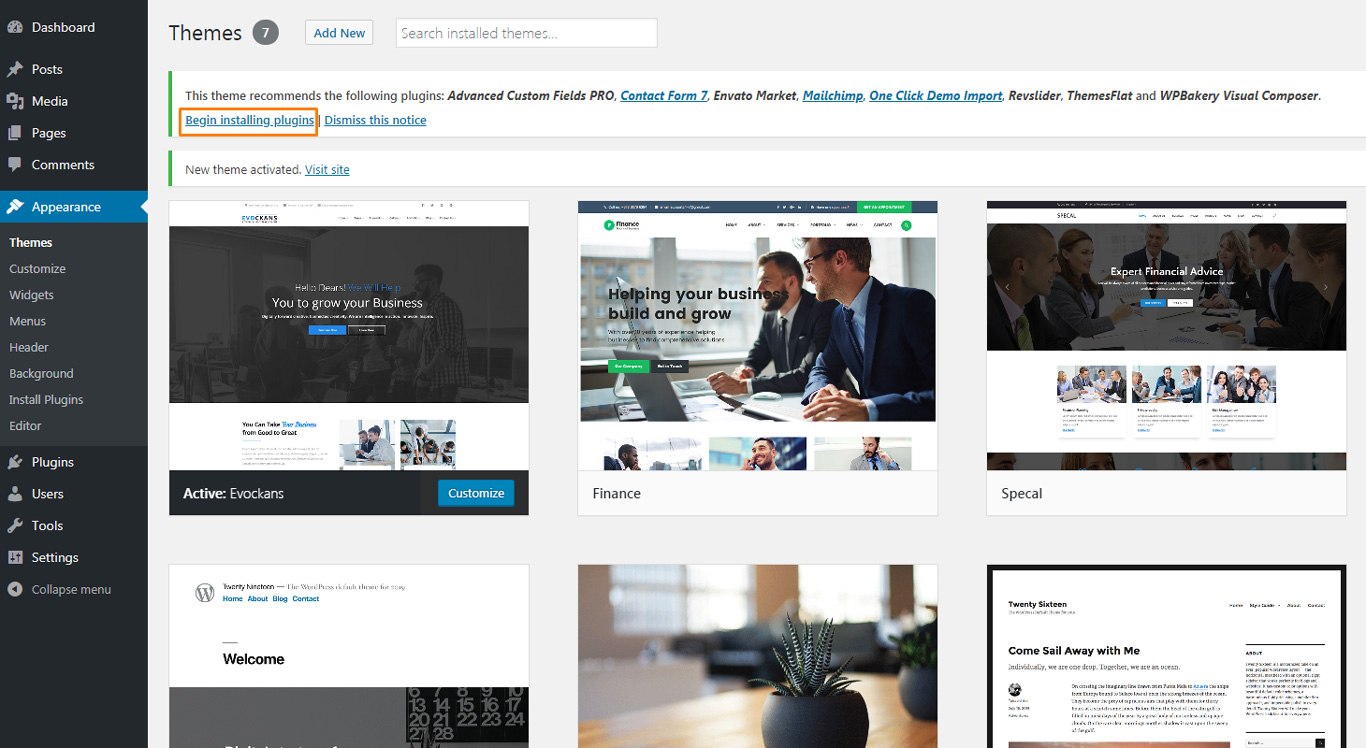
The theme requires the following plugin: Slider Revolution, ThemesFlat By Themesflat.com, WPBakery Page Builder, and recommends the following plugins: Contact Form 7, MailChimp for WordPress,

If you want to install via FTP, here are 3 steps you need to take:
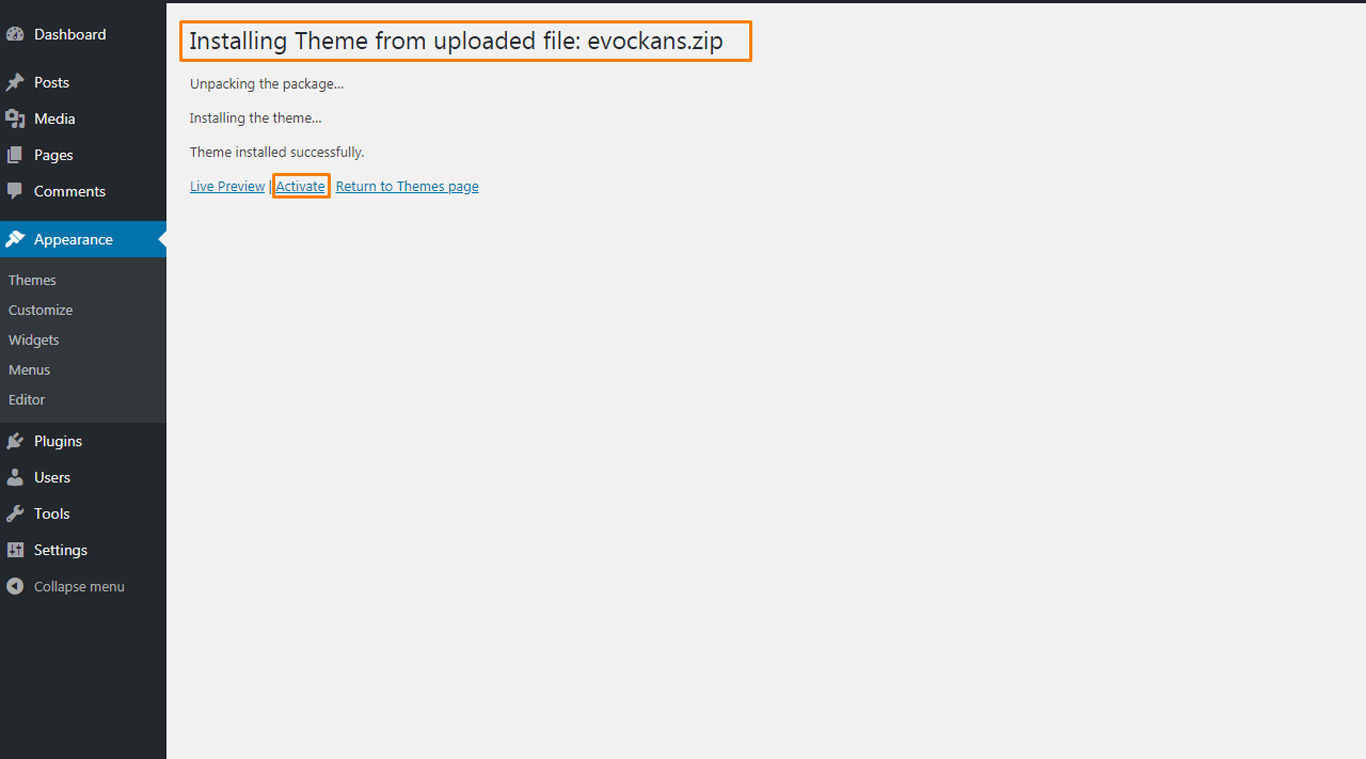
Once installation is complete, your Evockans theme will be ready to use.
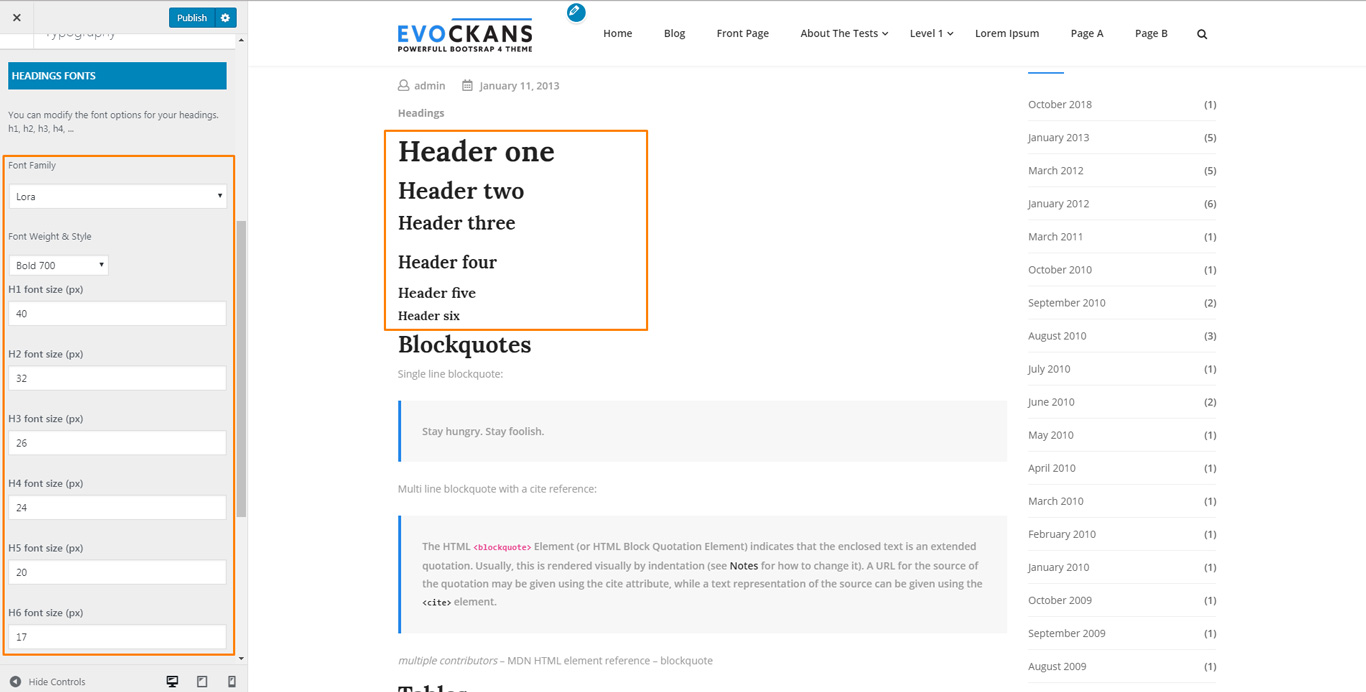
To start customizing Finance Occult theme, in the Admin page please go to Dashboard > Appearance > Customize
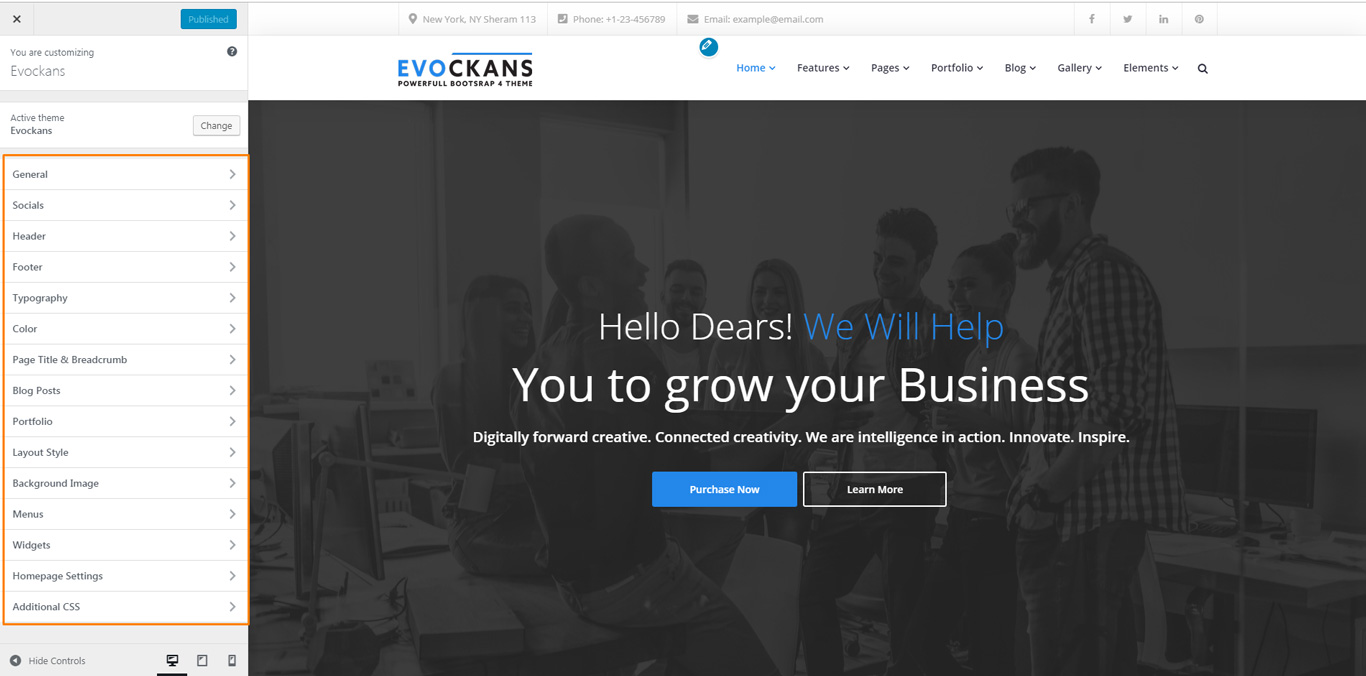
To Customize Theme you go to: Dashboarb -> Appearance -> Customize
Site Name: You can setup and change your sitename
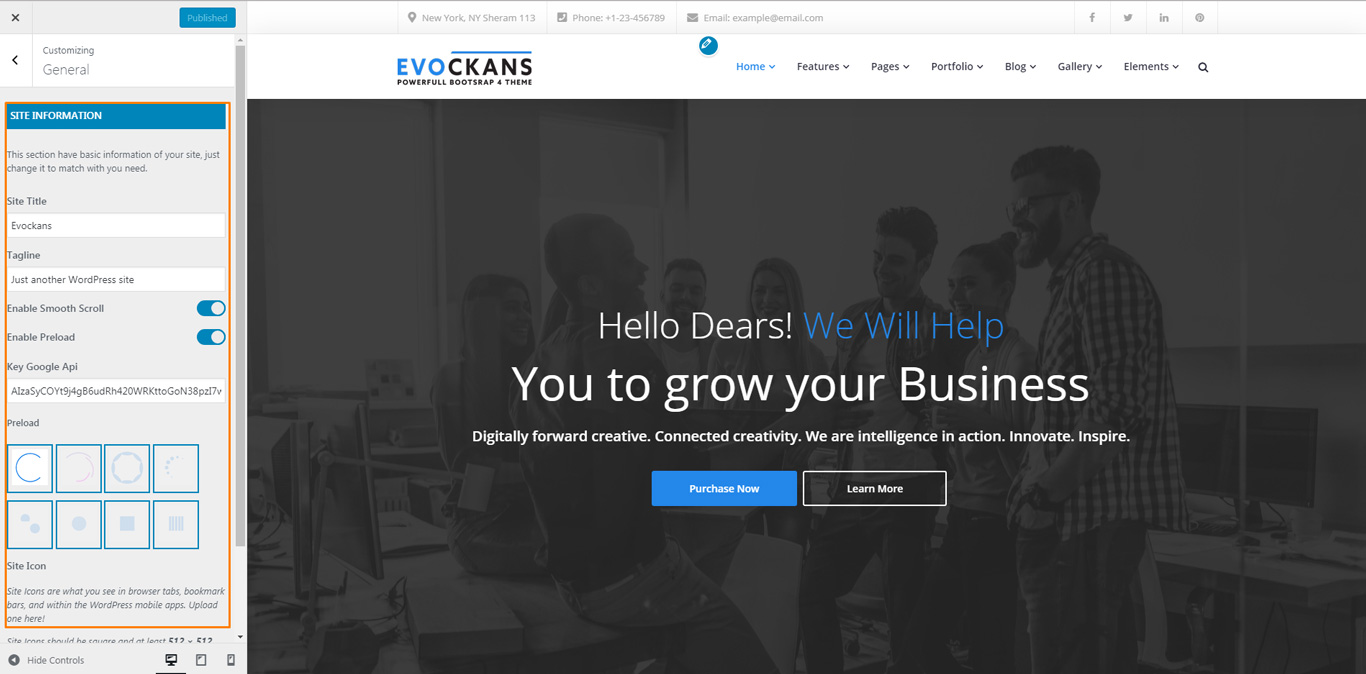
Site Tagline: A few words to describe your site
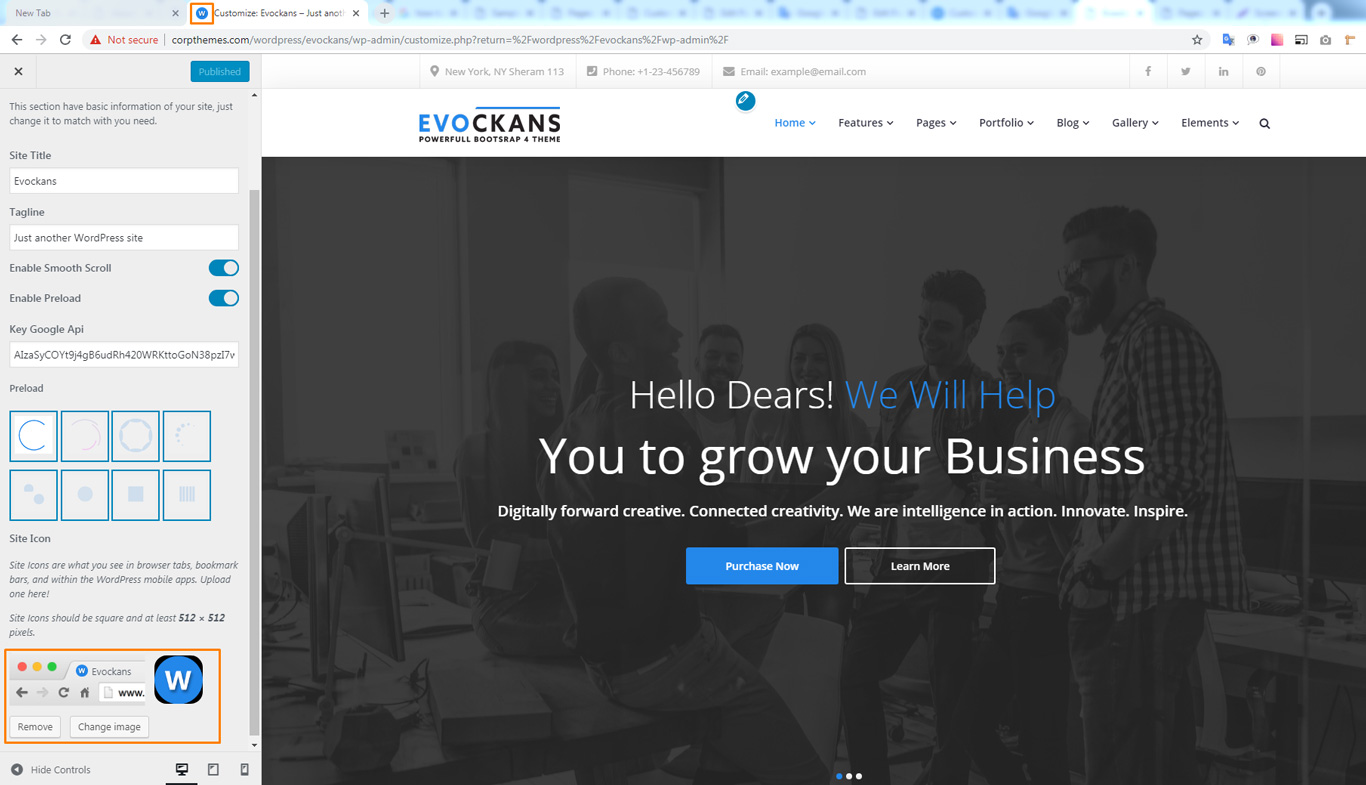
 Favicon: You change Favicon for your website.
You navigation Dashboard --> Apprearence --> Customize --> Change Site icon to change Favicon for your website.
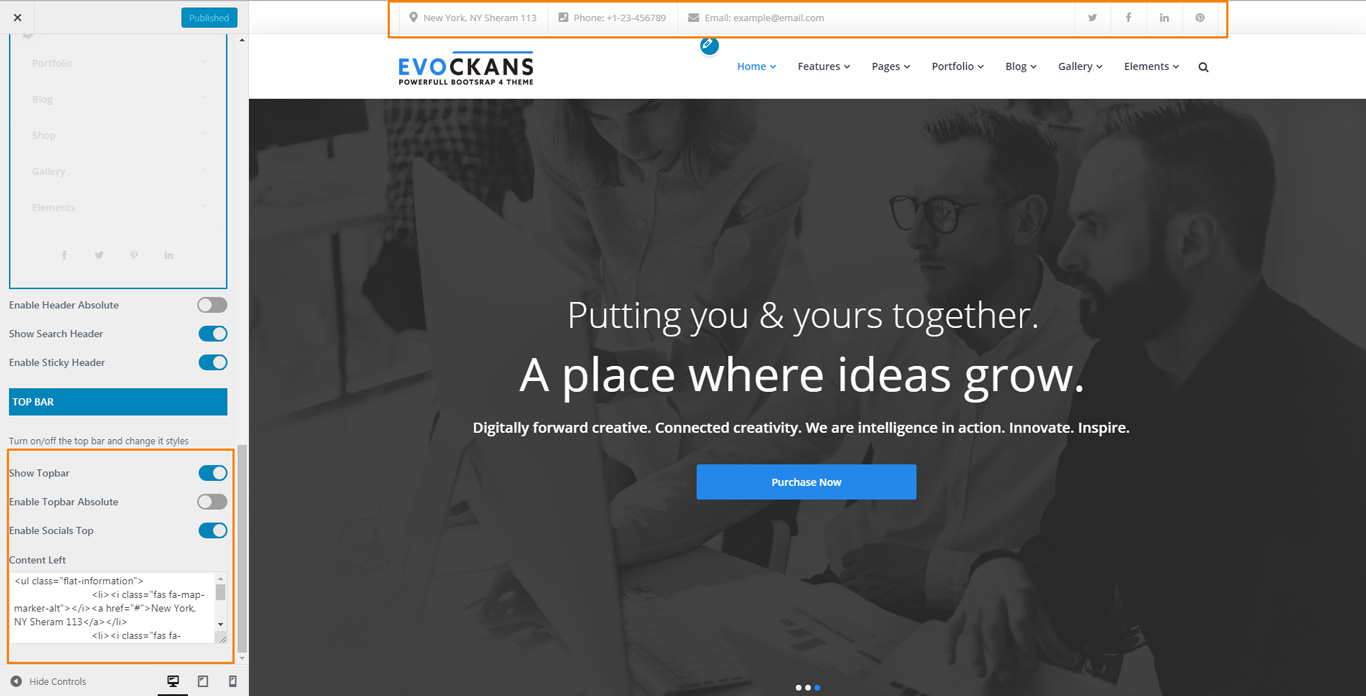
To setup header layout, please navigate to Dashboard > Appearance > Customize > Header section and choose one of available layouts. You can setup some other options we listed below:
Use Logo Image: When this option was turned on, the logo on header will be use as a custom image instead of your site name
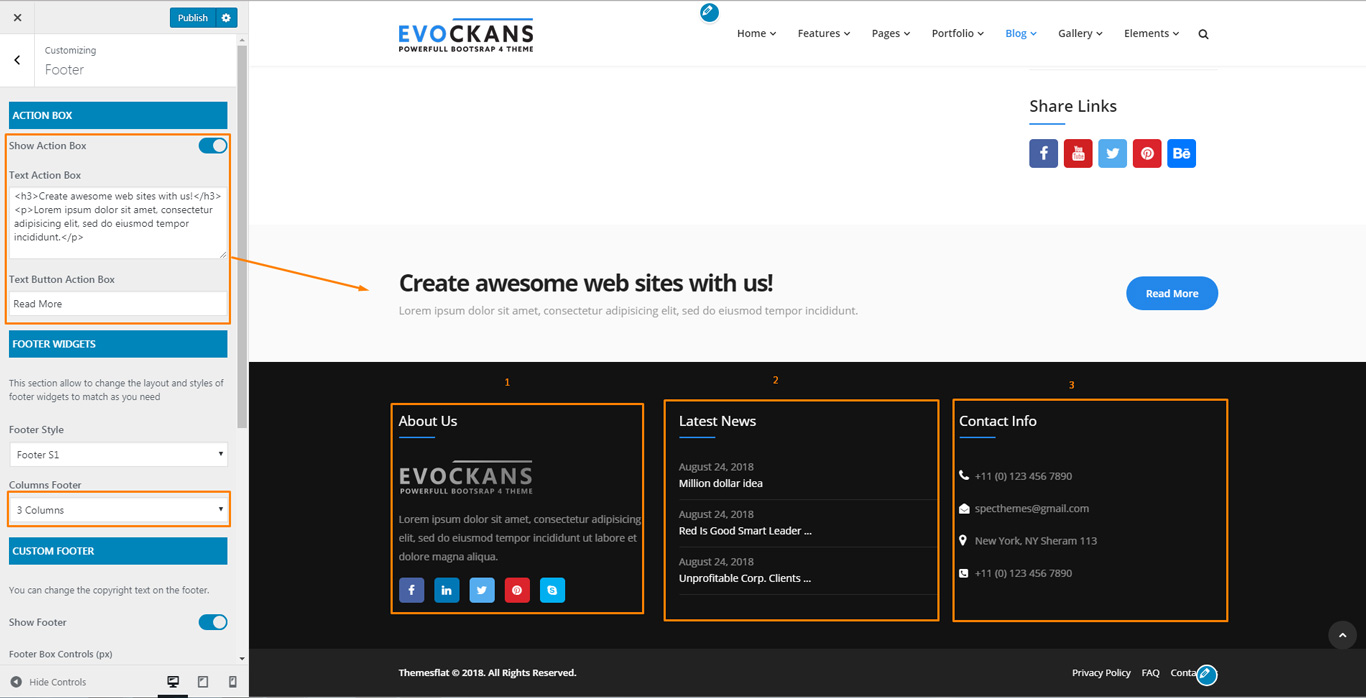
Footer was divided into 2 different sections: Widgets & Content. The screenshot below will give you an explanation of these sections:
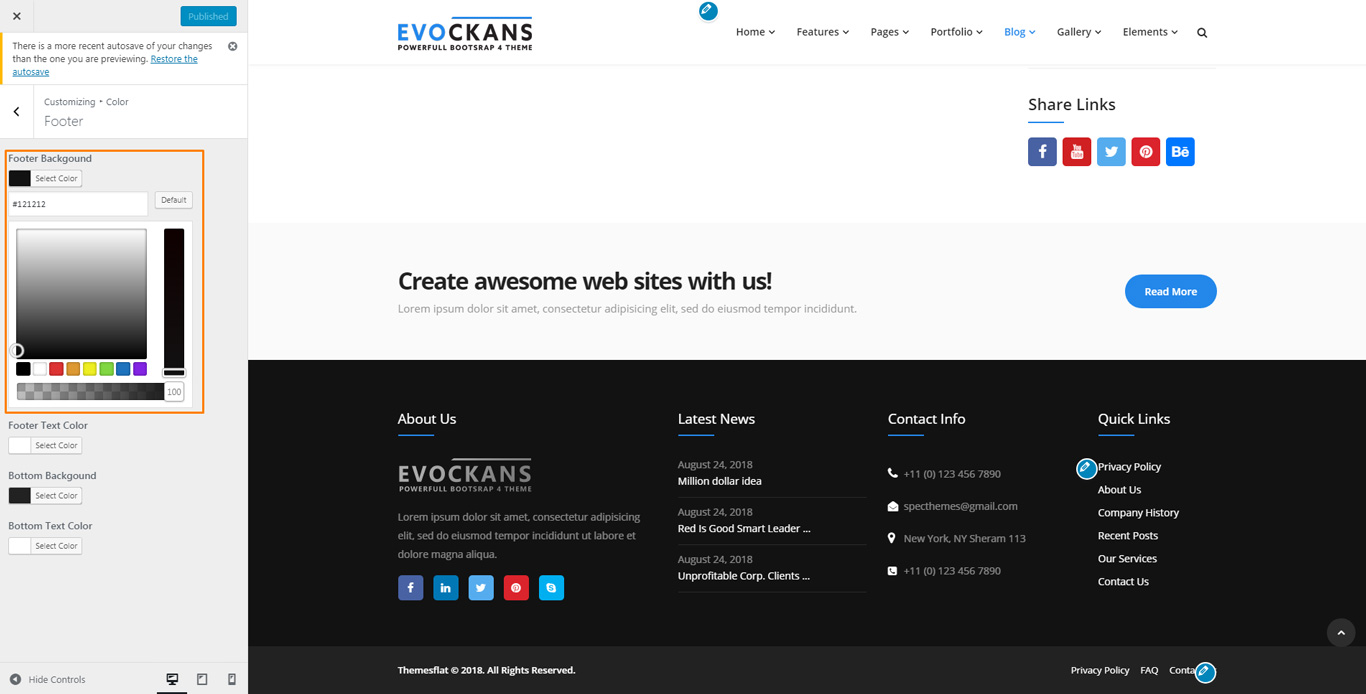
You can easily change the background overlay, color, background for footer. Customizing ▸ Color ▸ Footer:
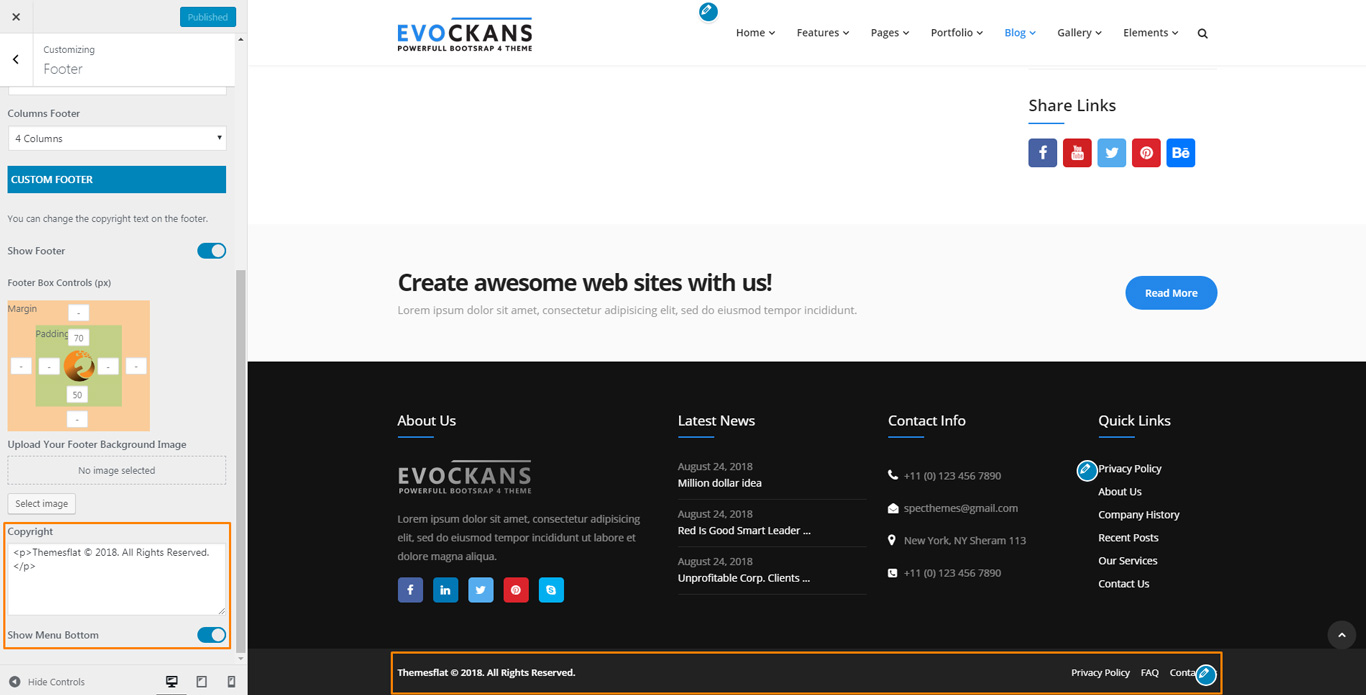

In the section Layout & Styles, we provide some options to customize the theme layout and styles.
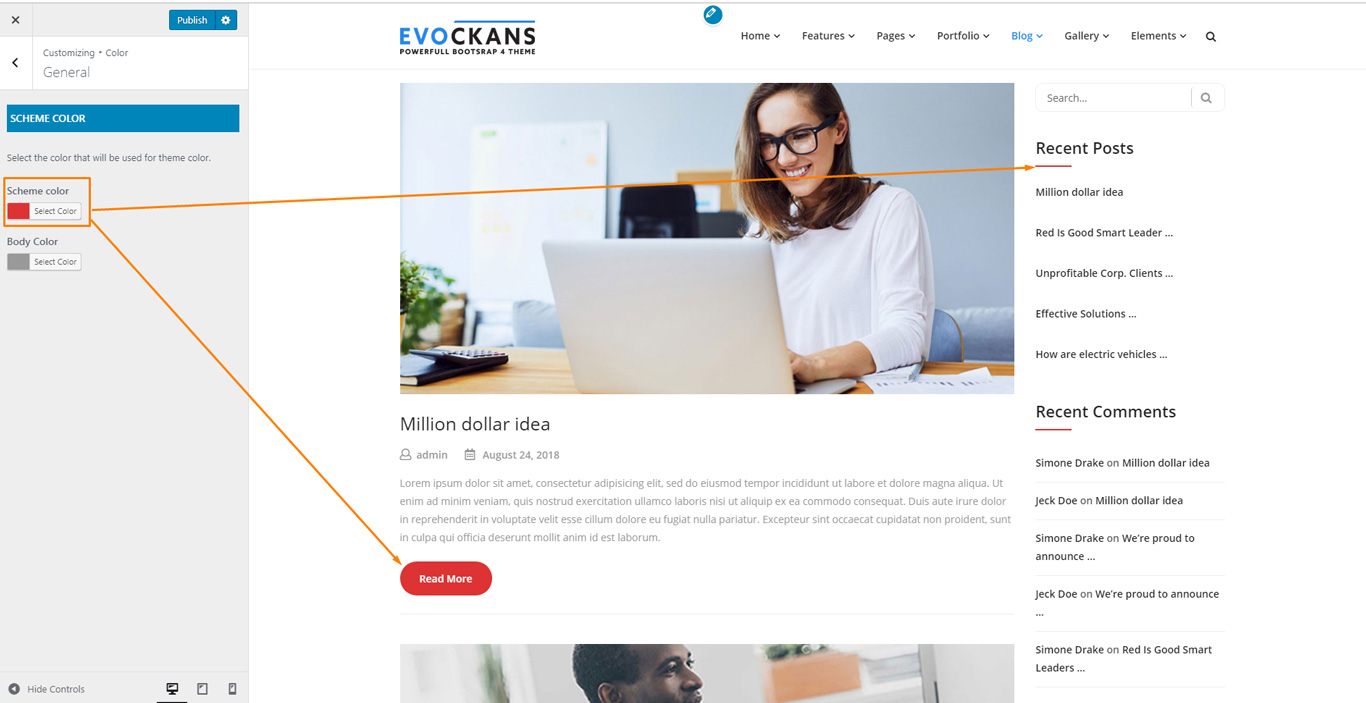
With this option, you can change unlimited color for your site
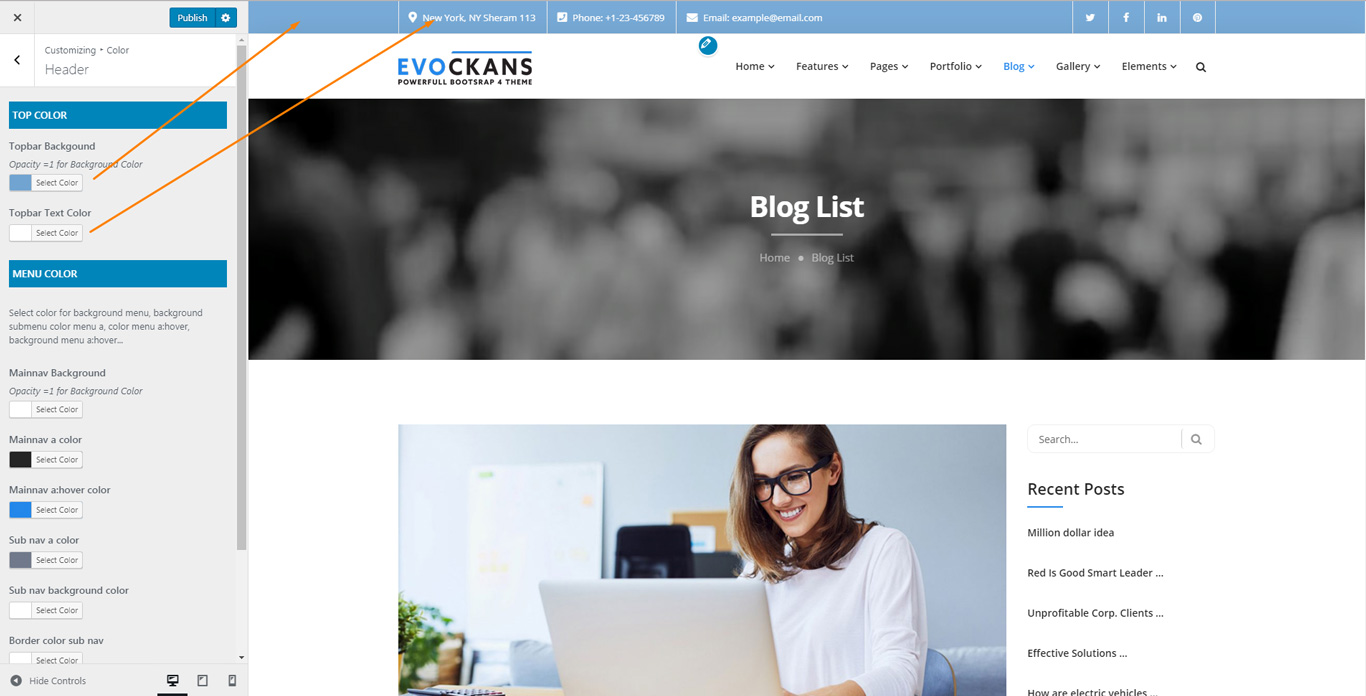
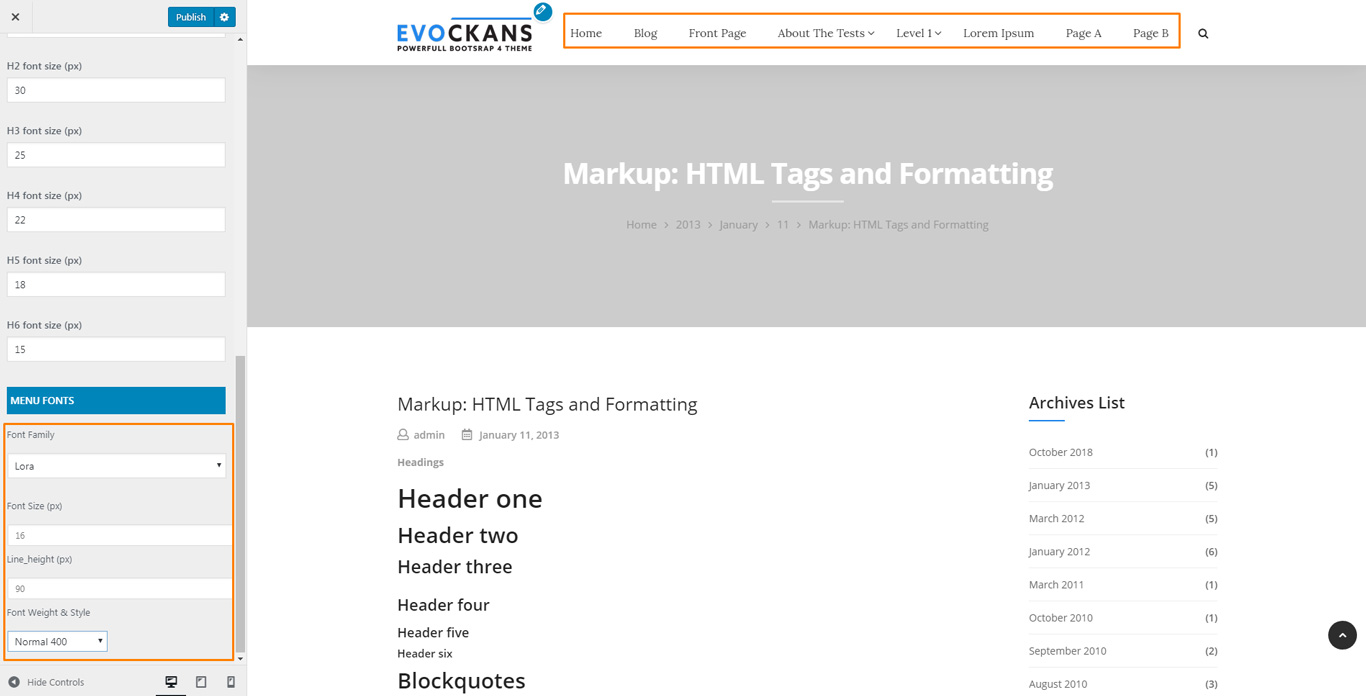
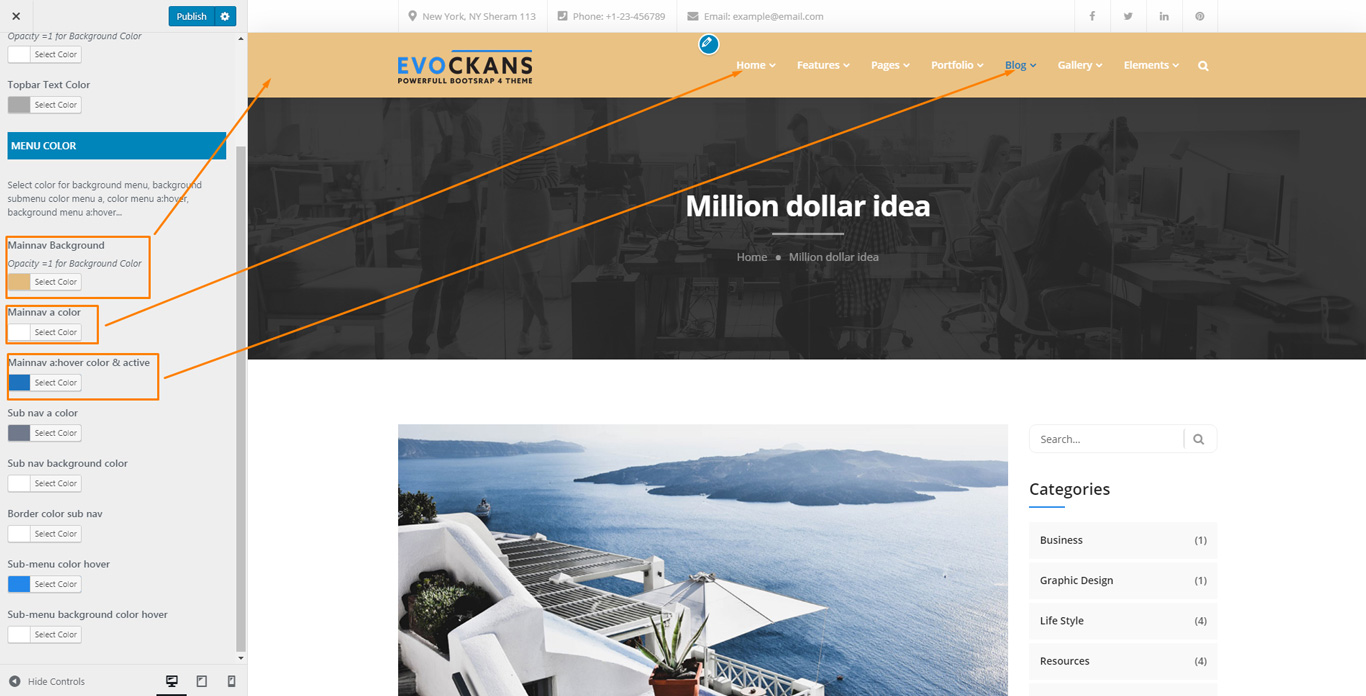
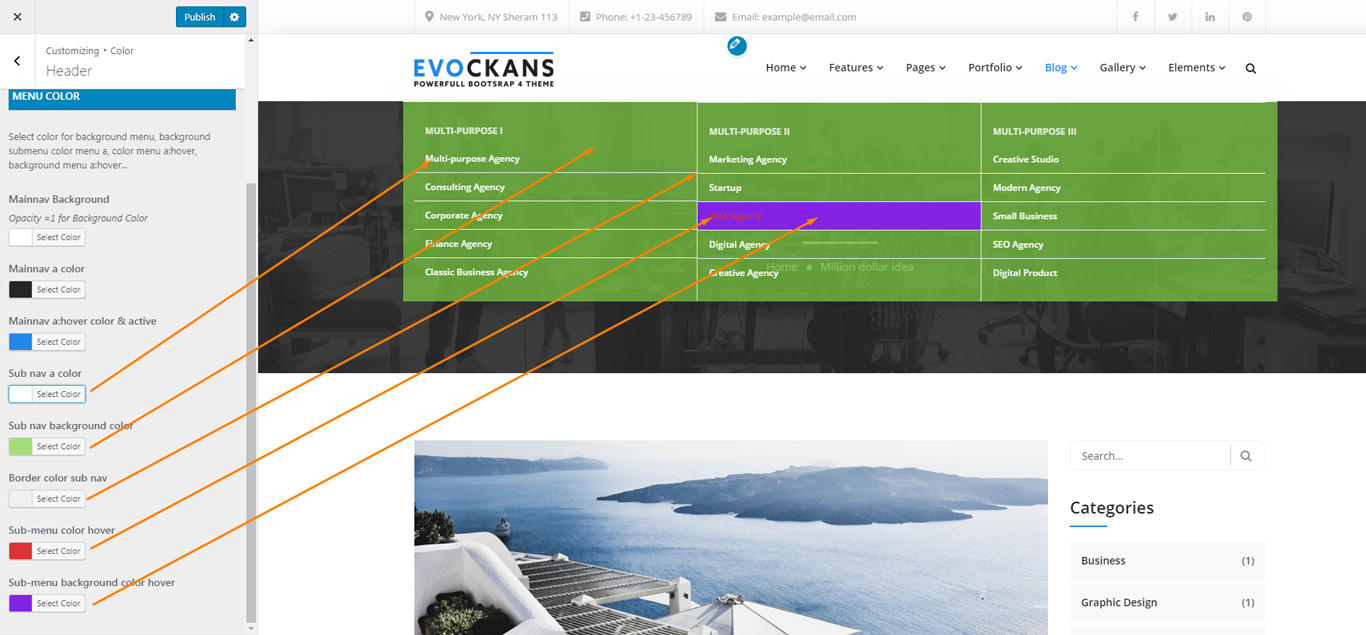
With this option, you can change unlimited color for your Top Menu

With this option, you can change unlimited color for your footer
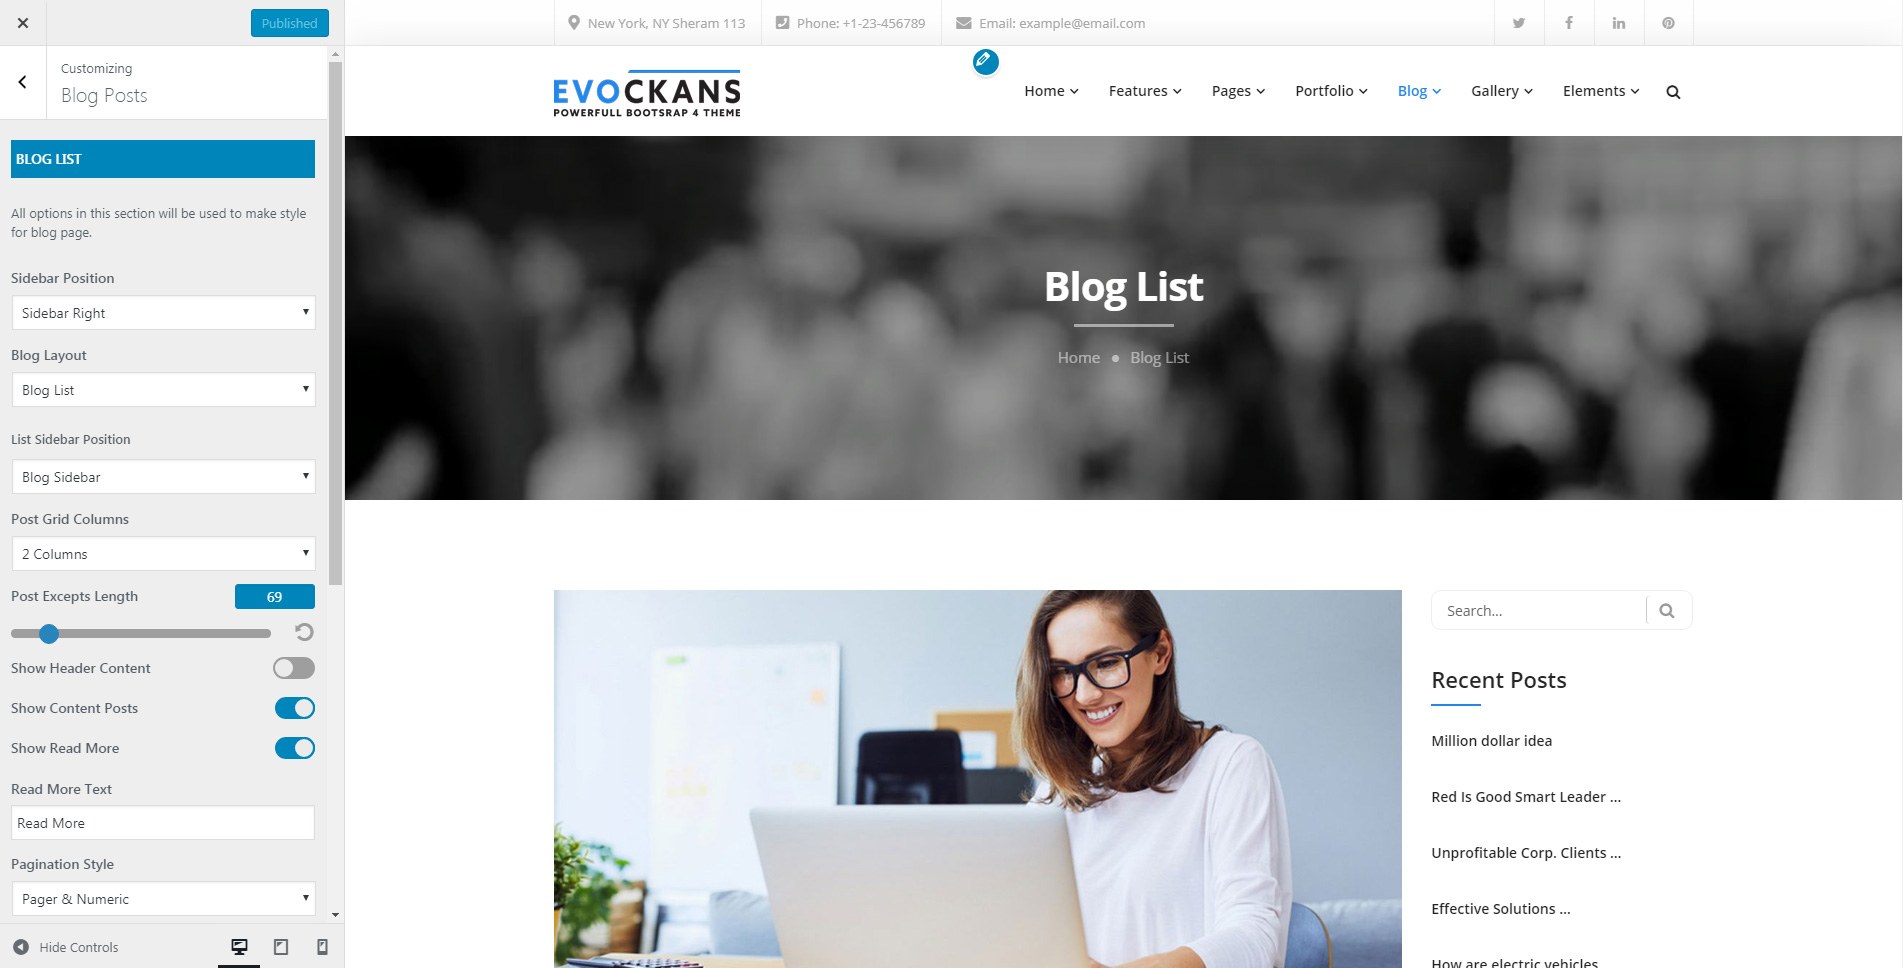
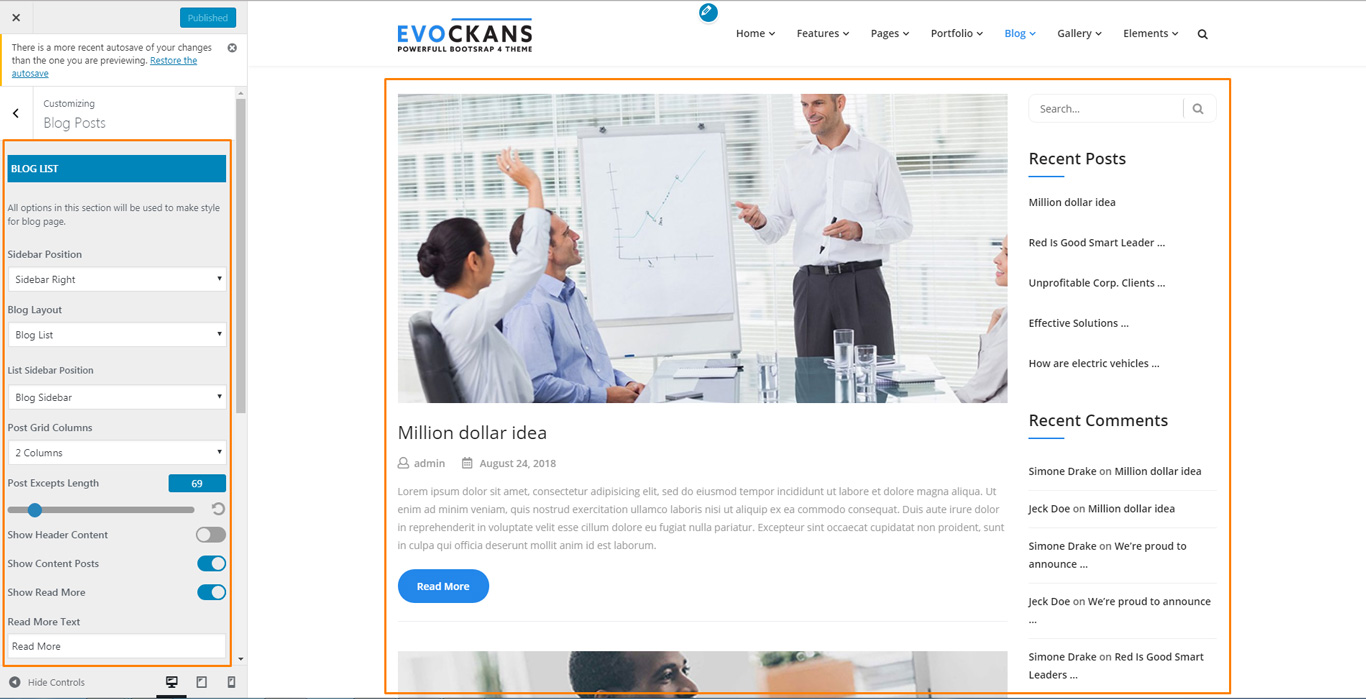
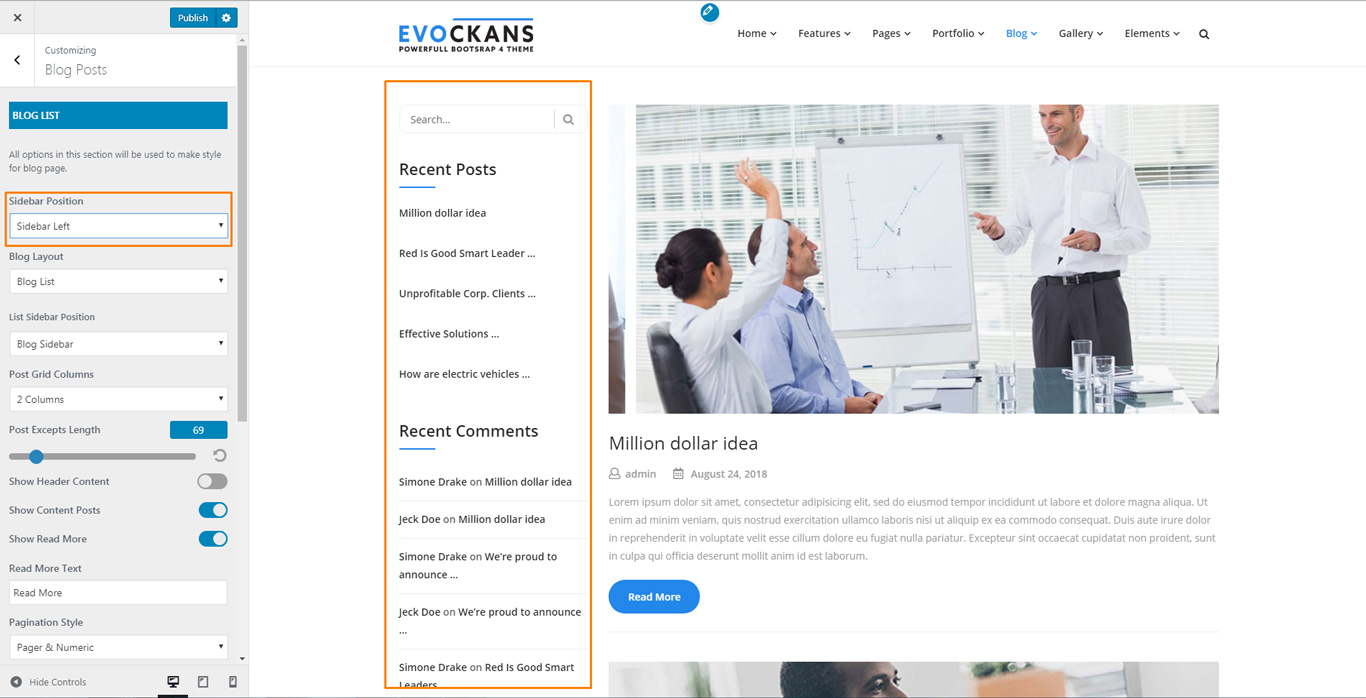
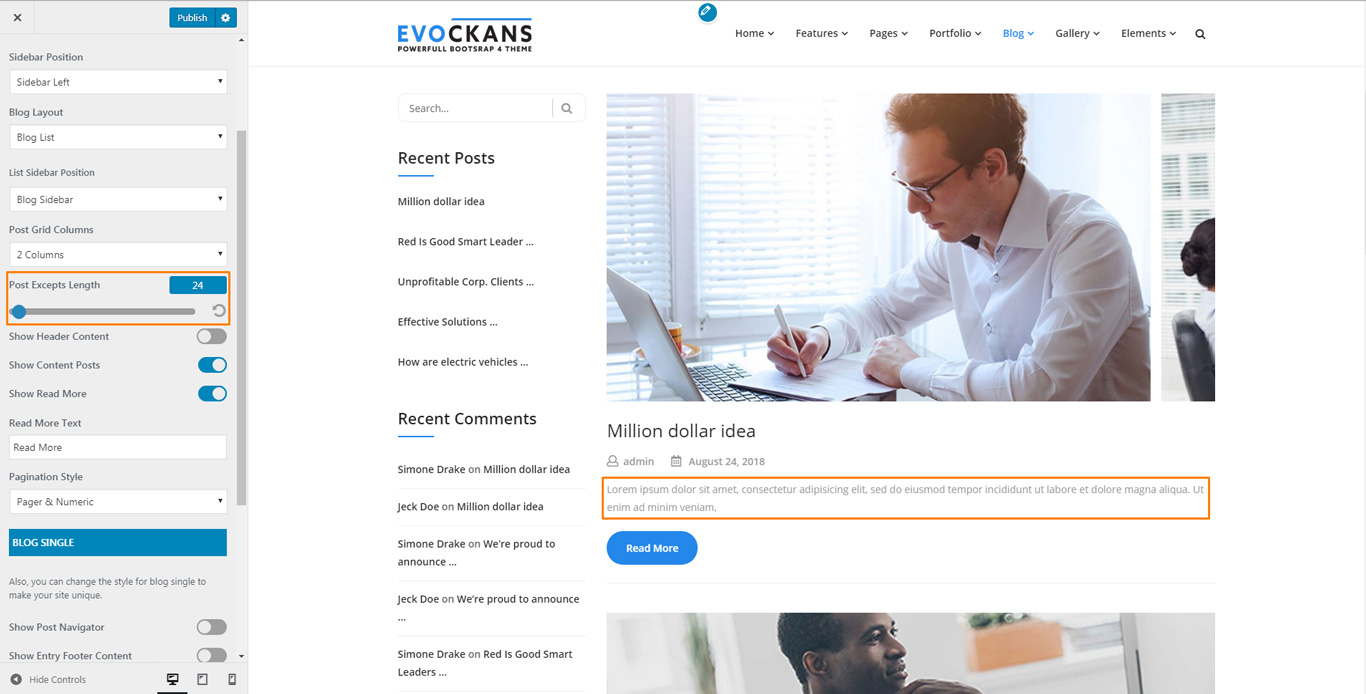
Now, you've finished the setup for your blog post.
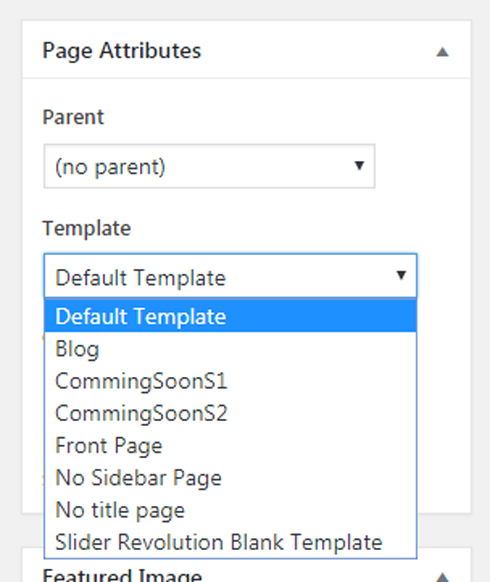
Creating your own page has been never so easy. To make the first step please go to Pages > Add new. At first sight, everything looks just like in default WordPress. But when you look at Visual/HTML area you will see some Page options or on Page Attribute panel, you will see some Page's templates which we explain below.
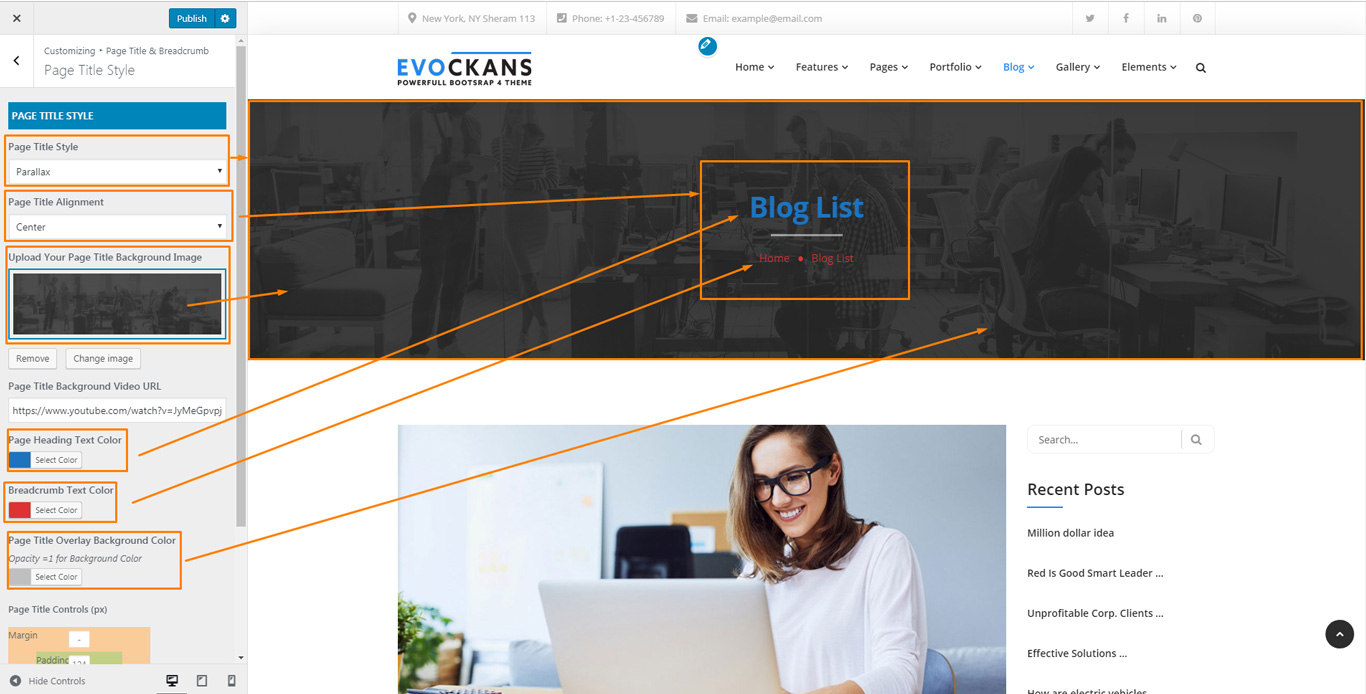
When creating a new page, one of the first things you might want to do is to assign a suitable template for it. To do this, please find the Page Attributes section on the right of the page editor. It comes with a variety of templates to choose:
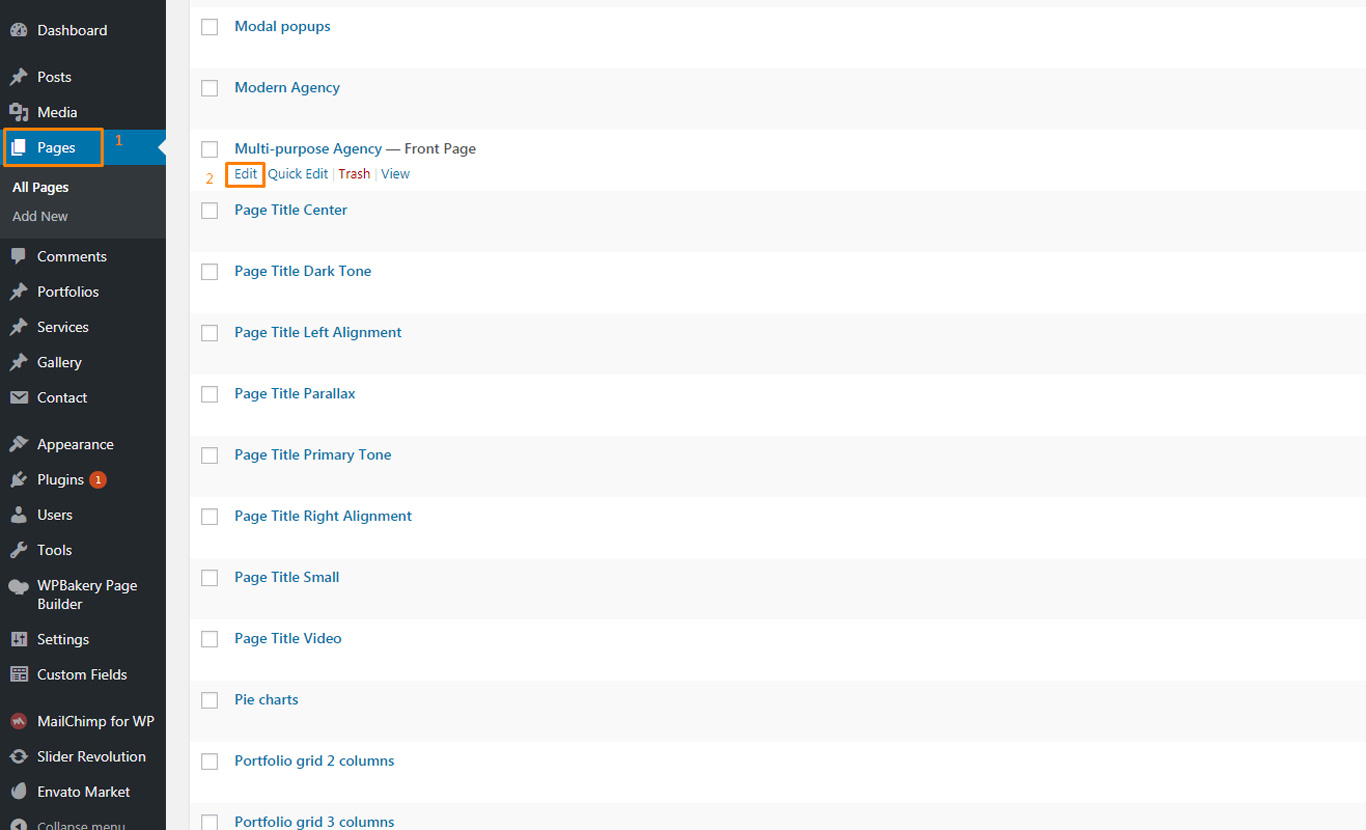
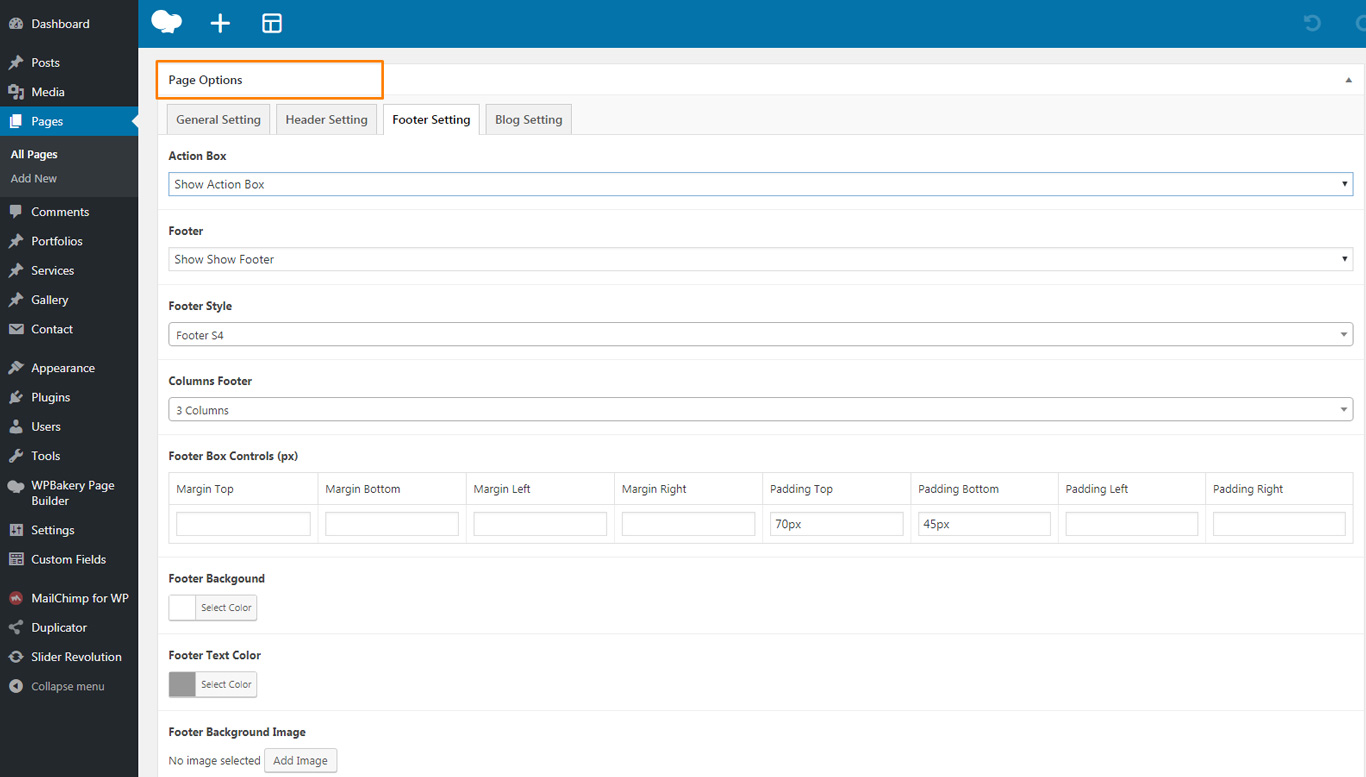
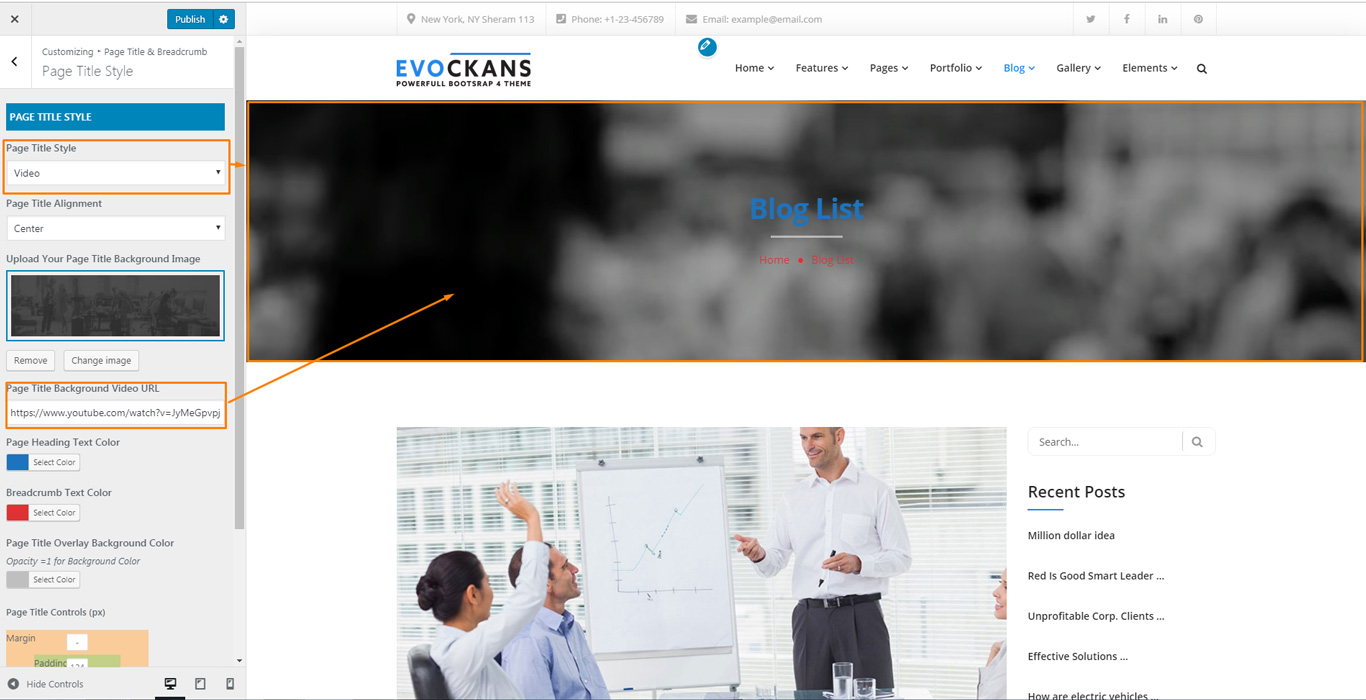
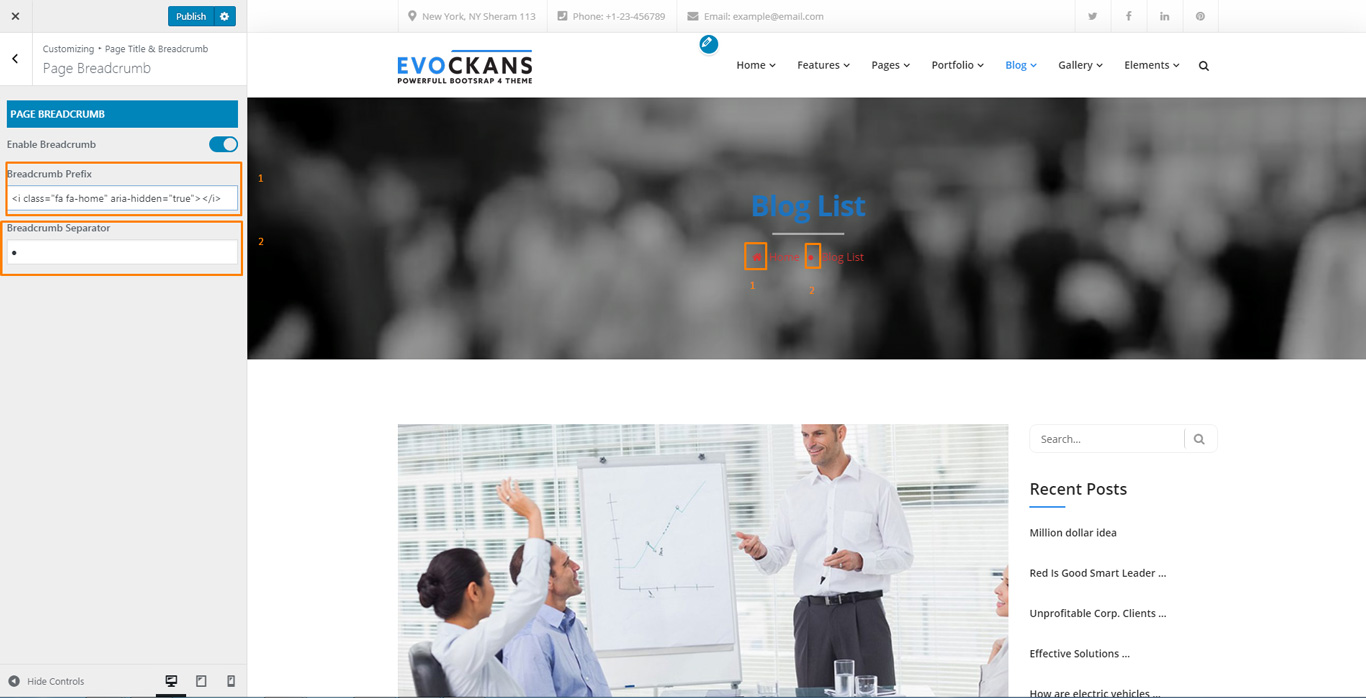
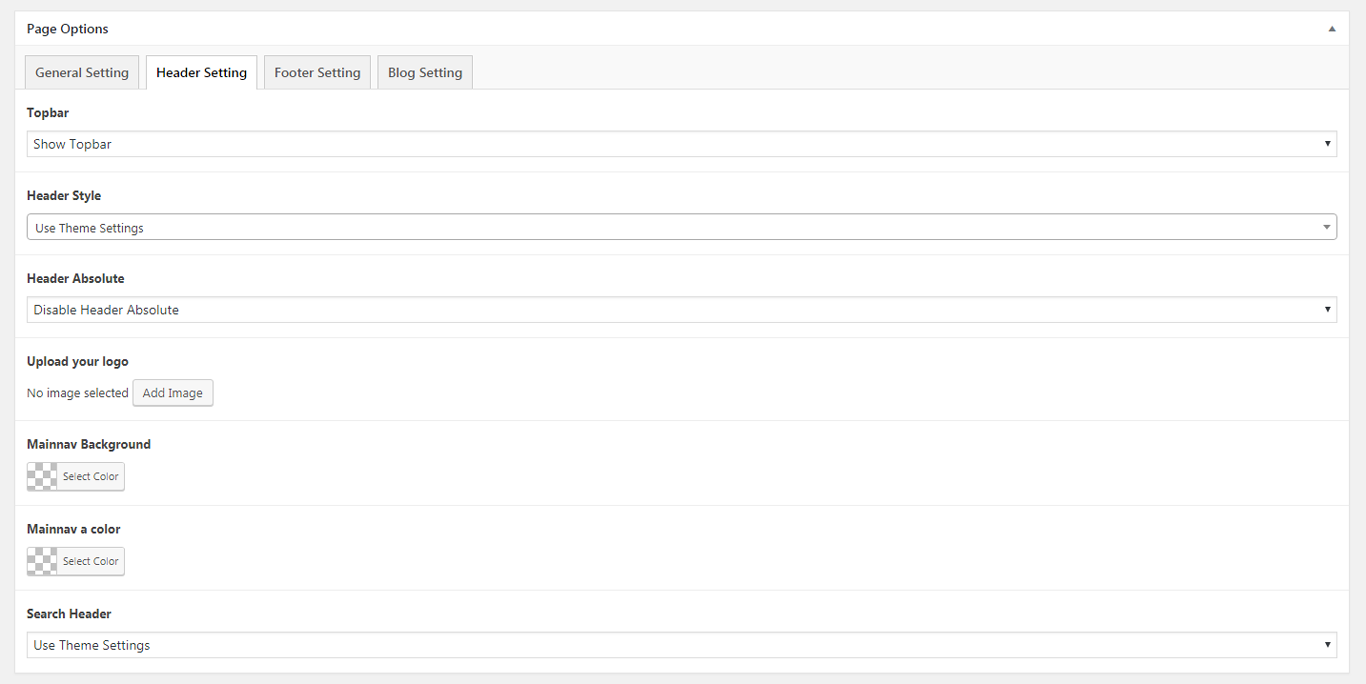
Used to customizer each page. Go to Page -> Edit Page -> Drag the bottom
Note: When you enable option page then option customizer on this page disabled.
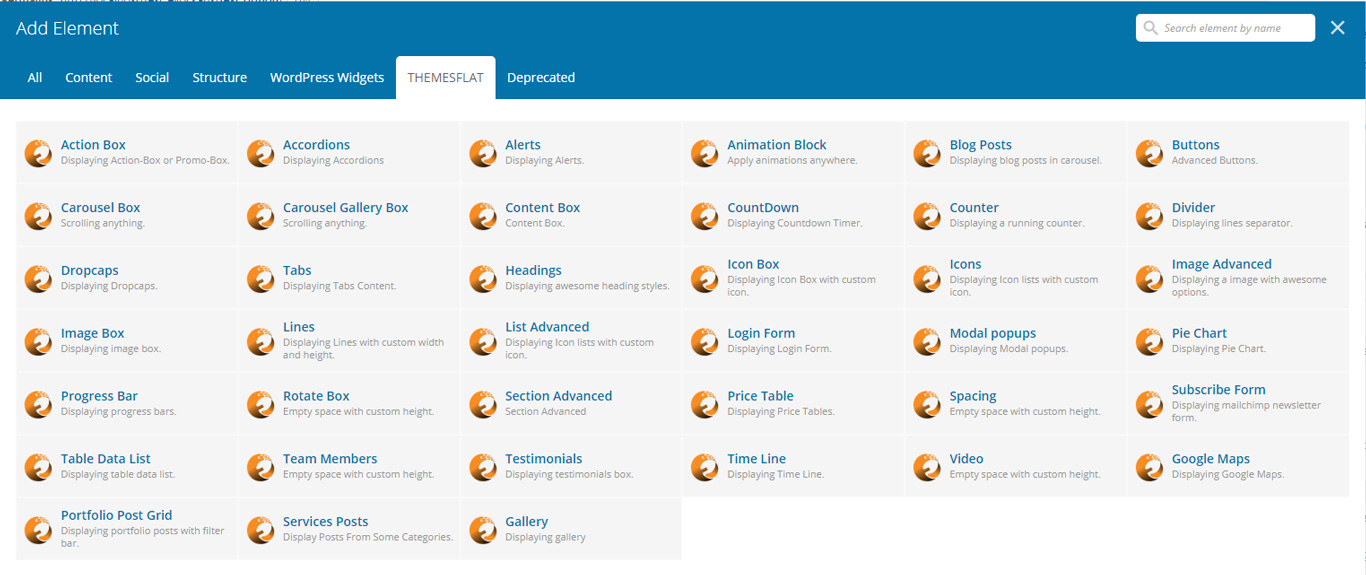
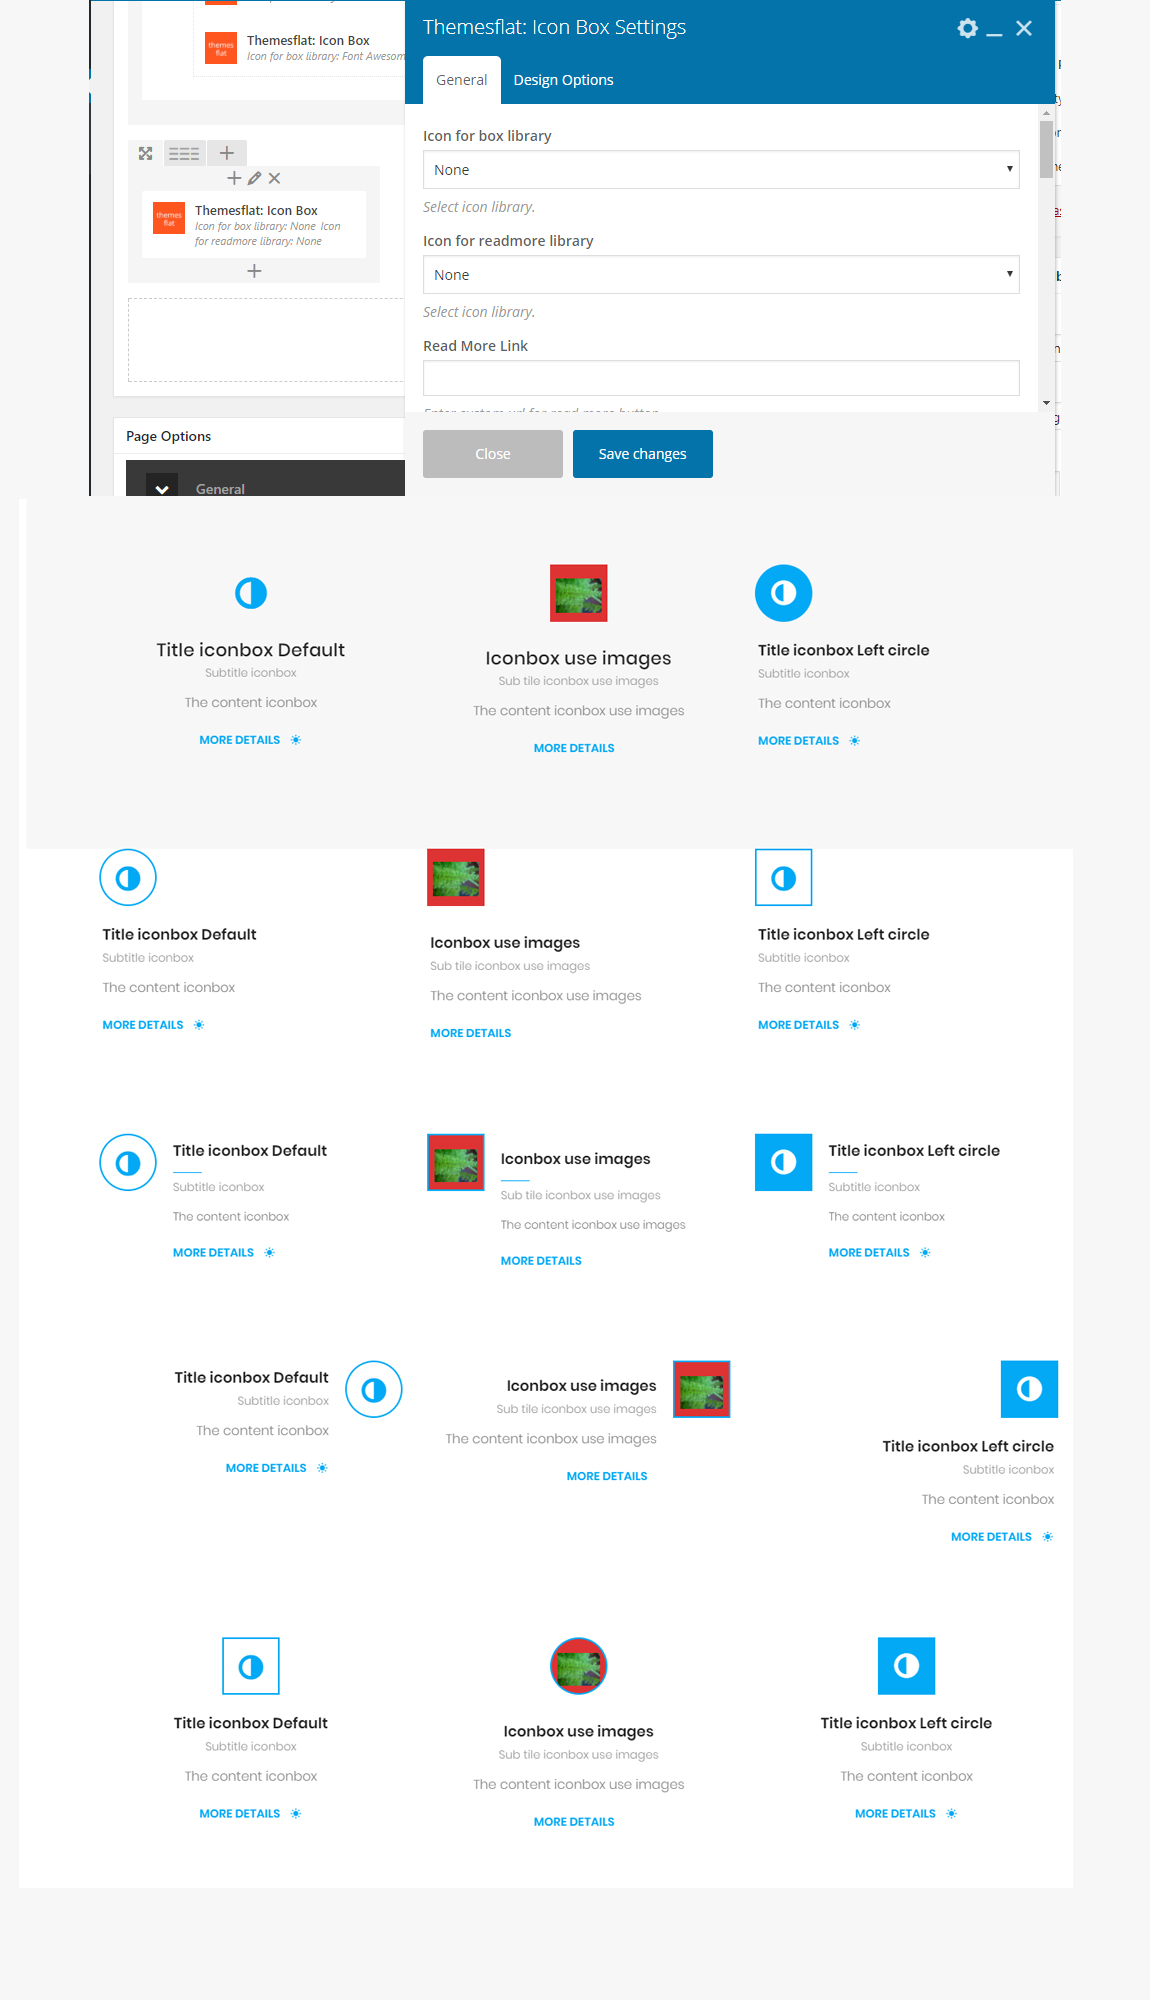
This shortcode alows you add multiple iconbox to create slider
This shortcode alows you create iconbox simple
This shortcode alows you create icon List

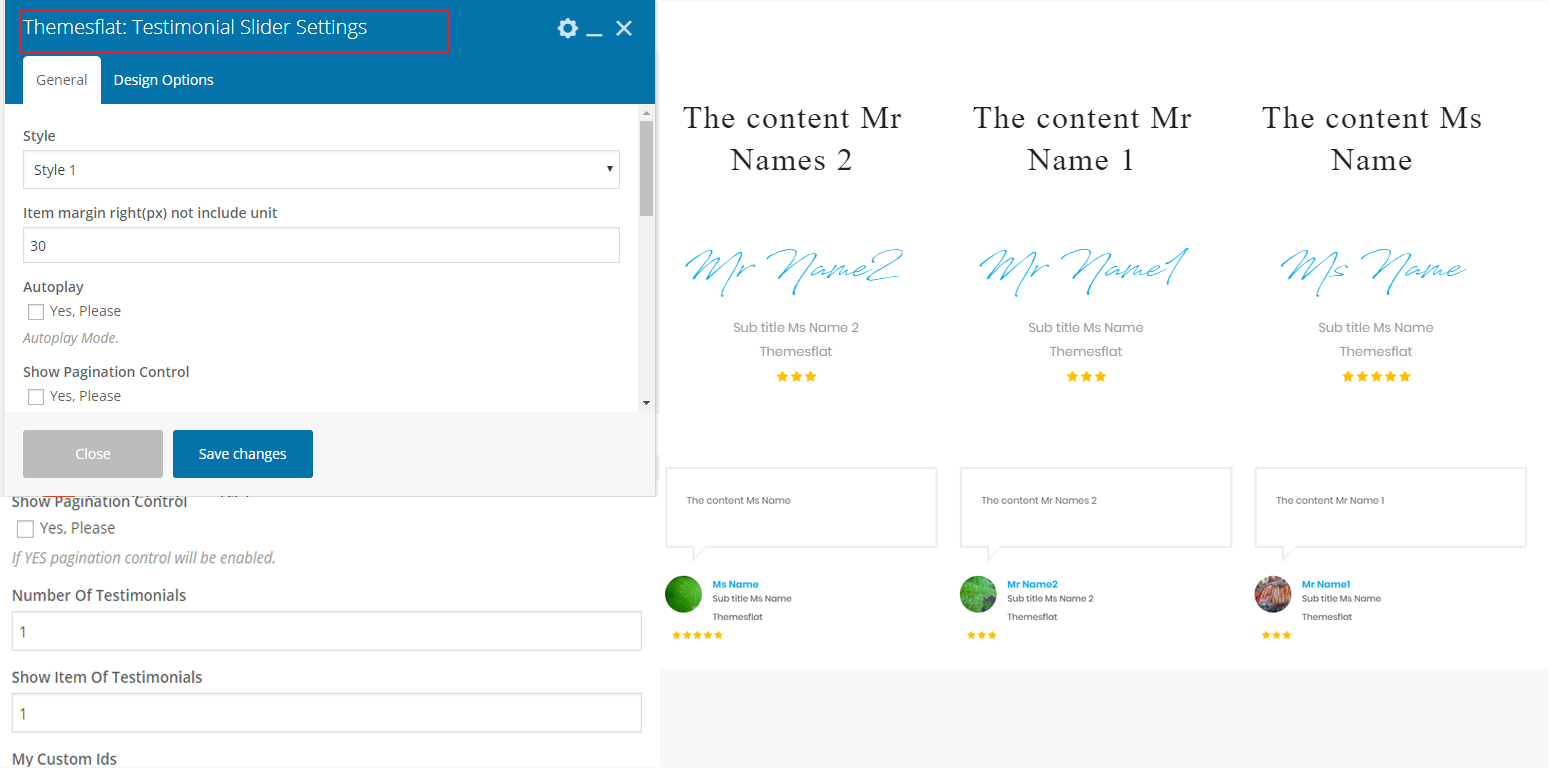
This shortcode alows you create Testimonial Slider
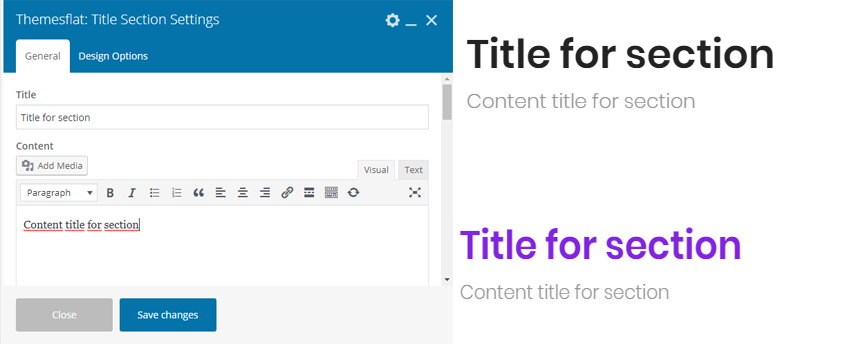
This shortcode alows you create title for section
This shortcode alows you Testimonial Slider
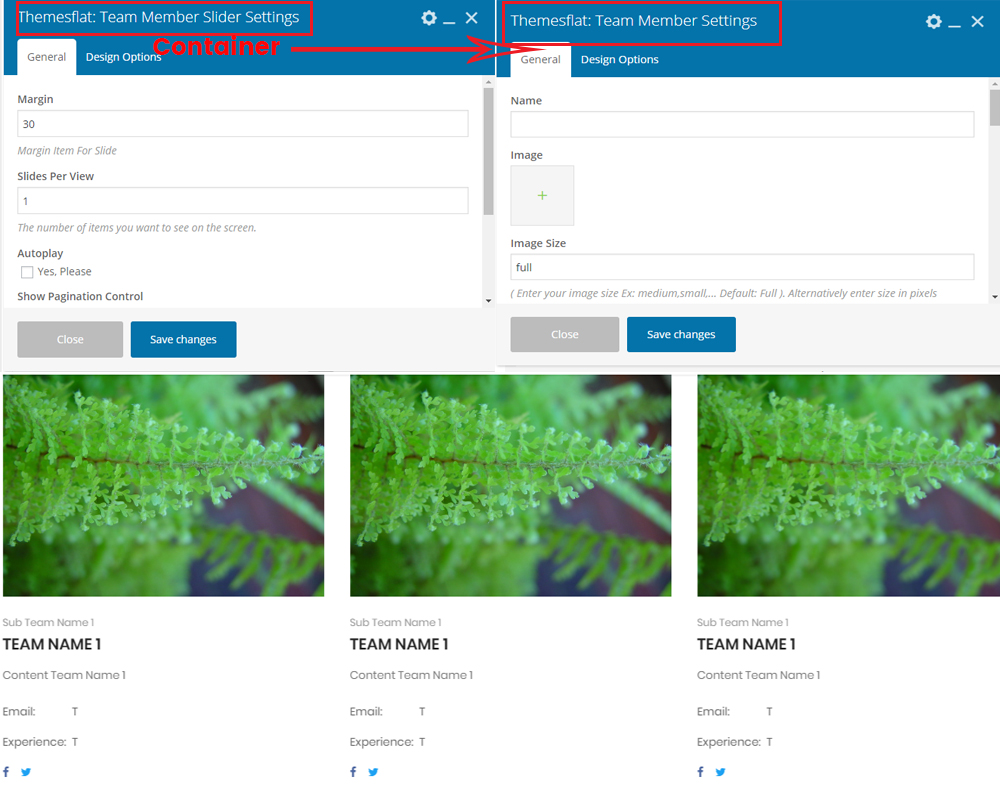
This shortcode alows you Team Member Slider
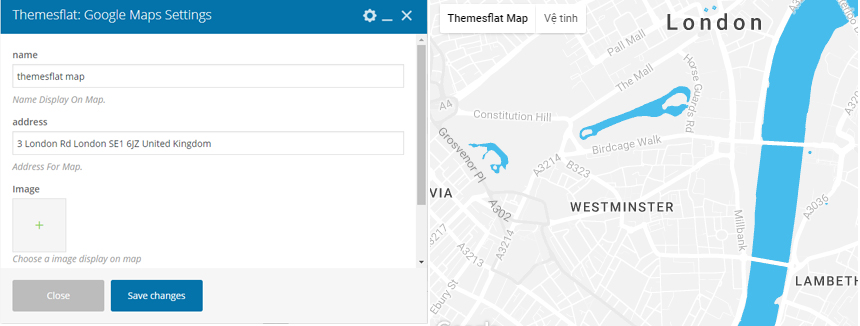
This shortcode alows you create Map, Change your address, Change Your Logo and heigh for map
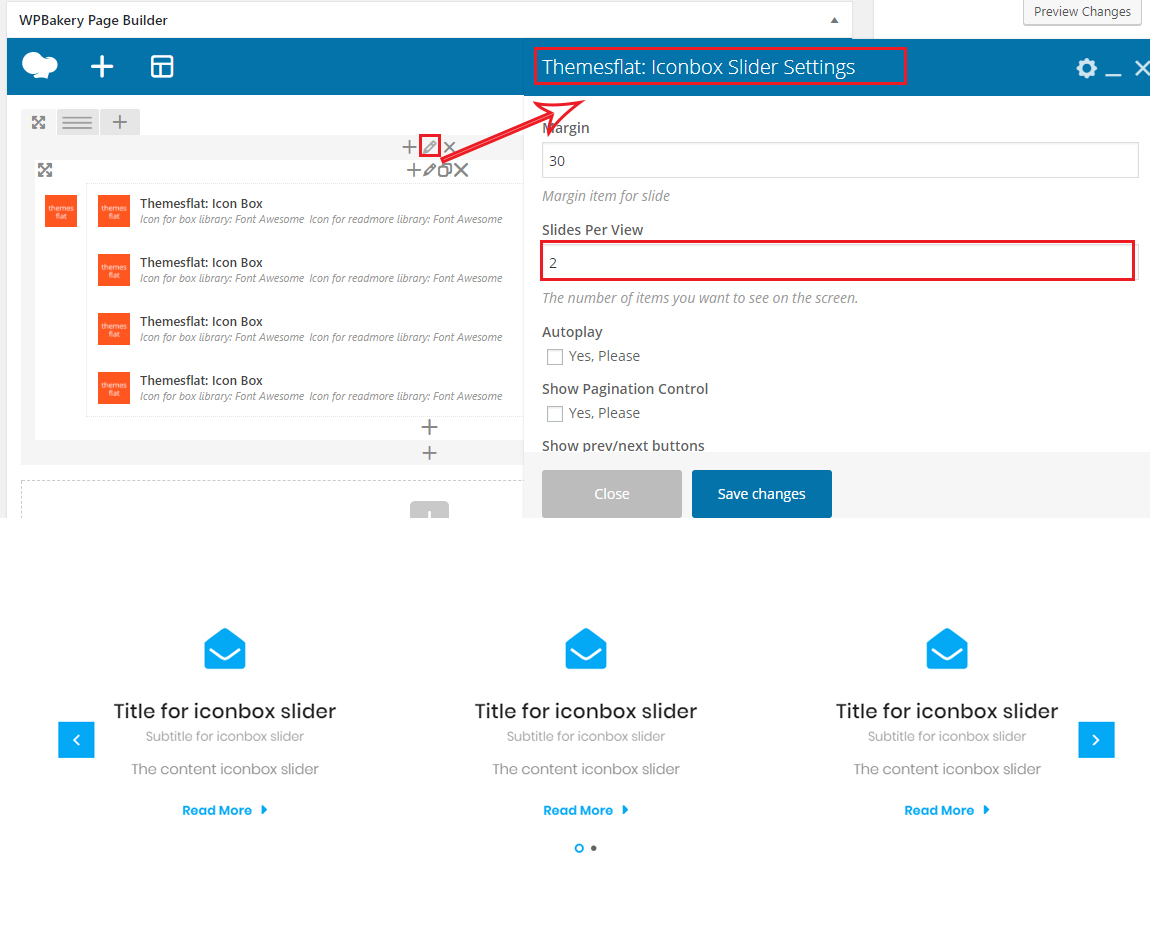
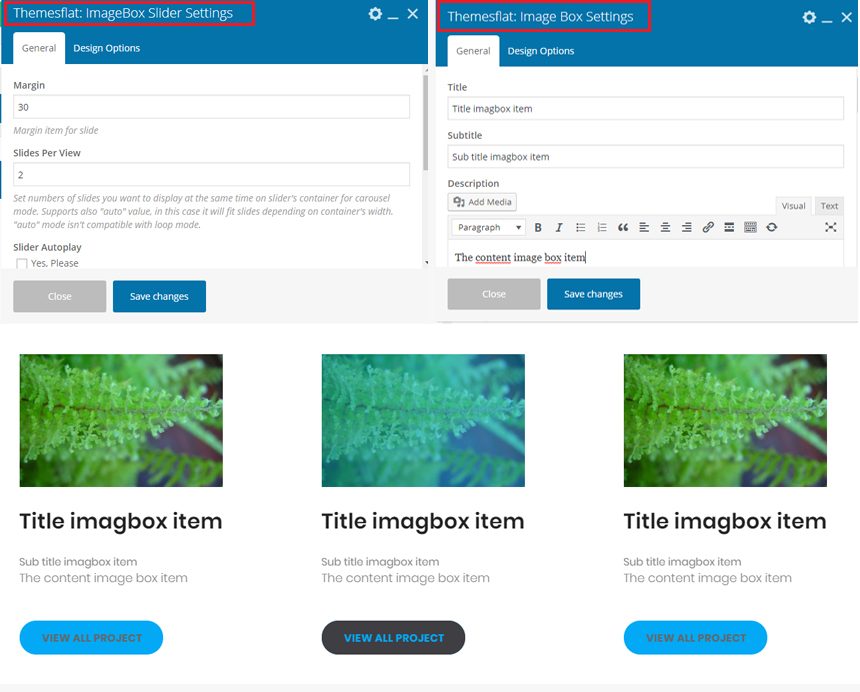
This shortcode alows you create imagesbox slider and option Margin, Slides Per View, Slider Autoplay, Show Pagination Control, Show prev/next Buttons
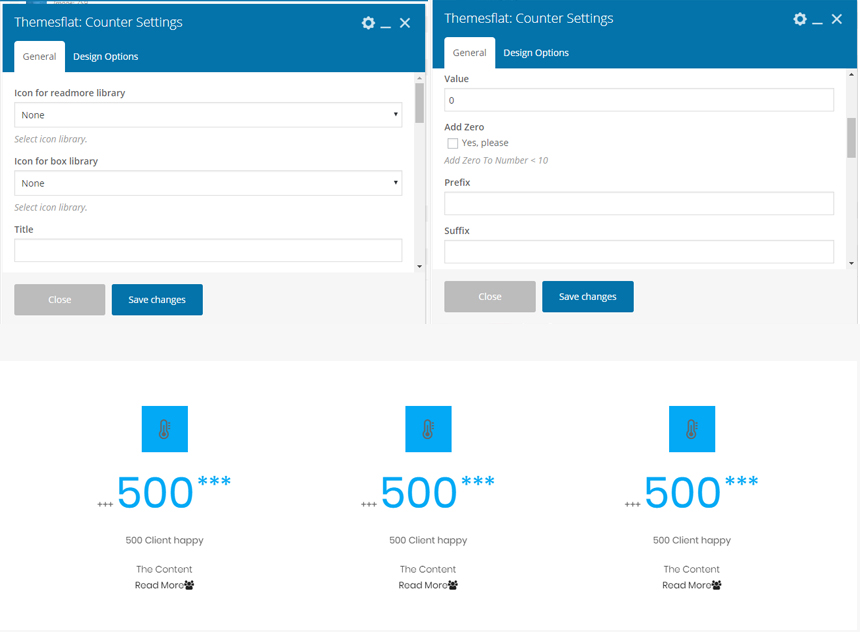
This shortcode alows counter
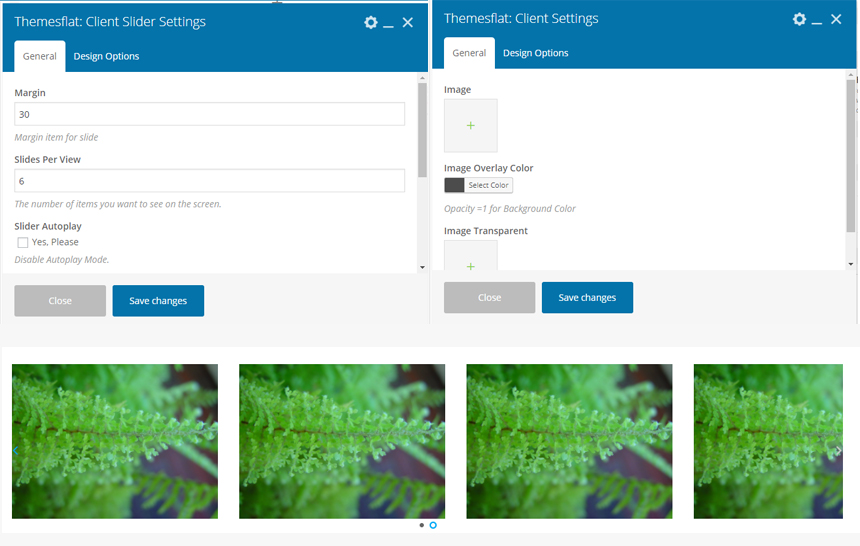
This shortcode alows you create image client
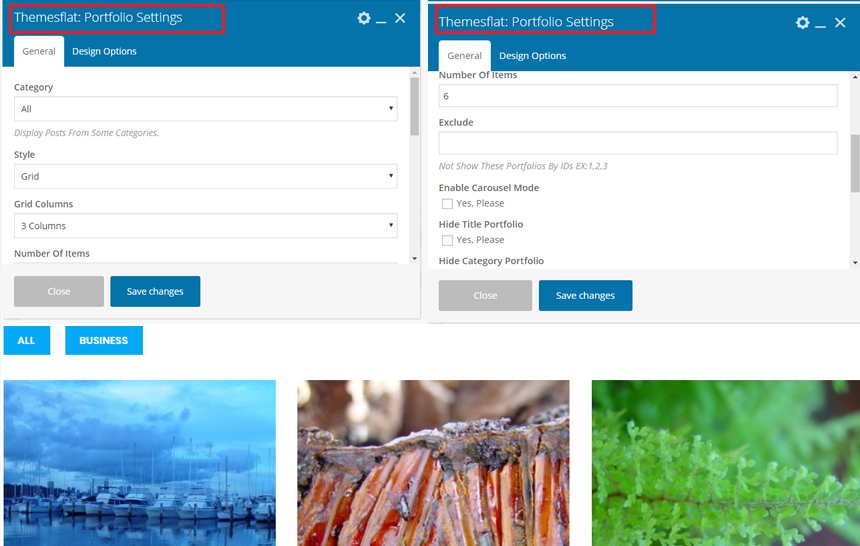
This shortcode alows create portfolio.
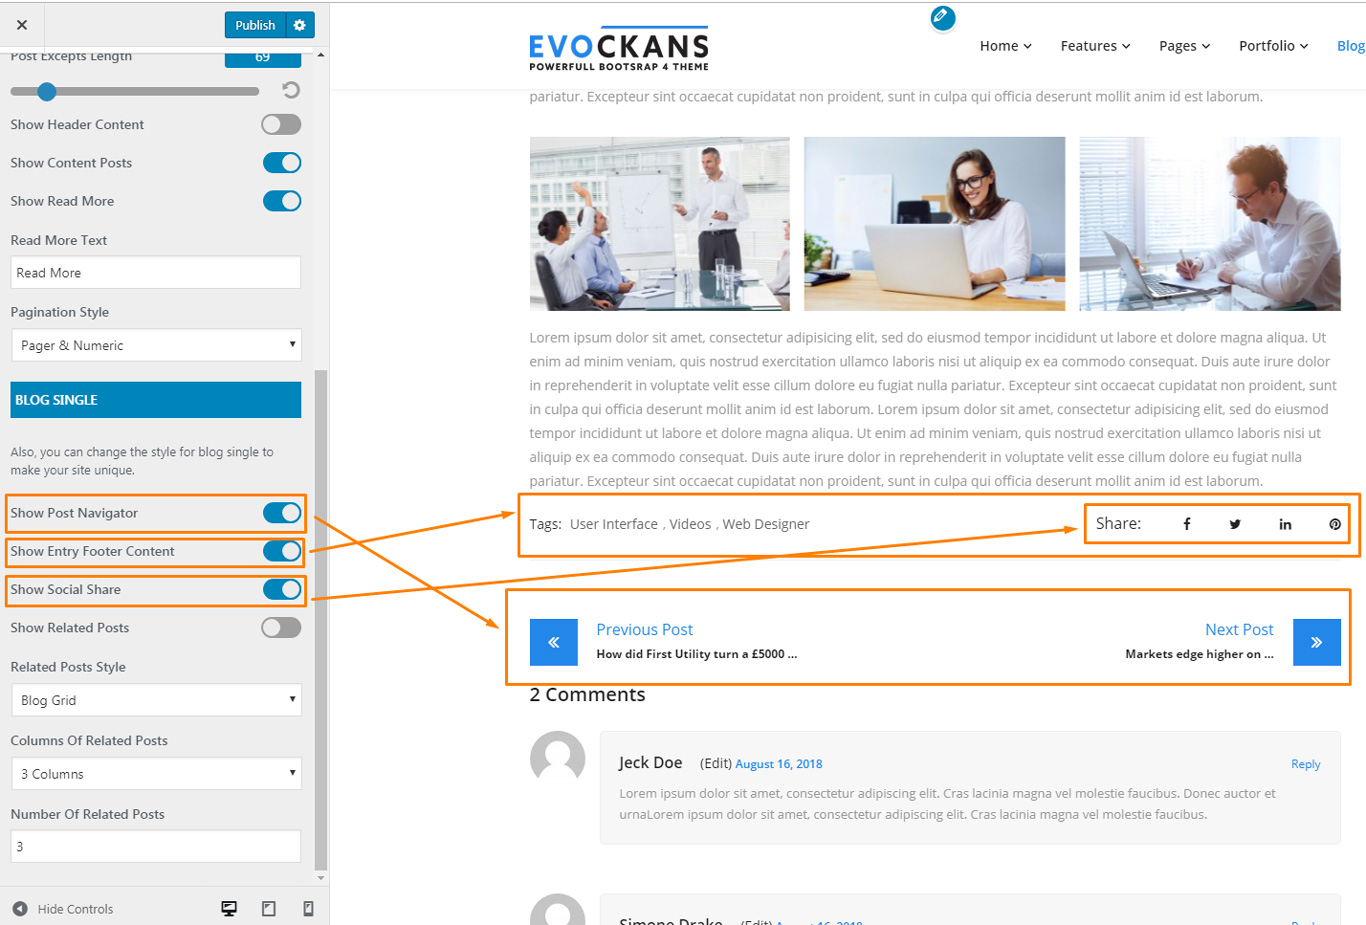
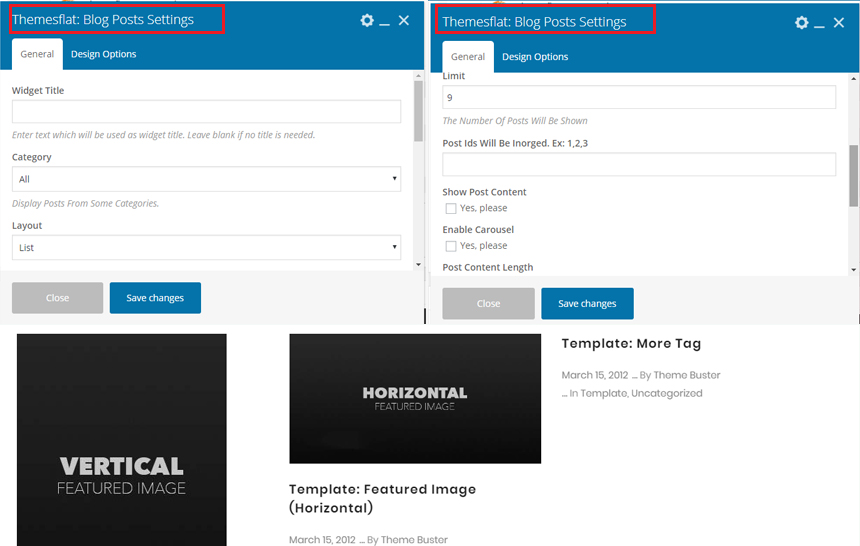
This shortcode alows you create blog post
This theme has some default sidebar to use:
Beside the built-in sidebar areas, we provide a feature called "Custom Sidebar". With this feature, you can create unlimited sidebar areas. To create a custom sidebar, just navigate to Appearance > Widgets you will see the box "Create Widget Area" on the right. Please enter the sidebar title as you want and click to "Create" button, a custom sidebar will be created.

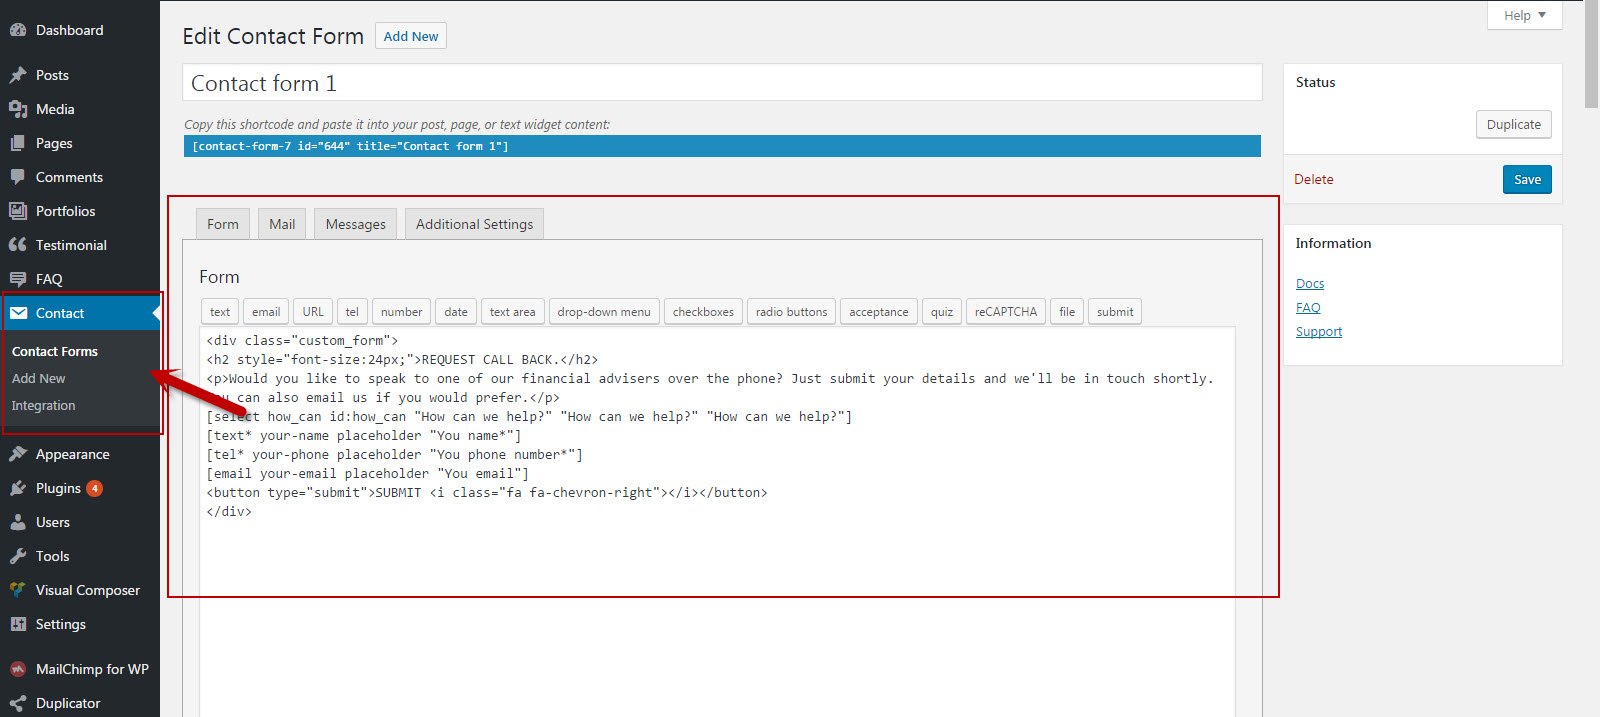
Contact form is not a built-in feature (for many reasons) so we recommend you should use a third-party plugin. The free one we suggest is Contact Form 7 which can be used to add forms anywhere in your site!
		<h3> subscribe </h3>

		  <p>

		   <label>Subscribe to get the latest </label>

		   <input type="email" name="EMAIL" placeholder="Enter your email address" required />

		  </p>

		  <p>

		   <input type="submit" value="Sign up" />

		  </p>
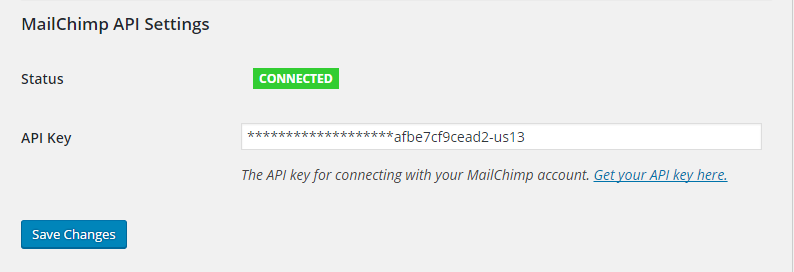
After install and config bellow code you please enter The API key for connecting with your MailChimp account.Get your API key here.