Introduction
First of all, Themes Flat thank you for choosing to buy our theme!
In this document, we provide all kinds of good information with all the details you need to use our theme. It is recommended you read it thoroughly to fully leverage the Zingbox theme's capabilities. Please also make sure to check out our Video Tutorials as they explain everything covered in here in greater depth. We hope you have fun and enjoy working with our theme!
- Theme version: 1.0.3
- Created date: September 28, 2021
- Update date: February 16, 2022
- Author: Themesflat
Email: helpdeskthemesflat@gmail.com
Skype id: helpdeskthemesflat
Create ticket id : https://themesflat.ticksy.com/ticket
Getting Started
Requirements
- PHP 7.0 or higher
Recommended
Required must have
- upload_max_filesize = 128M
- post_max_size = 164M
- max_execution_time = 300
- max_input_time = 300
- memory_limit = 256M
Besides, need more
- Elementor
- Advanced Custom Fields PRO
- ThemesFlat
- Themesflat Elementor
- Contact Form 7
- Mailchimp
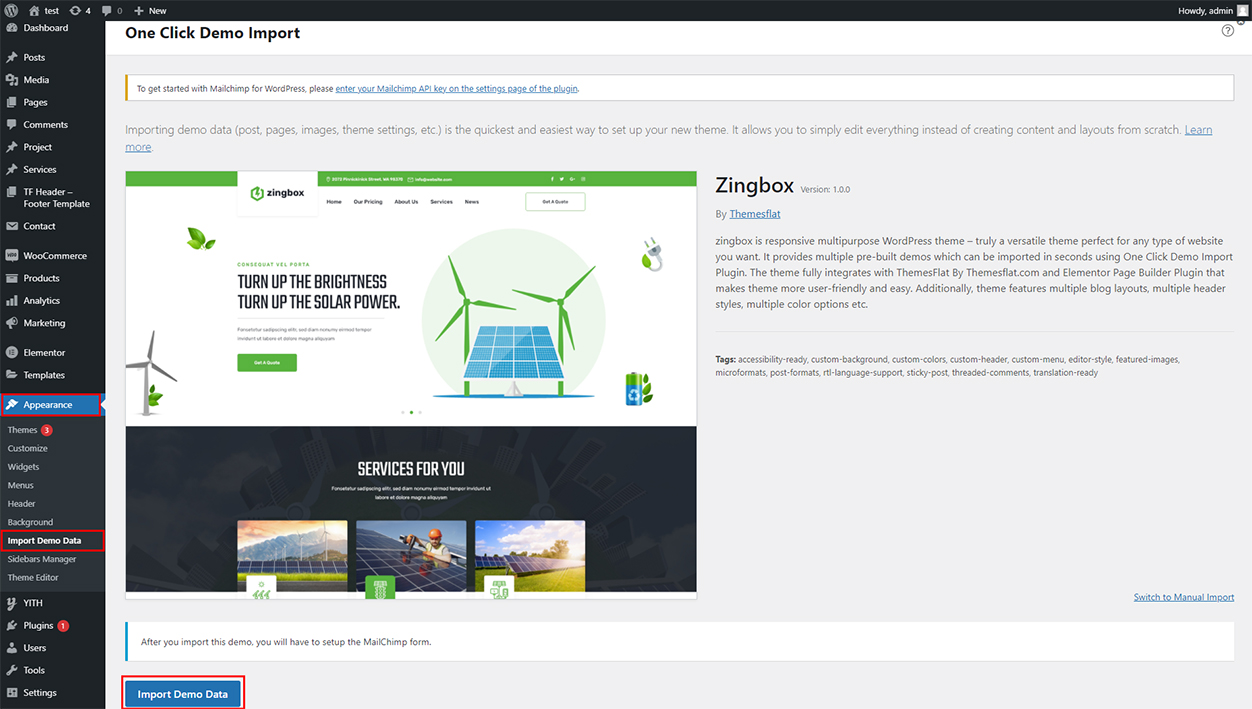
- One Click Demo Import
- WooCommerce
- YITH WooCommerce Quick View
- YITH WooCommerce Wishlis
Theme Installation via WordPress
After purchase and download we have file themeforest-20396082-themename.zip Continue we need Extract Files i have 3 files: 1.theme, 2.theme-child, 3.documentation
In version 1.0.2 this time we have a big update that is home 03, home 04, home 05, home 06, home 07 and home 08 and many other new updates. You are free to choose the home page that suits your style, not only that, you can optionally use the header and footer for the pages to match your style.
Please, follow the steps below to install Theme.
Watch the video One Click Install Demo
Install by WordPress Theme Manager
This is probably the simplest way for most users. Here are steps you need to take:
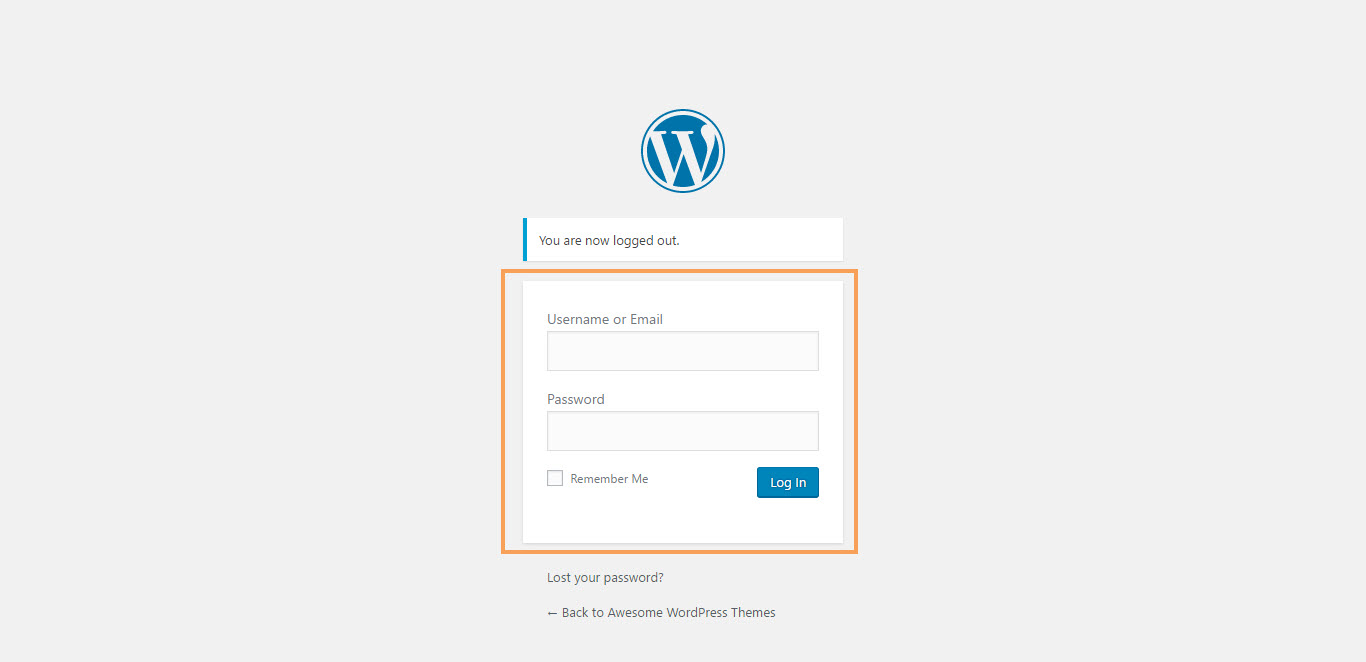
- Step 1 - Login to your WordPress Dashboard.
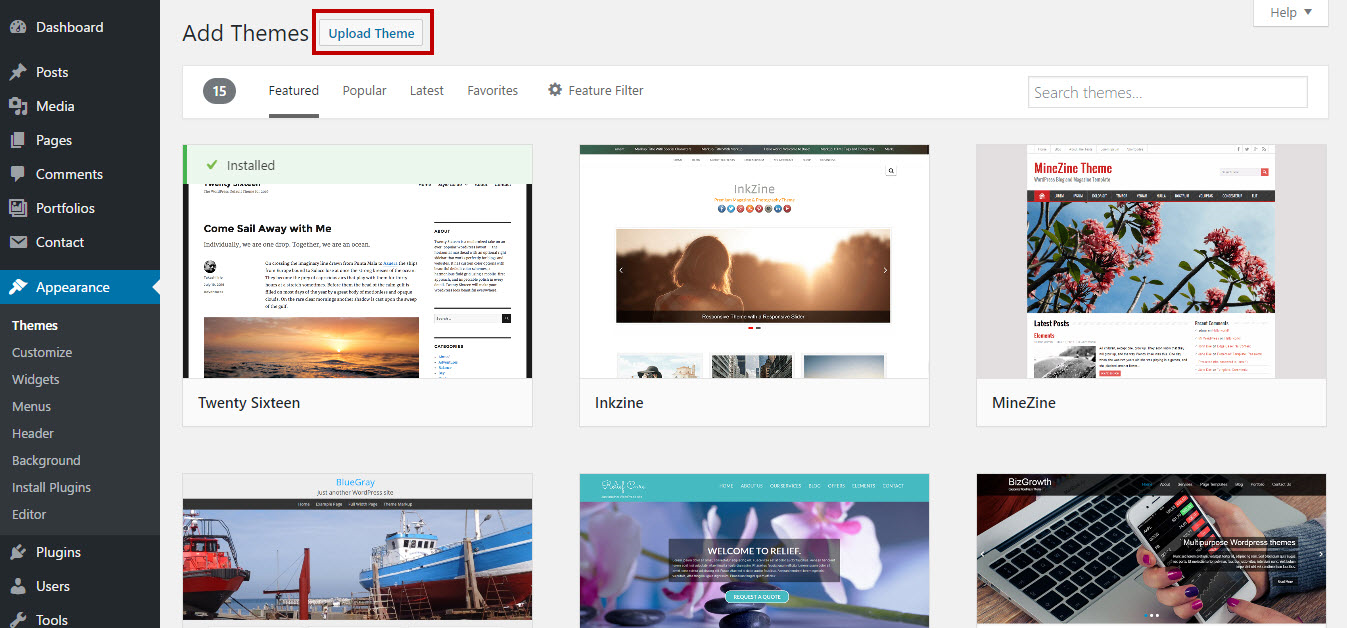
- Step 2 - Go to Appearance > Themes. And then click Add new button, located at the top of the screen or Add new theme (see screenshots below).
- Step 3 - Click on Upload button at the top of the screen.
- Step 4 - Next, Click Choose File button to browse themename.zip file in locate.
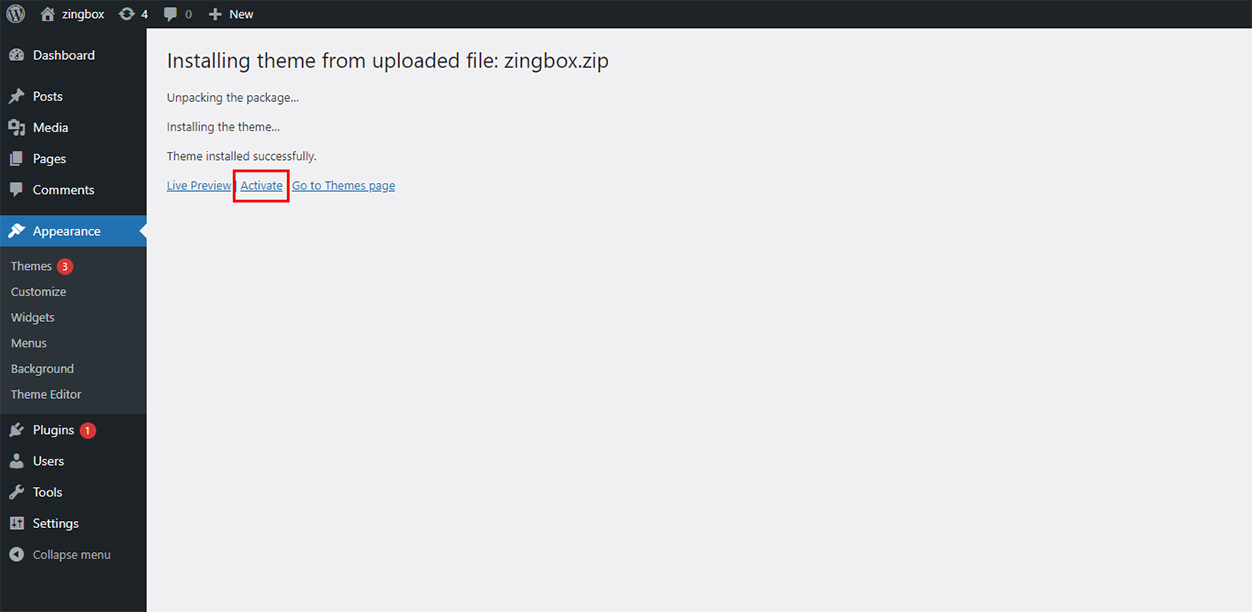
- Step 5 - Click Install button and wait a moment.
- Step 6 - After done installing, click Activate to publish the theme.
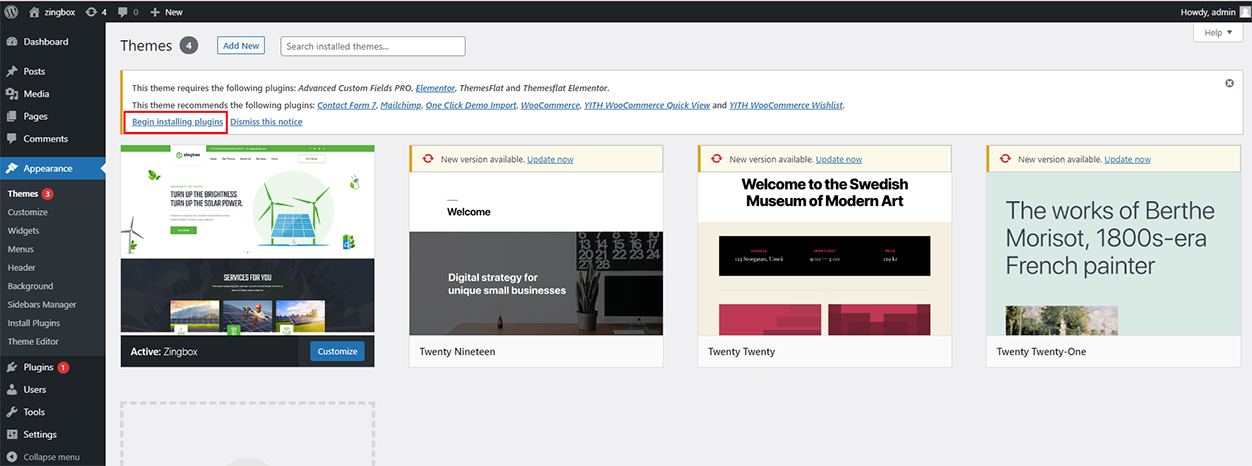
- Step 7 - After activating the theme a notice should appear on the top of the screen, click on link Begin installing plugins ( See screenshots below ).
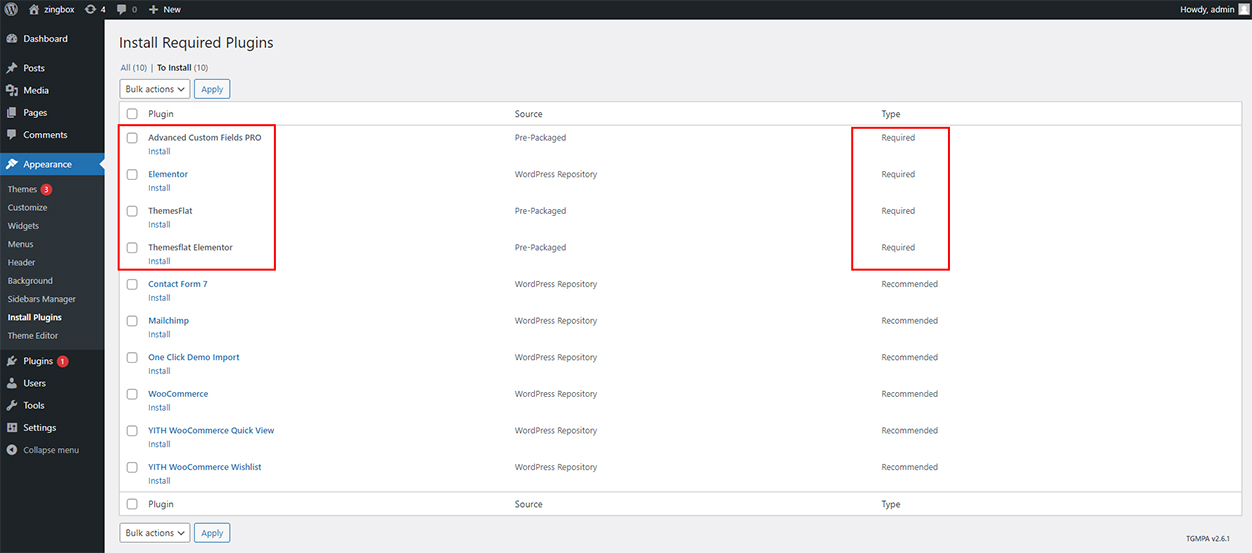
- Step 8 - After install plugins, go to Dashboard > Appearance > Install Plugins, check all the plugins you want to activate require for this theme


After installing the Main theme, if you want user more child Child theme. Then please continue install child-theme the with the same installation above
The theme requires the following plugin: ThemesFlat By Themesflat.com, Elementor Page Builder, and recommends the following plugins: Contact Form 7, MailChimp for WordPress,

Install through FTP upload
If you want to install via FTP, here are 3 steps you need to take:
- Using FTP client, login to the server where your WordPress website is hosted
- Using FTP client, navigate to the /wp-content/themes/ directory under your WordPress website's root directory
- Using FTP client, upload the Redbiz directory to themes directory on remote servers
Once installation is complete, your Zingbox theme will be ready to use.
Theme Customize
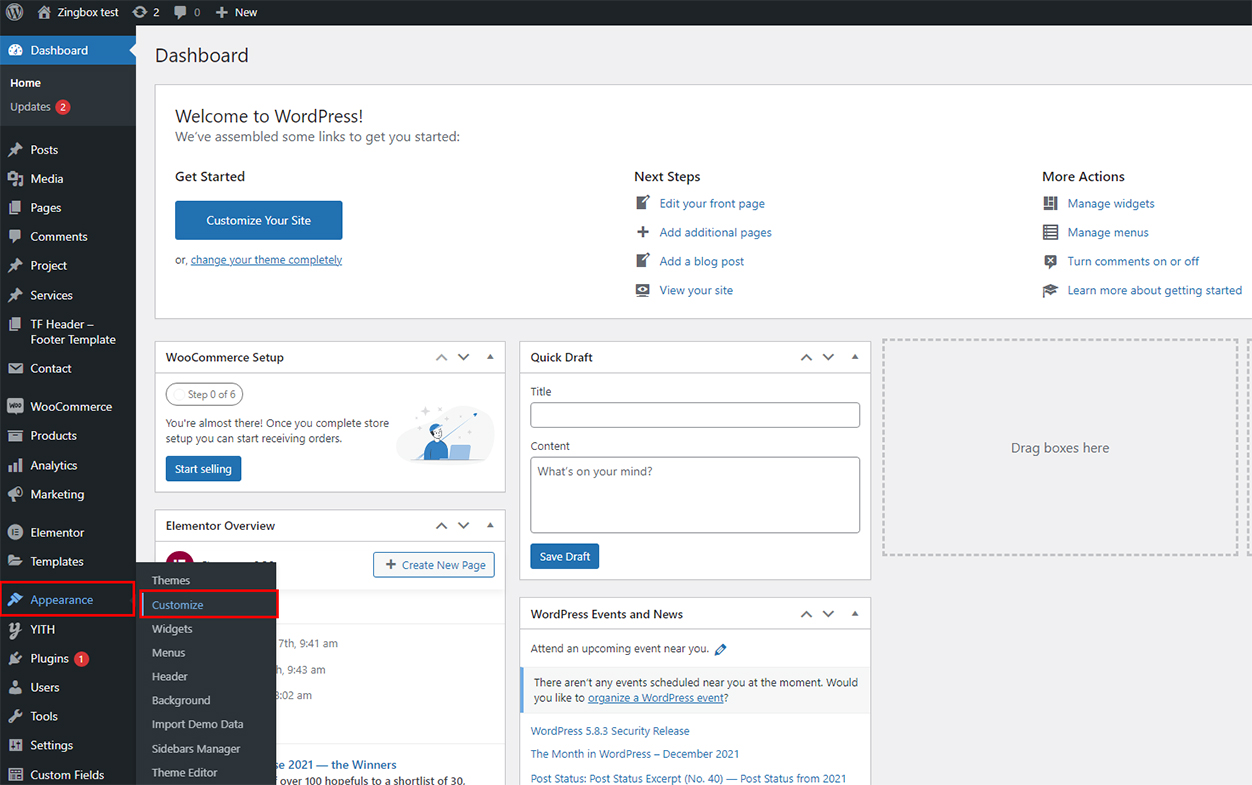
To start customizing Theme, in the Admin page please go to Dashboard > Appearance > Customize

Please remember to click Save & Publish button after done customizing to save the changes
These are global settings so its effect is site-wide. These settings can be overridden in single post or page
General
-
Site Information
-
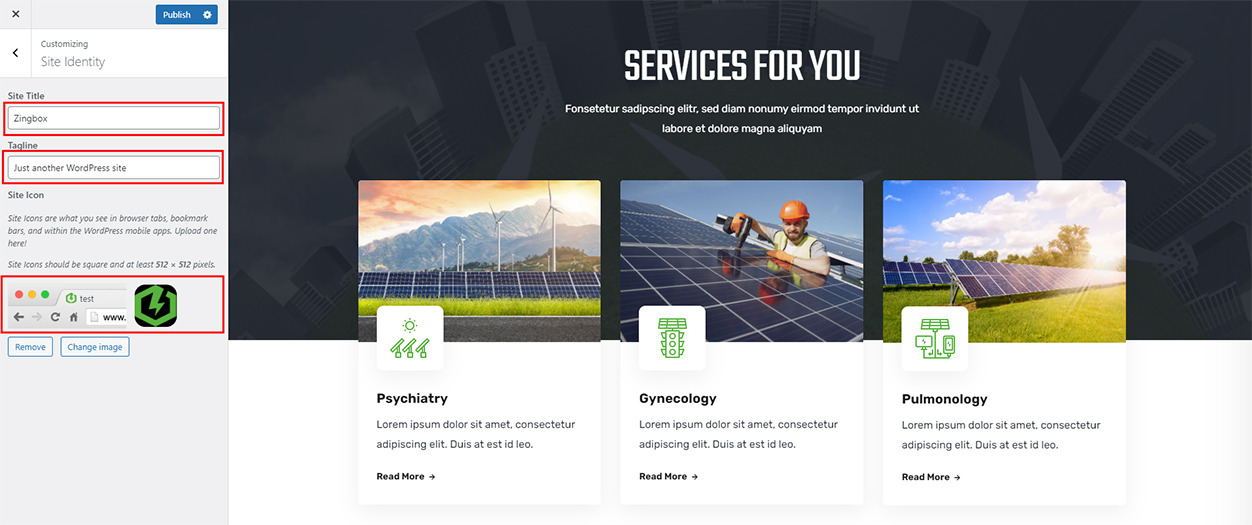
Site Title: You can setup and change your site title
-
Tagline: A few words to describe your site
-
Site Icon: Site Icons are what you see in browser tabs, bookmark bars, and within the WordPress mobile apps.
To Customize Theme you go to: Dashboarb -> Appearance -> Customize
-
-
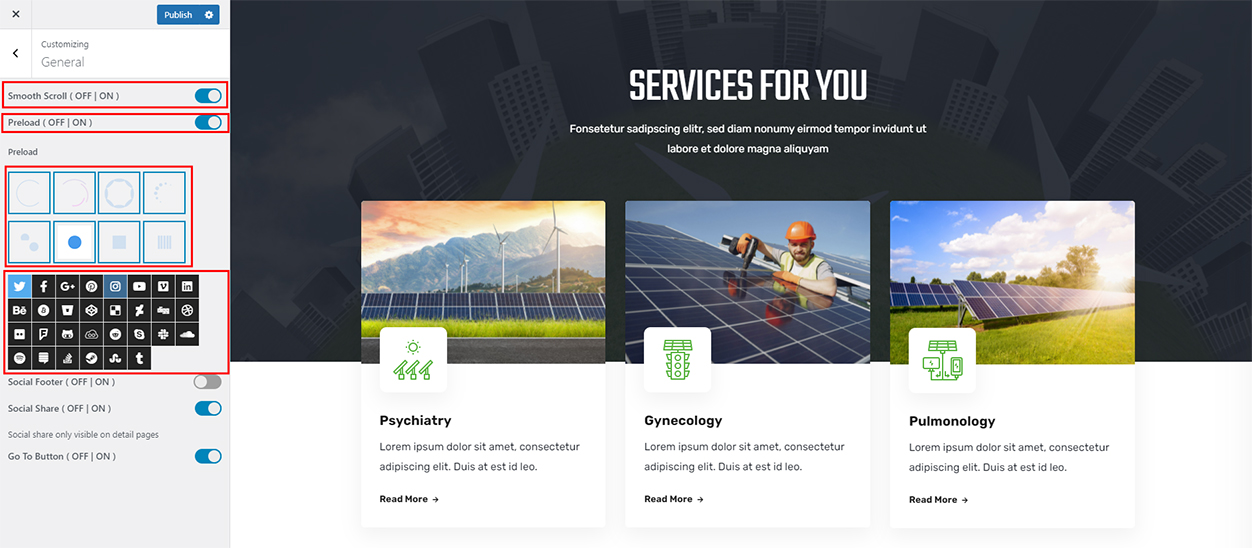
Site Display
-
Smooth Scroll: Enabled Smooth Scroll or not
-
Preloading: Displayed while loading to another page
-
Social: Input link your socials display in website
-
Social Footer: Enabled Social Footer or not
-
Social Share: Enabled Social Share or not, Social share only visible on detail pages
-
Go To Button: Enabled Go To Button or not
To Customize Theme you go to: Dashboarb -> Appearance -> Customize -> General
-
Zingbox Theme updated version 1.0.2
The following are the latest updates of zingbox version 1.0.2
Update 6 more home pages: home 03, home 04, home 05, home 06, home 07, home 08
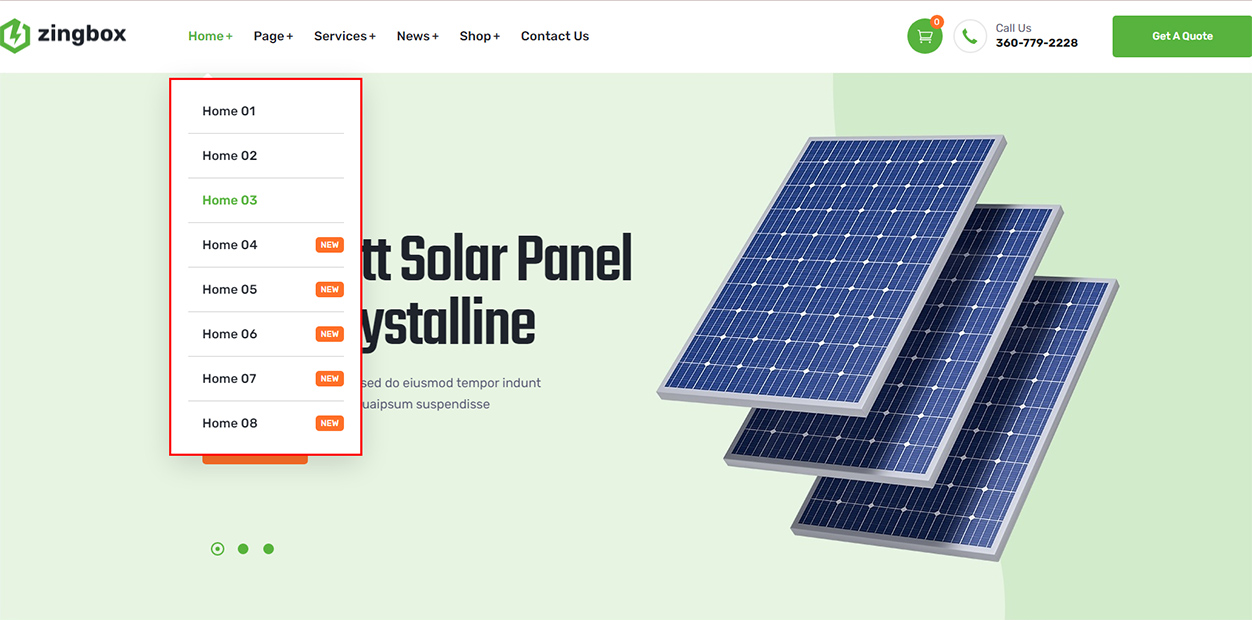
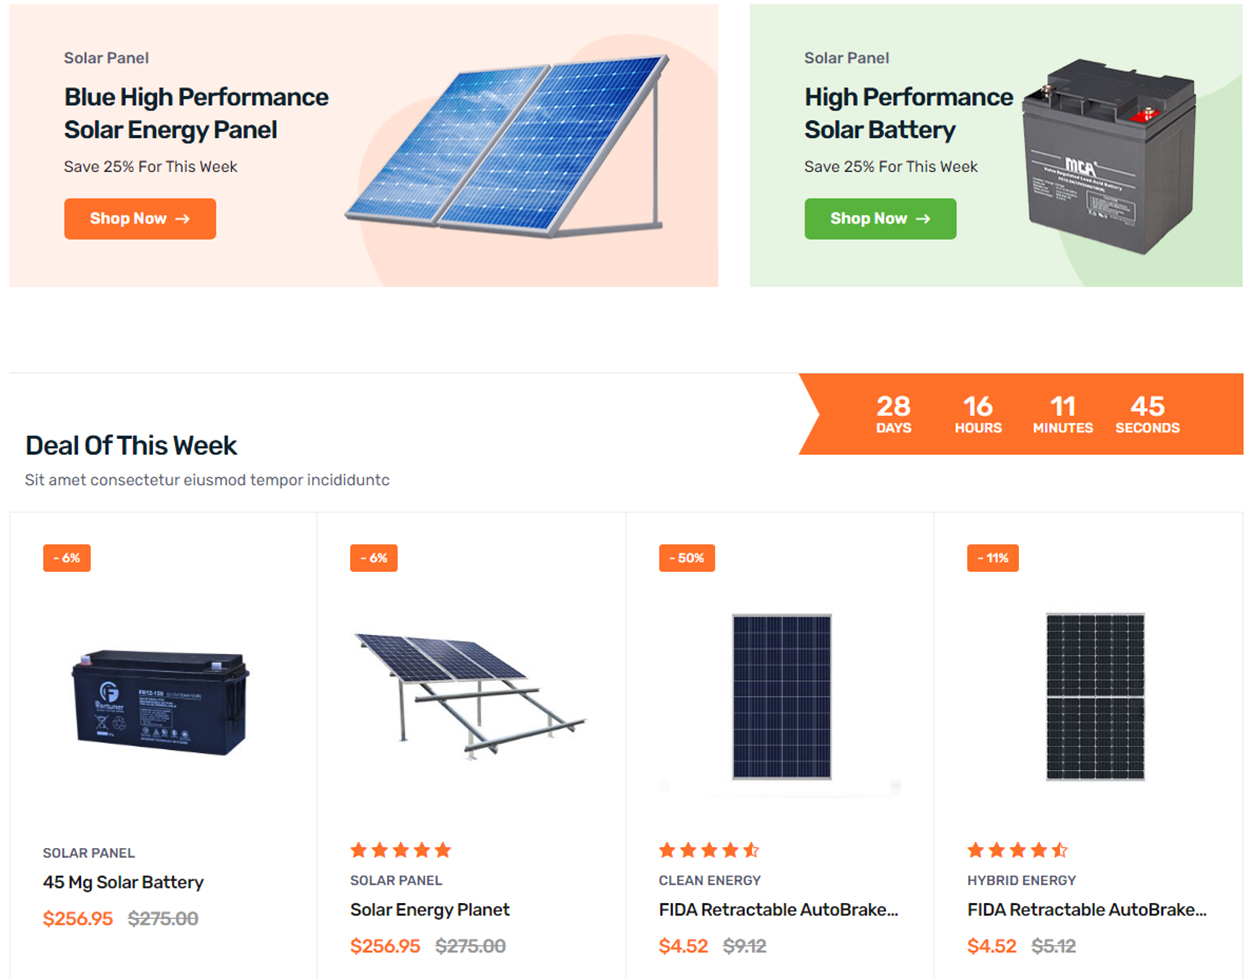
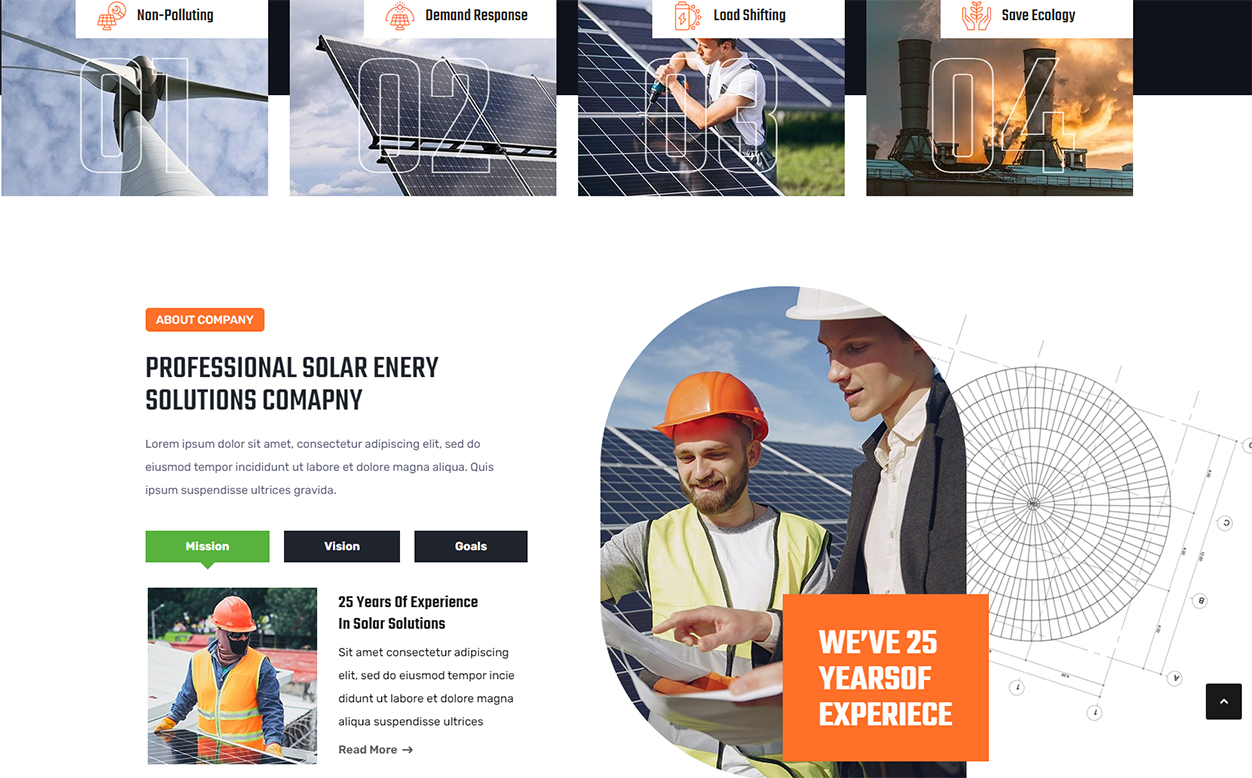
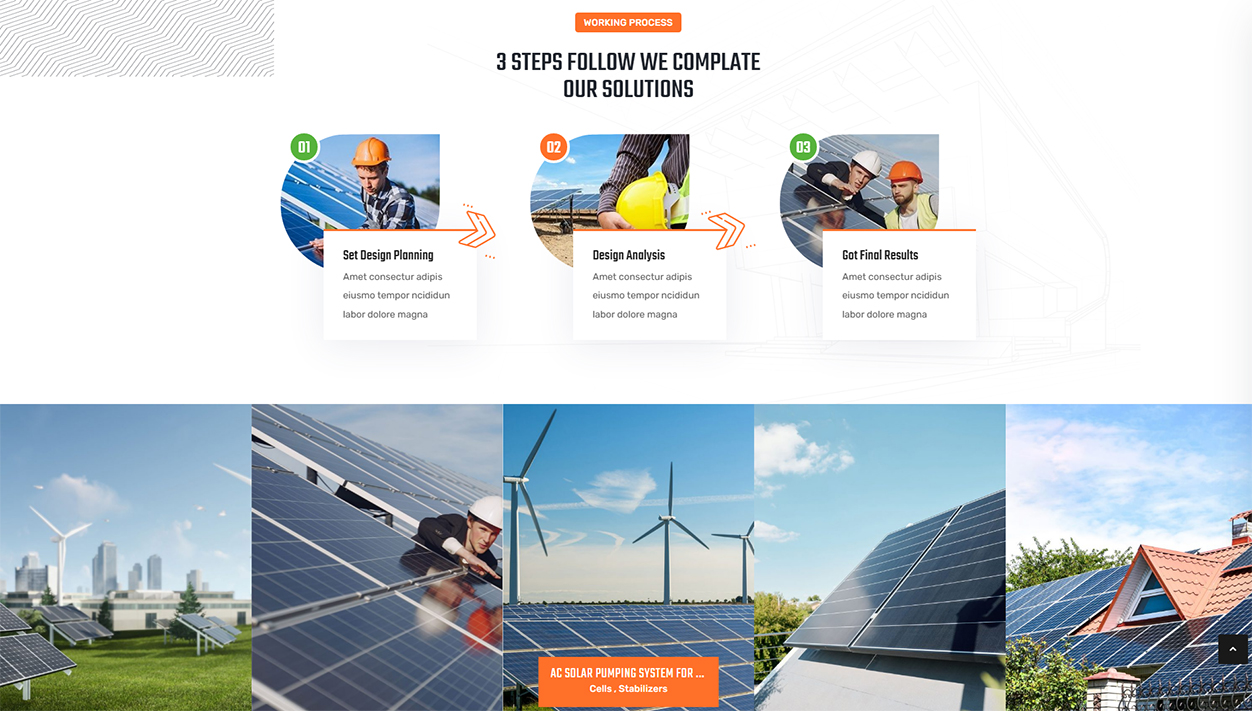
Home interface 03 focuses on displaying products and services.
In home 04, there is a function to change the language, the slider effect is different from the rest of the homes
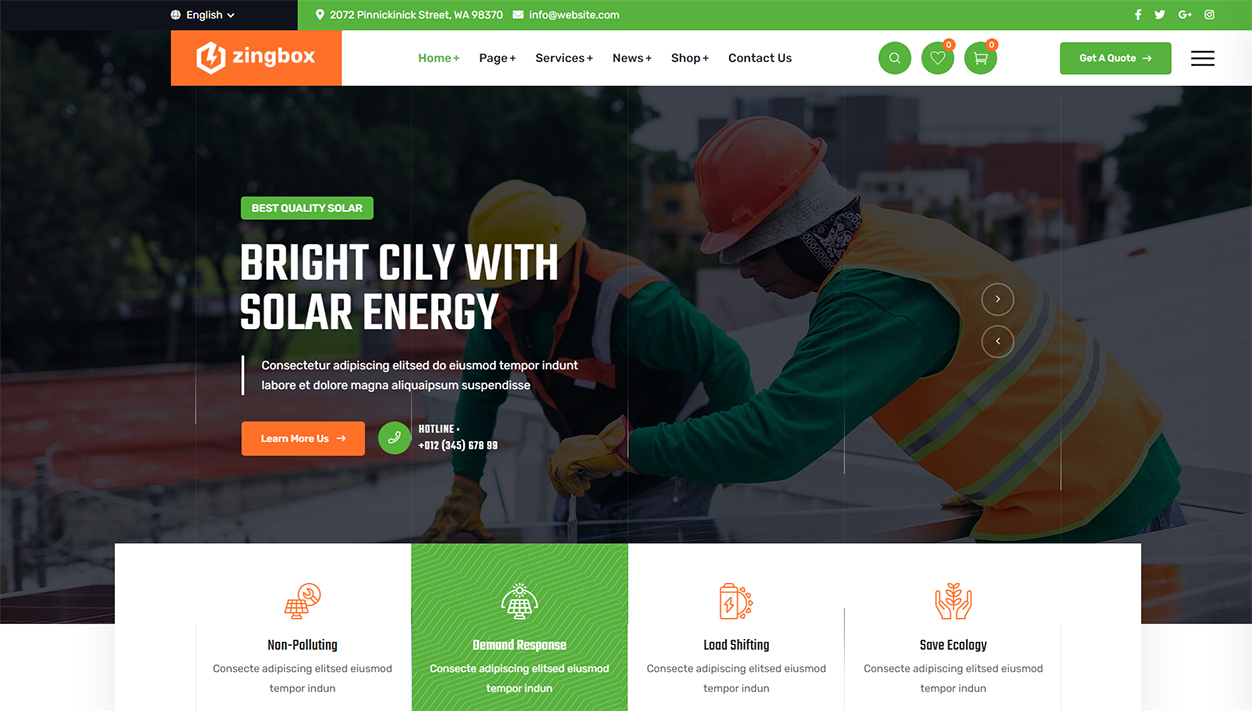
In all of our homes, there are differences and different layouts for you to freely choose
Home 05
Home 06
Home 07
Home 08
We create Badges for the purpose of making products new, you can customize it as new products, best selling products and much more.
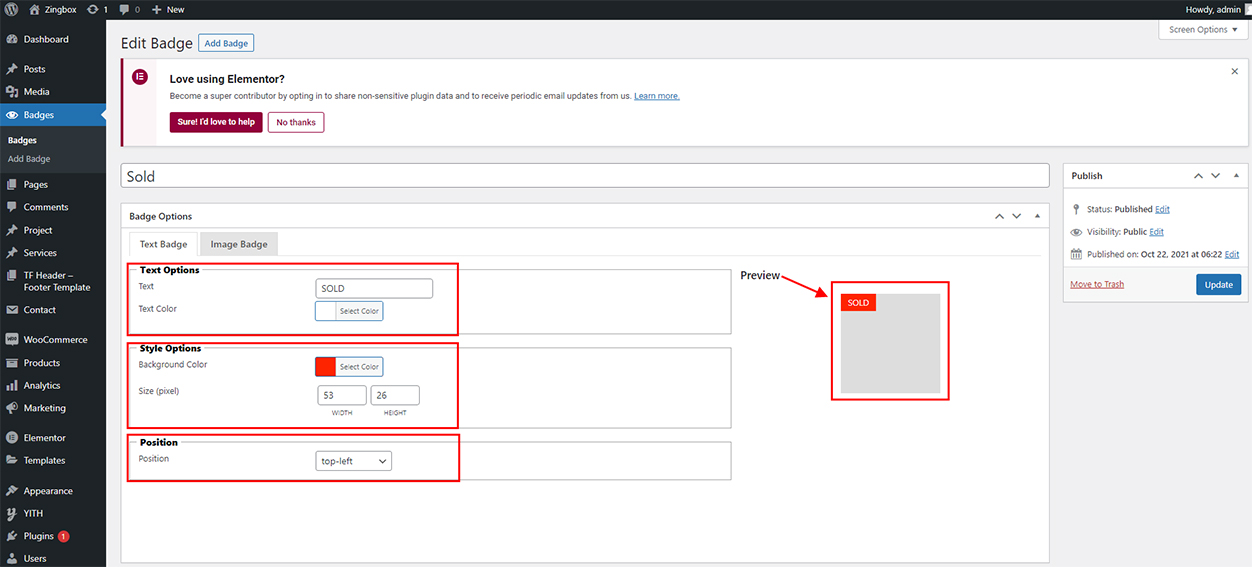
To change the Badges, please navigate to Dashboard > Badges , Select the Badges you want to change and then click Edit
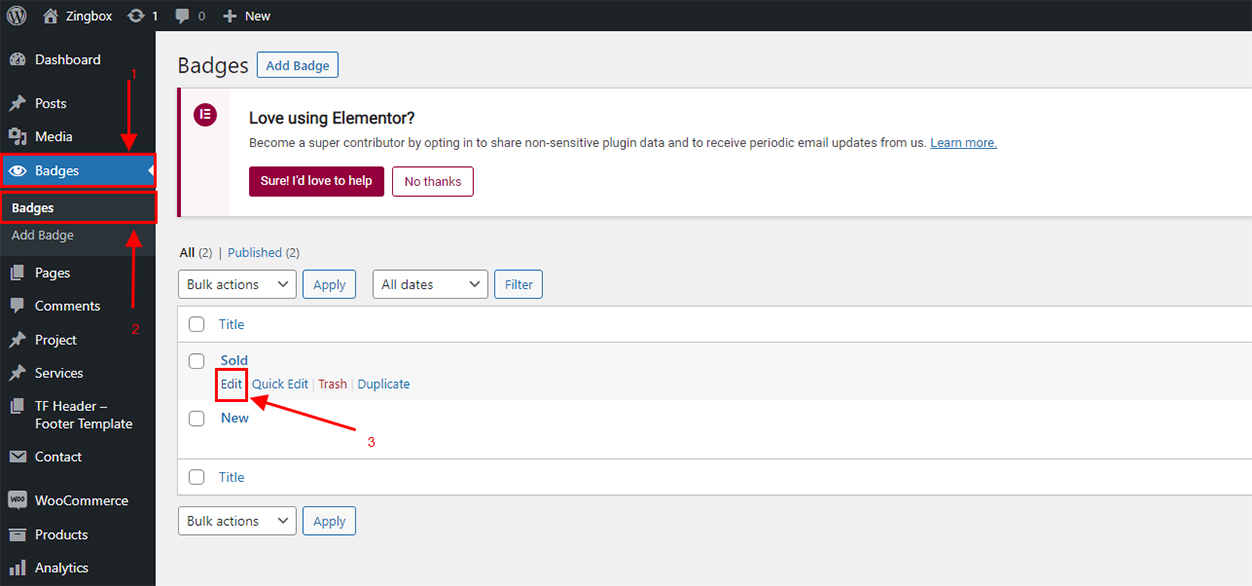
You can edit Text Options, Style Options and Position
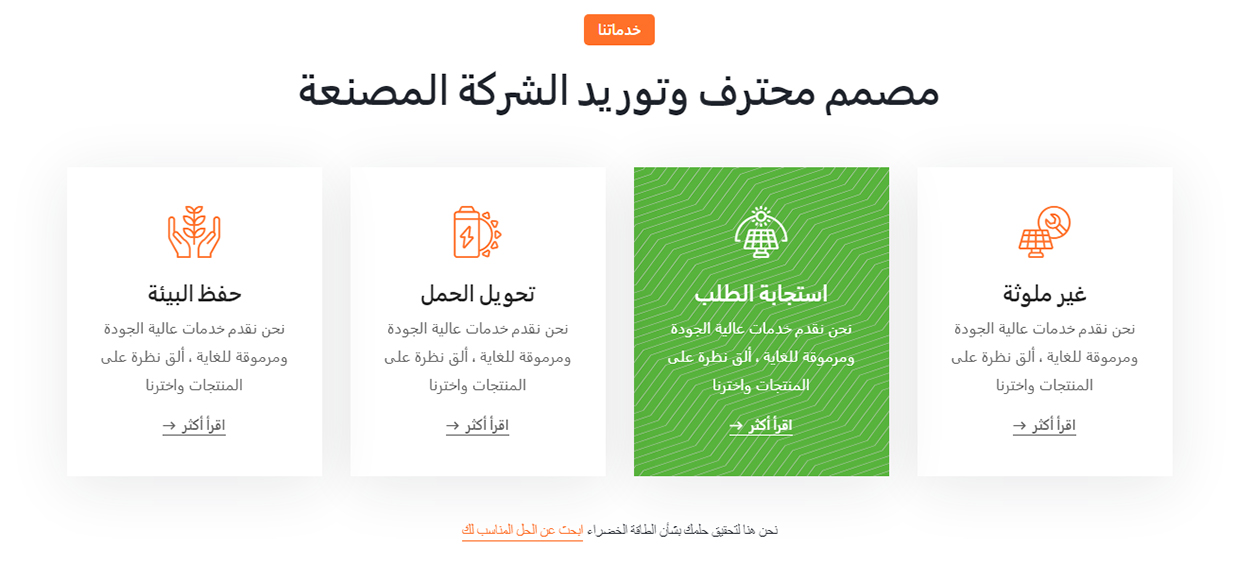
With this version 1.0.2, you can change the language to Arabic, enter the content, it will support the content displayed from right to left.
To change the Badges, please navigate to Dashboard > Settings > General > Site Language , Select Arabic language and save
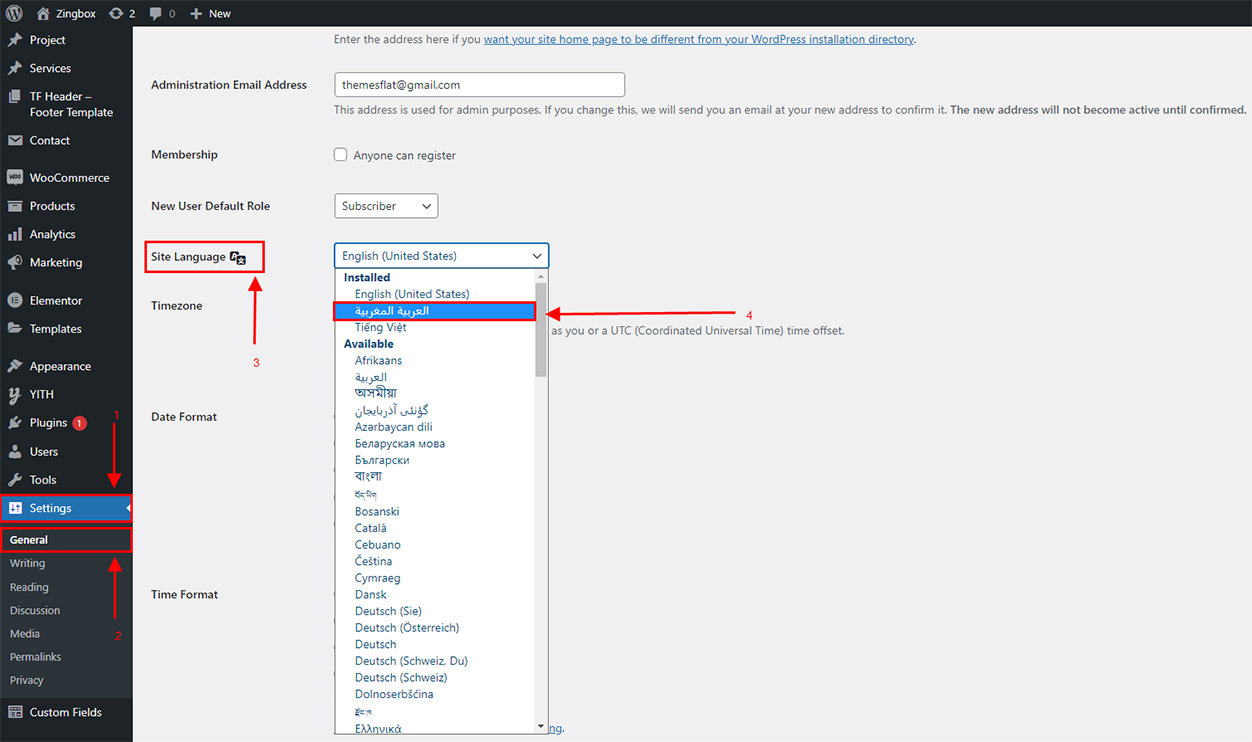
Here is the result, it's amazing
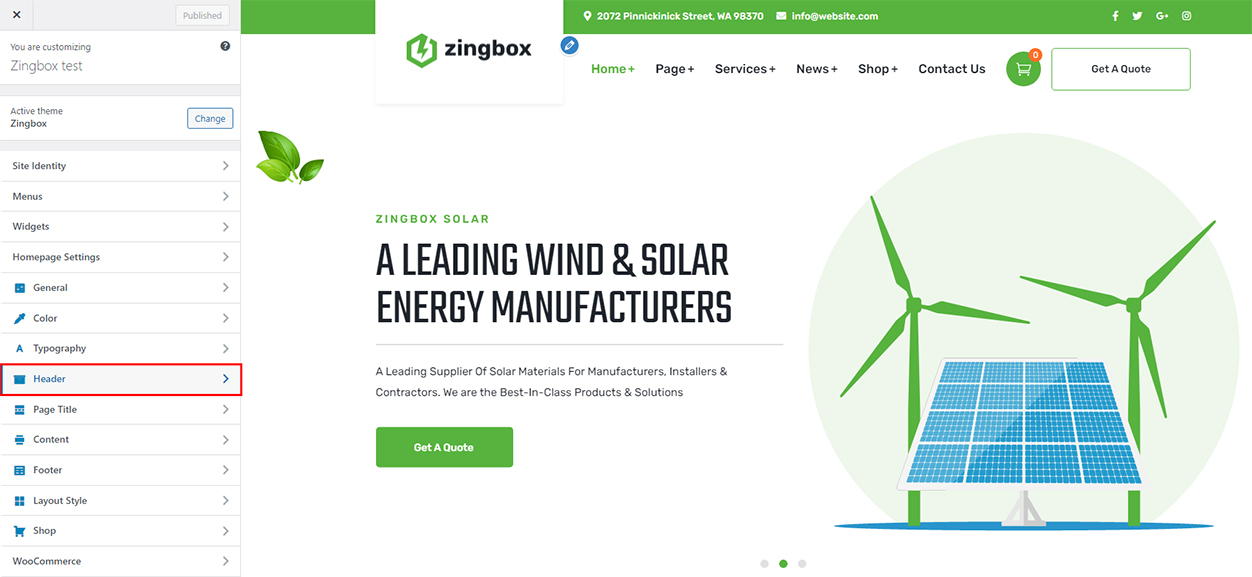
Header
To setup header layout, please navigate to Dashboard > Appearance > Customize > Header section and choose one of available layouts. You can setup some other options we listed below:
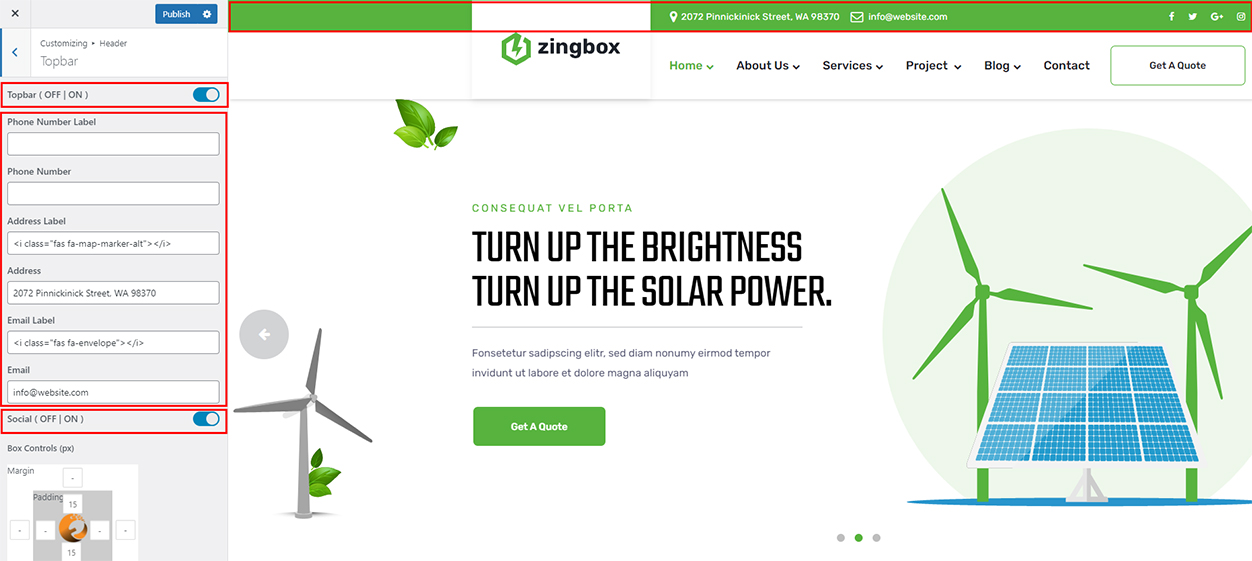
- Topbar
-
Topbar: Enabled Topbar or not
-
Top Bar Text: Information displayed on the top bar
-
Socials: Enabled Socials or not
-
- Custom Logo
-
Use Logo Image: When this option was turned on, the logo on header will be use as a custom image instead of your site name
-
Logo: Drag or select your new logo here
-
Logo Margin: Input the top/bottom margin for logo

-
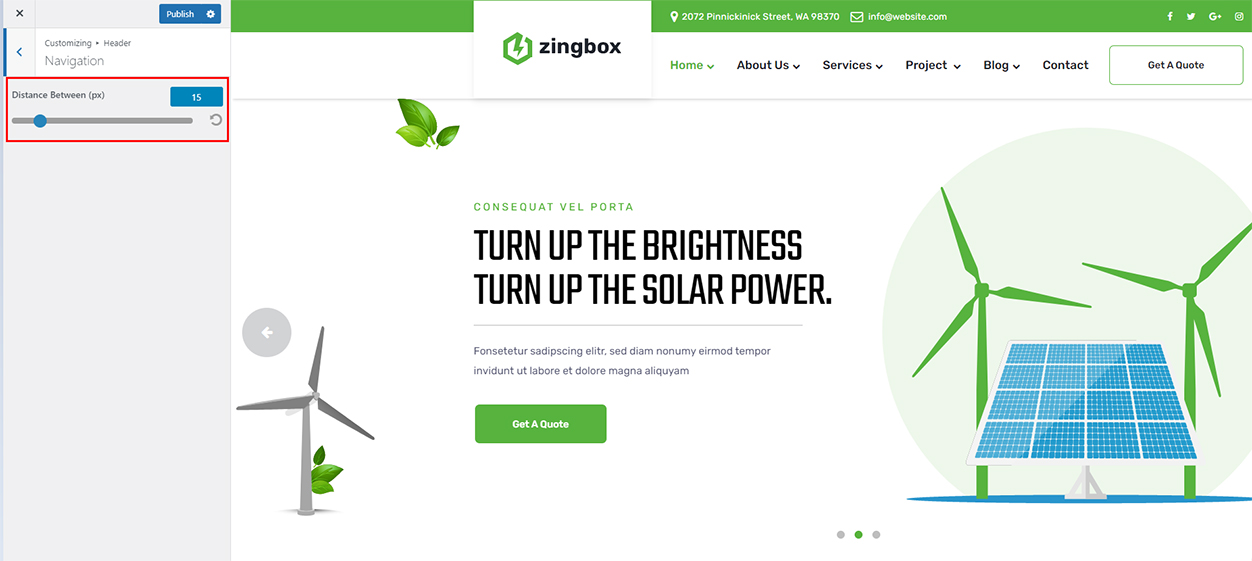
- Custom Navigation
-
Distance Between: Adjust Distance Between
-
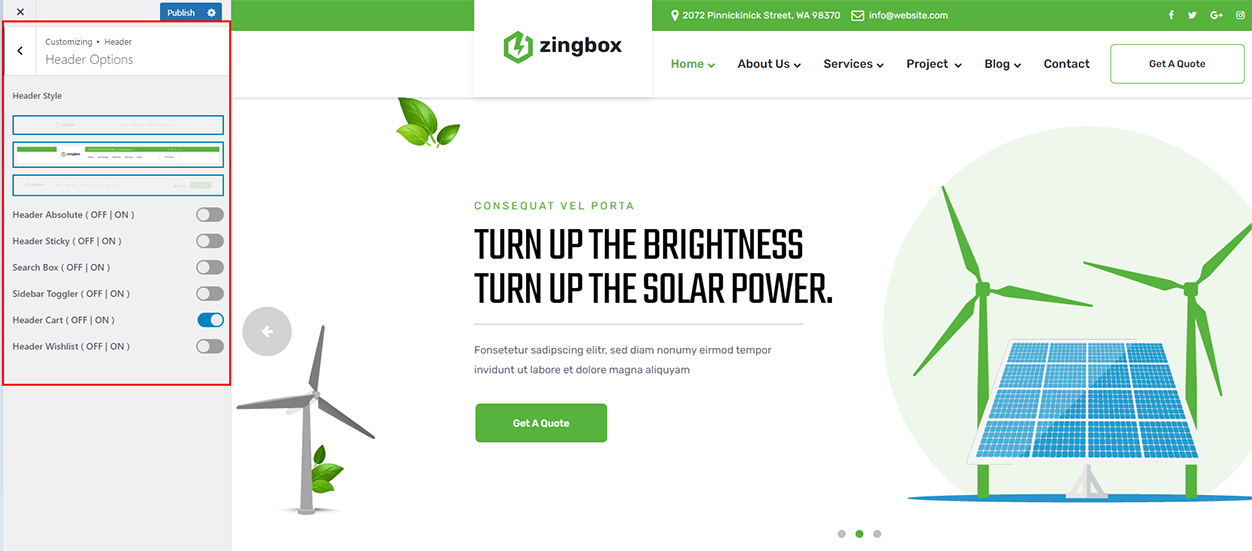
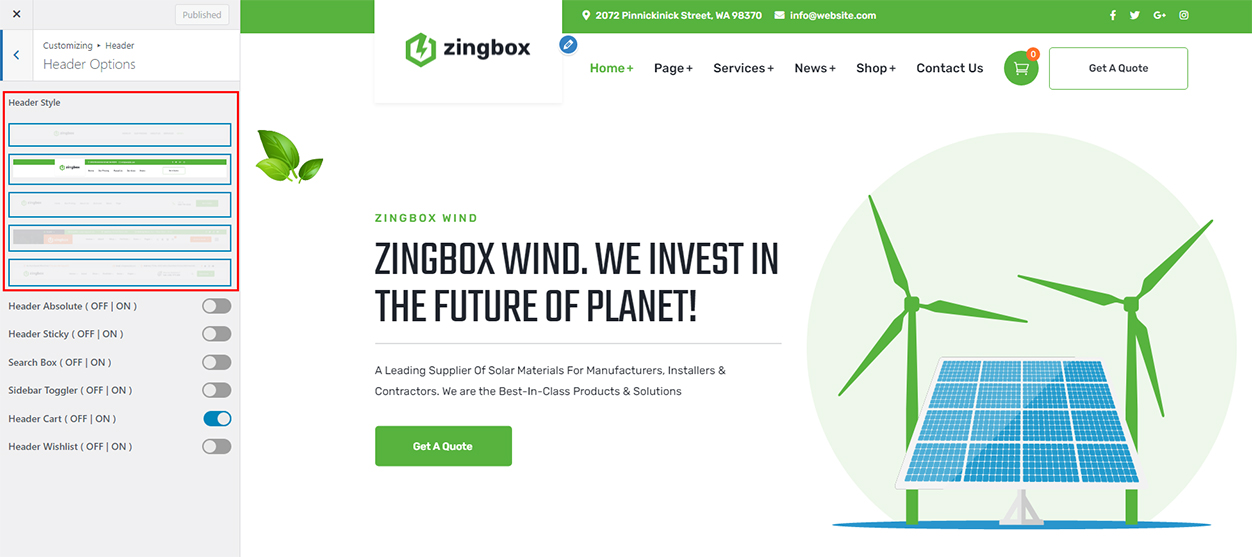
- Custom Header Options
-
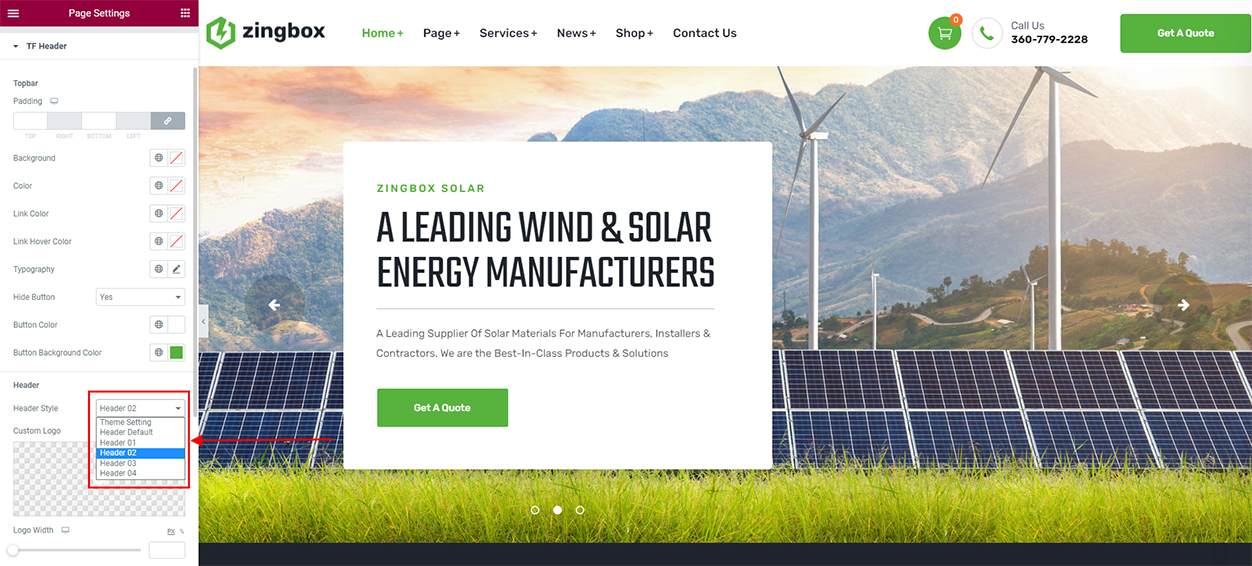
Header Style: There are 3 header styles to choose from
-
Header Absolute: Enabled Header Absolute or not
-
Header Sticky: Enabled Header Sticky or not
-
Search Box: Enabled Search Box or not
-
Sidebar Toggler: Enabled Sidebar Toggler or not
-
Header Cart: Enabled Header Cart or not
-
Header Wishlist: Enabled Header Wishlist or not
-
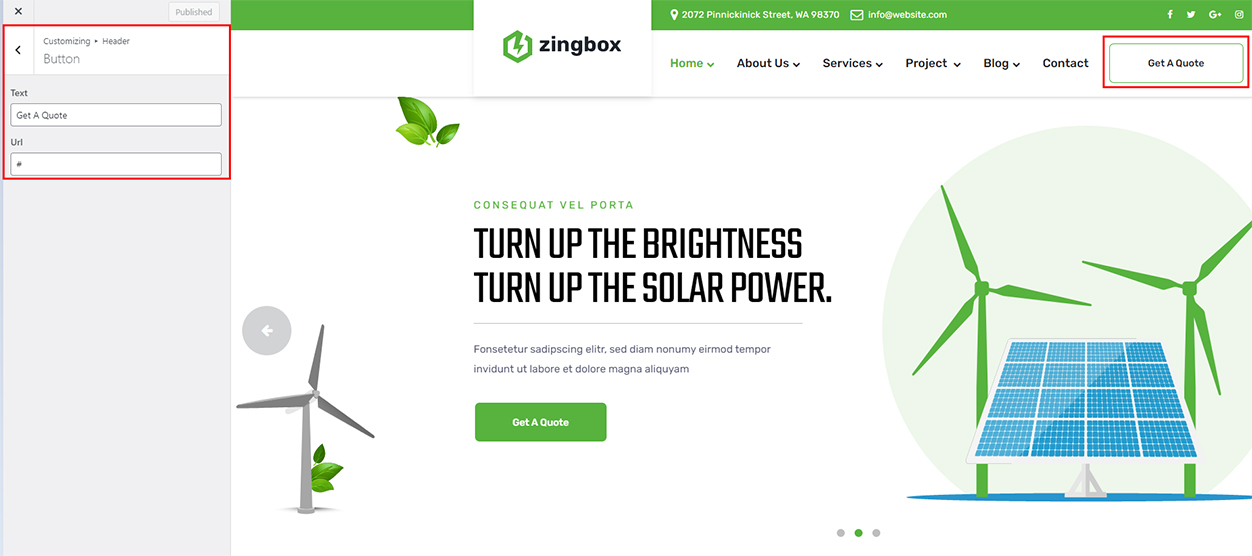
- Custom Button
-
Text: Content displayed in button
-
Url: Button's redirect link
-
- Info
-
Text: Content displayed in button
-
Phone Number: Enter phone number

-
- How to change Header
To set headers for all pages, please navigate to Dashboard > Appearance > Customiza
Choose Header
Choose Header Options
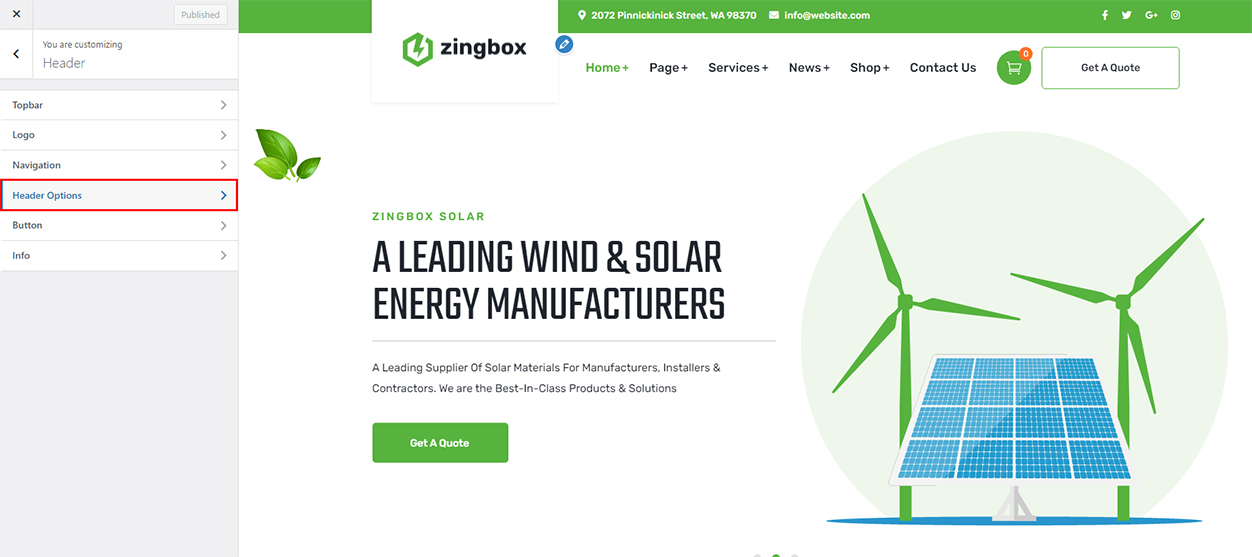
Choose the type of header you want
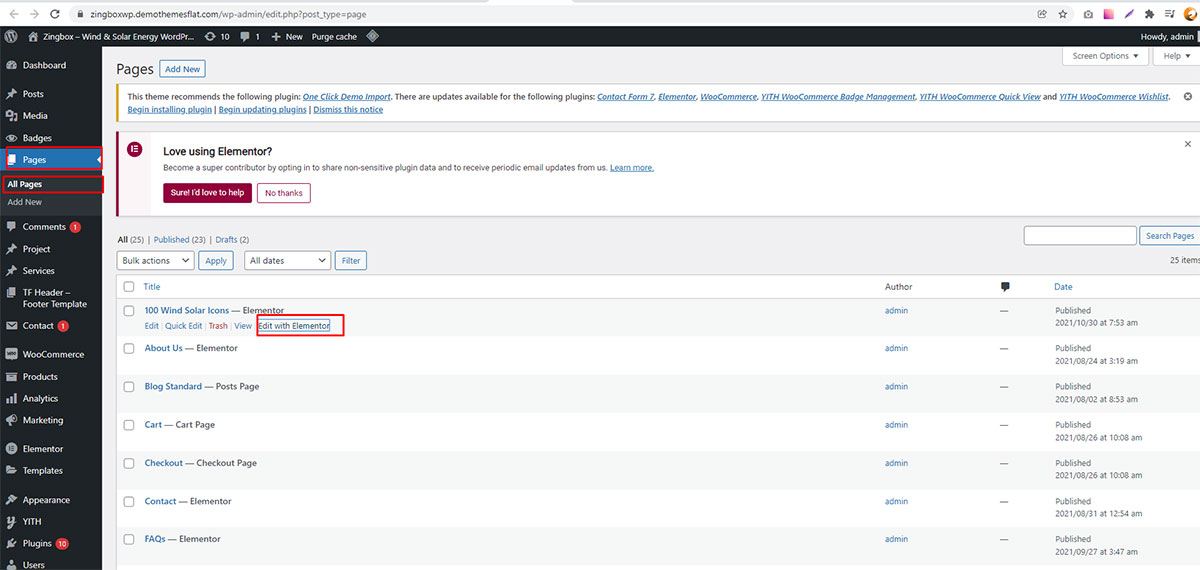
To set the header for each specific page, please navigate to Dashboard > Pages > All Page, Select the page you want to change the Header and then click Edit with Elementor
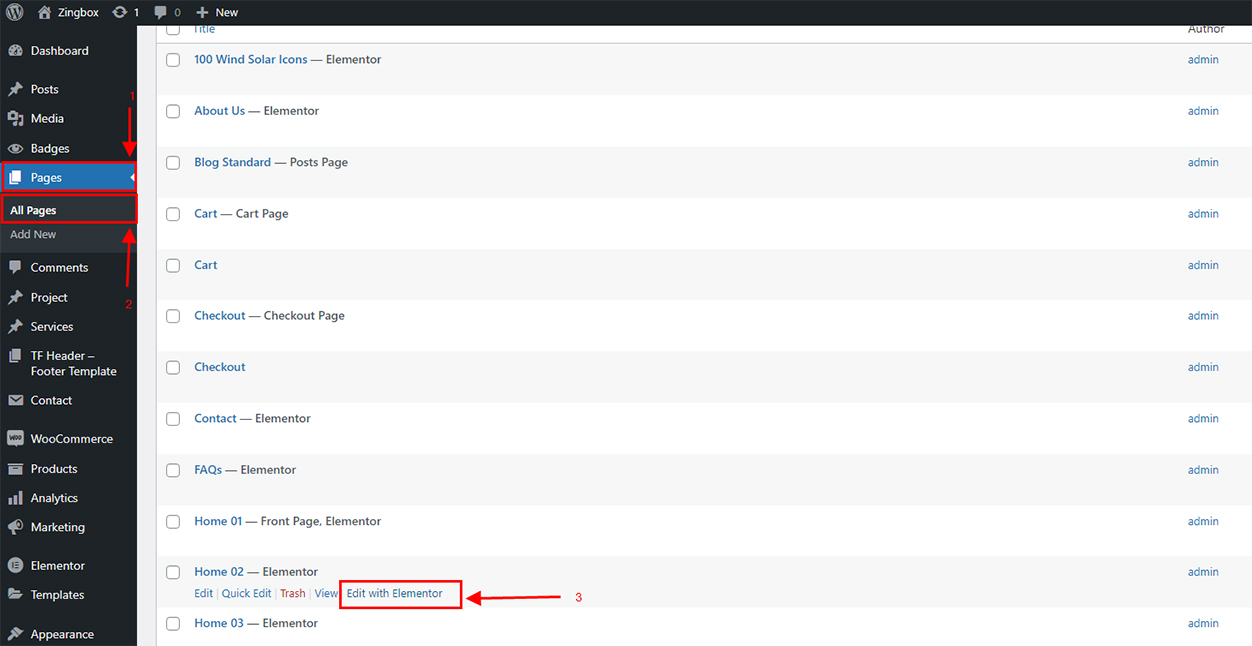
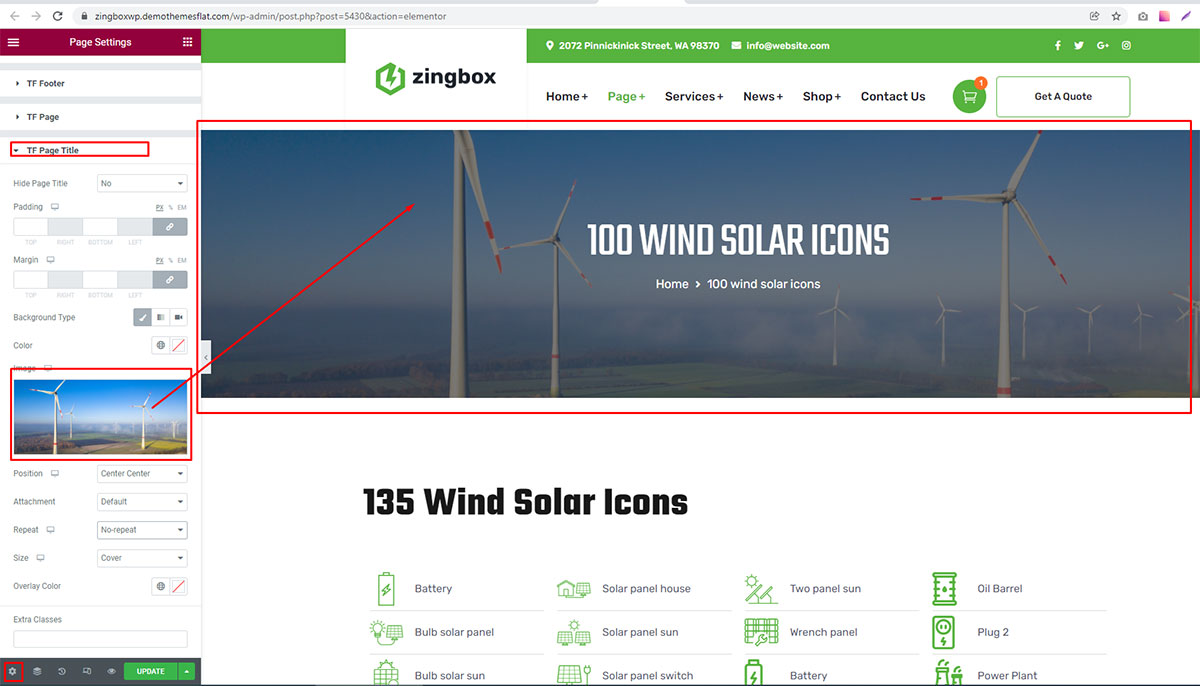
Click on the settings icon > TF Header
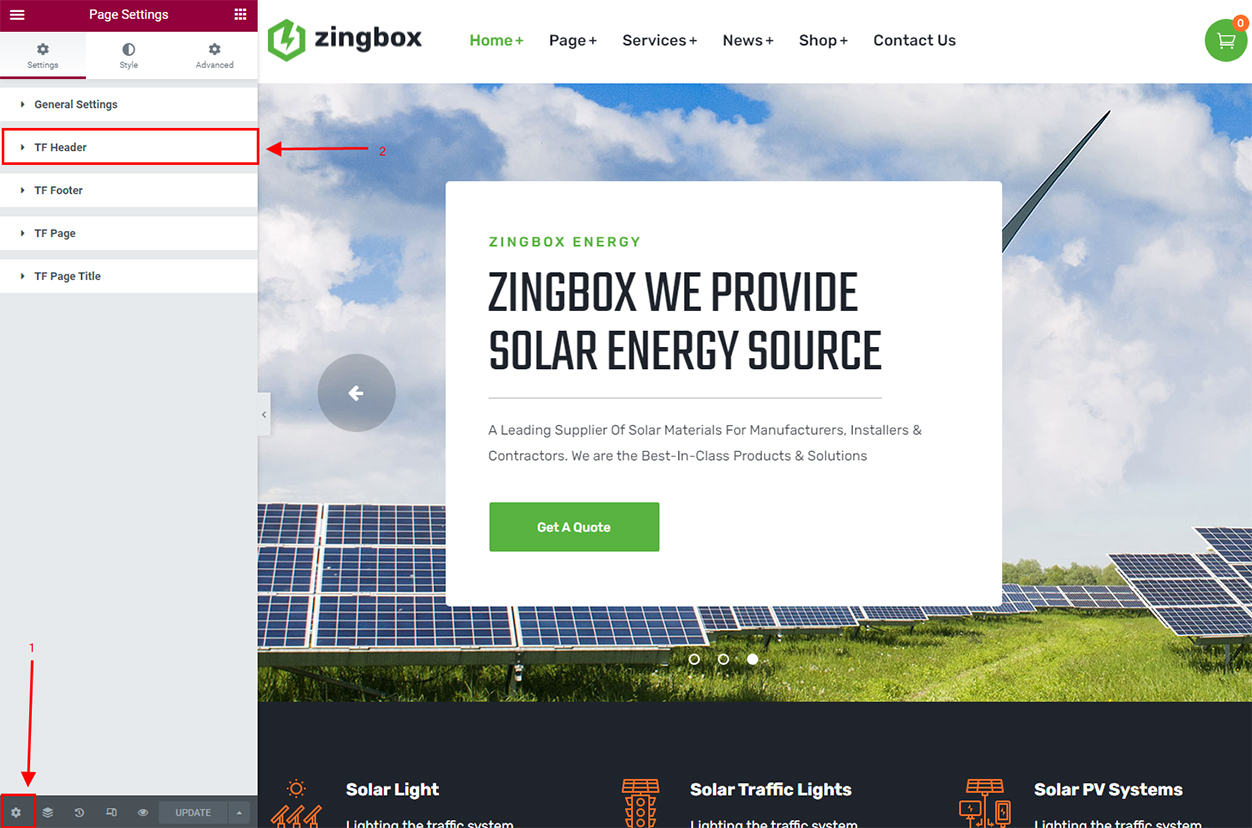
In the Header Style section, you can choose the header style, then click UPDATE to save the process you just made
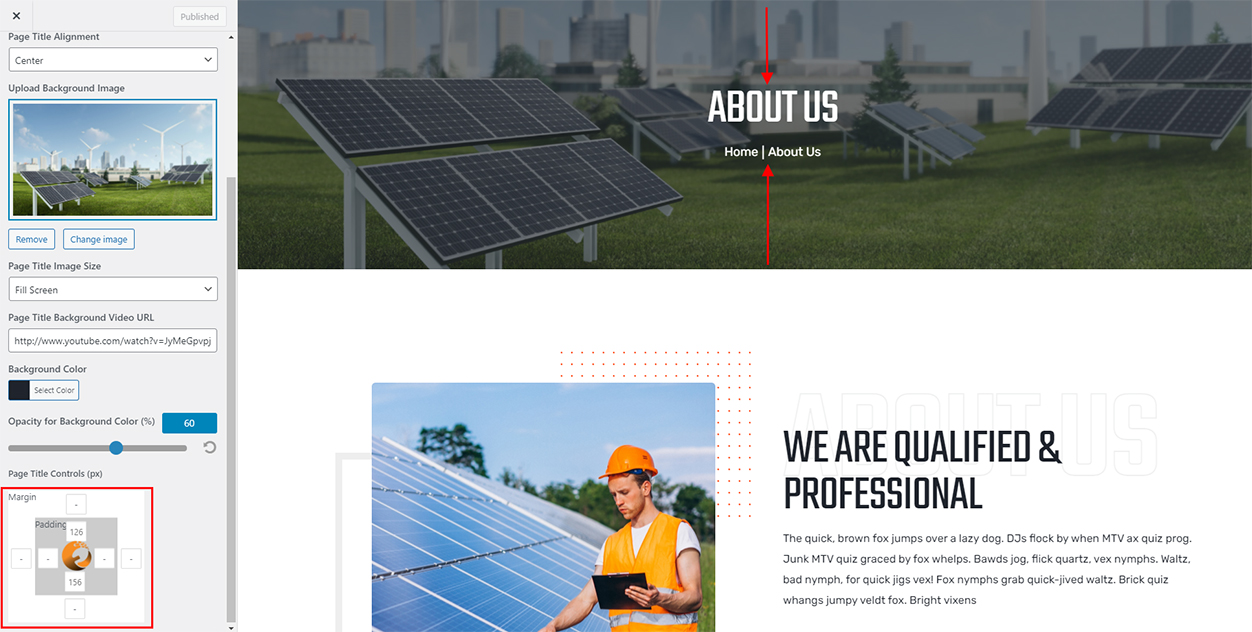
Page Title
Setting Page Title for your website such as Background Image with Overlay Color, Padding Top/Bottom ...
- Page Title
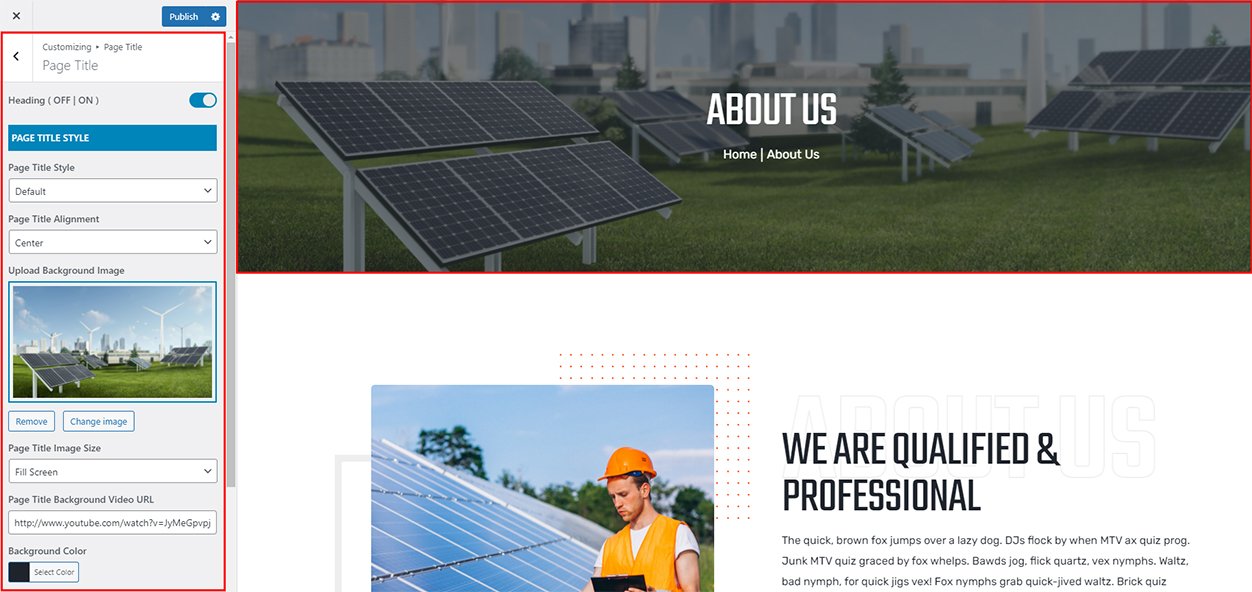
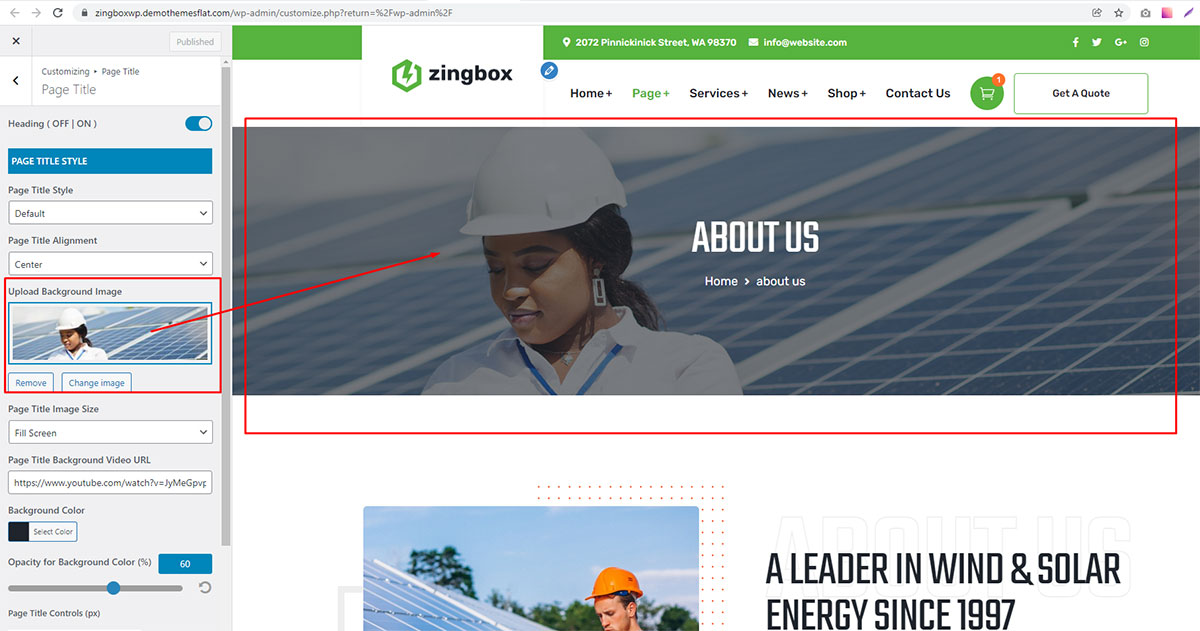
- How can we change the header image for the entire website:
- How can we change the header image for each page separately ( Update Junuary 25, 2022 )
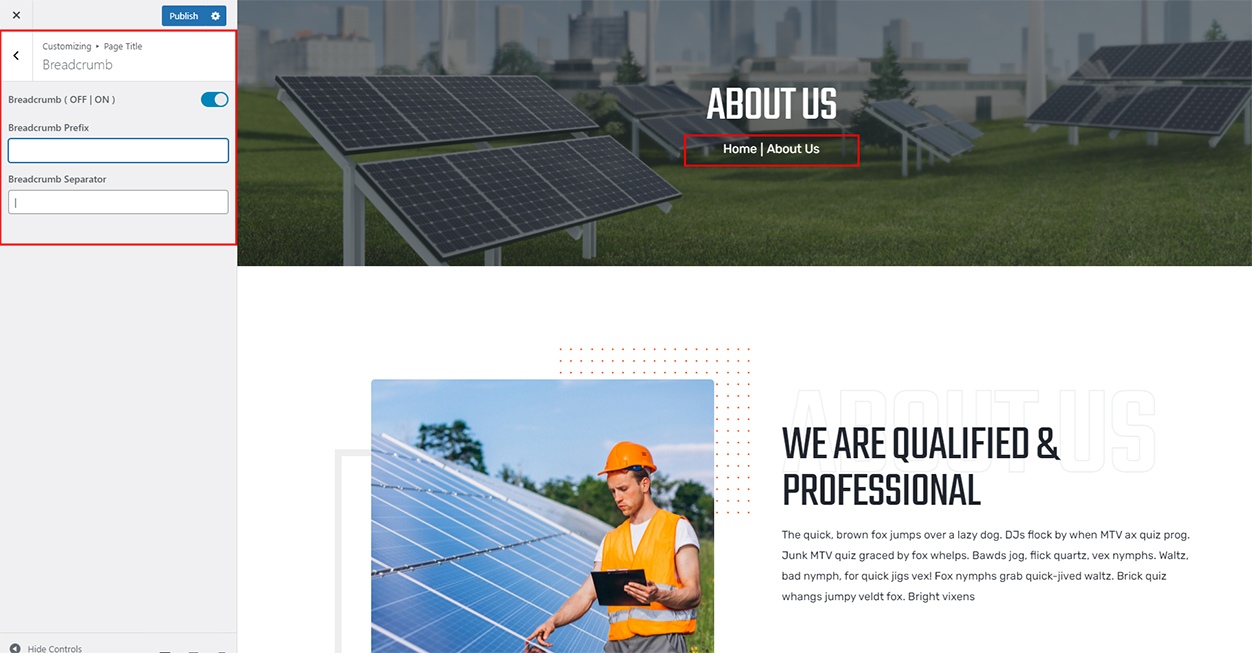
- Breadcrumb
-
Enable Breadcrumbs: Turn on/off to show/hide the breadcrumbs
-
Breadcrumb Prefix: Enter prefix text for the breadcrumb
-
Breadcrumb Separator: Enter the character you want to use as the separator of breadcrumb
-
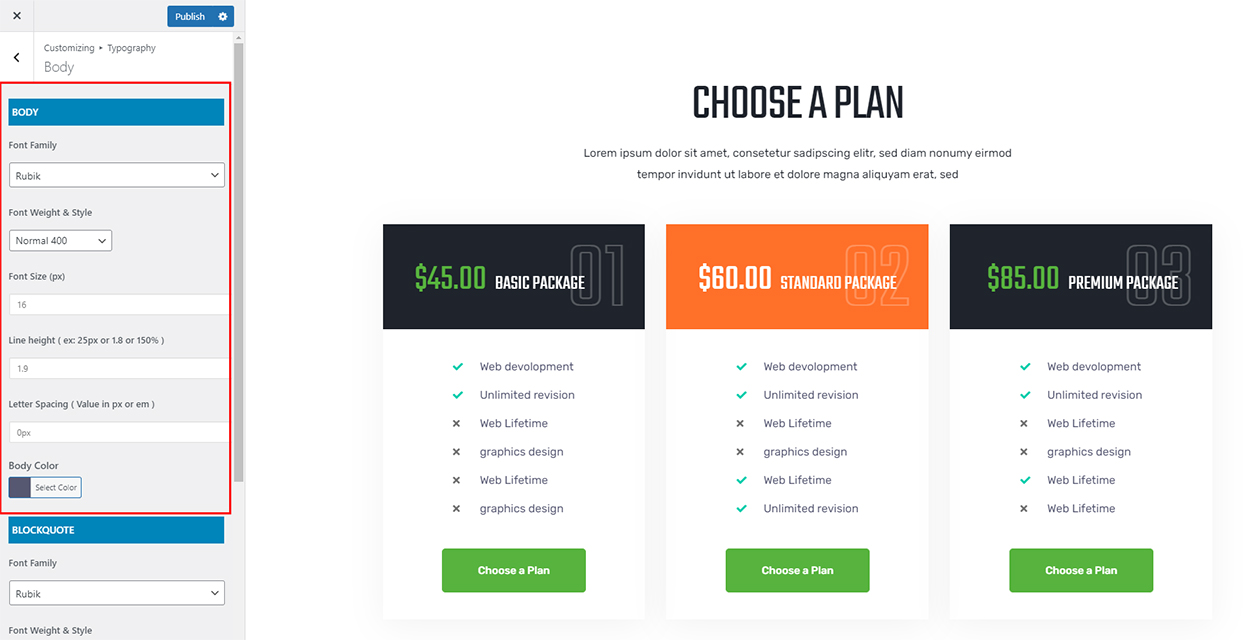
Typography
- Body Font: You can select Font family, Font size Font weight or Font color for the body text
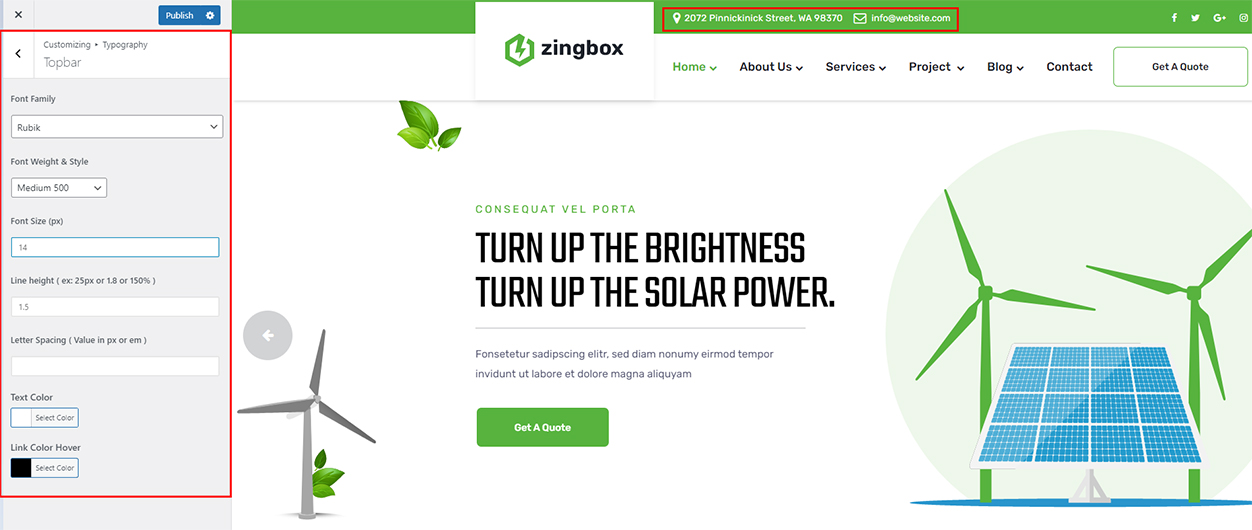
- Topbar Font: You can select Font family, Font size Font weight or Font color for the topbar text
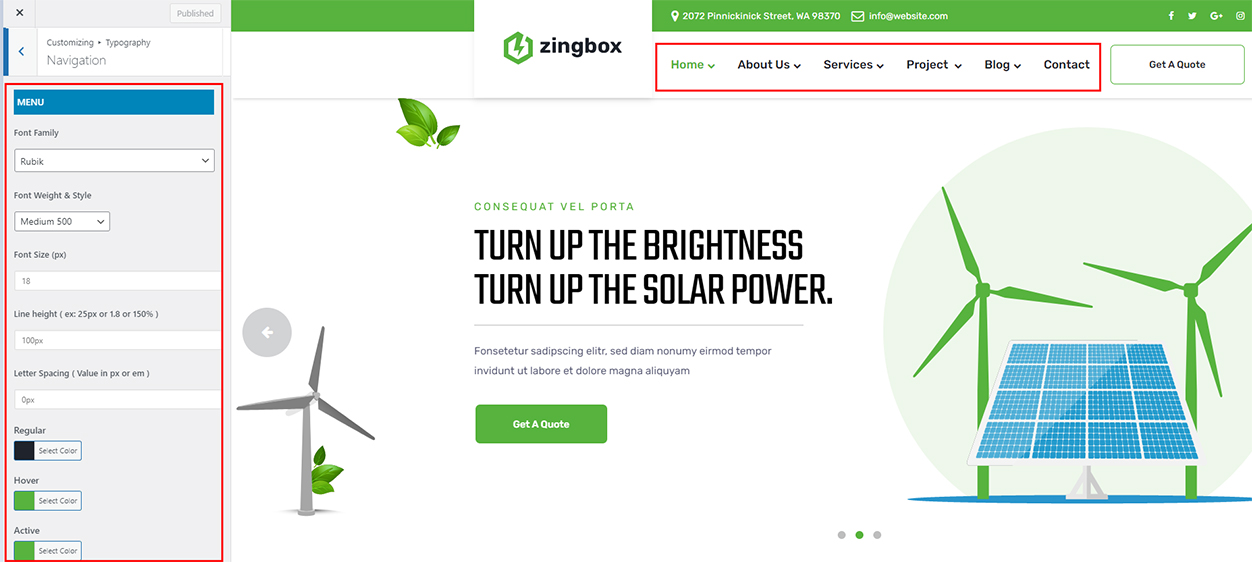
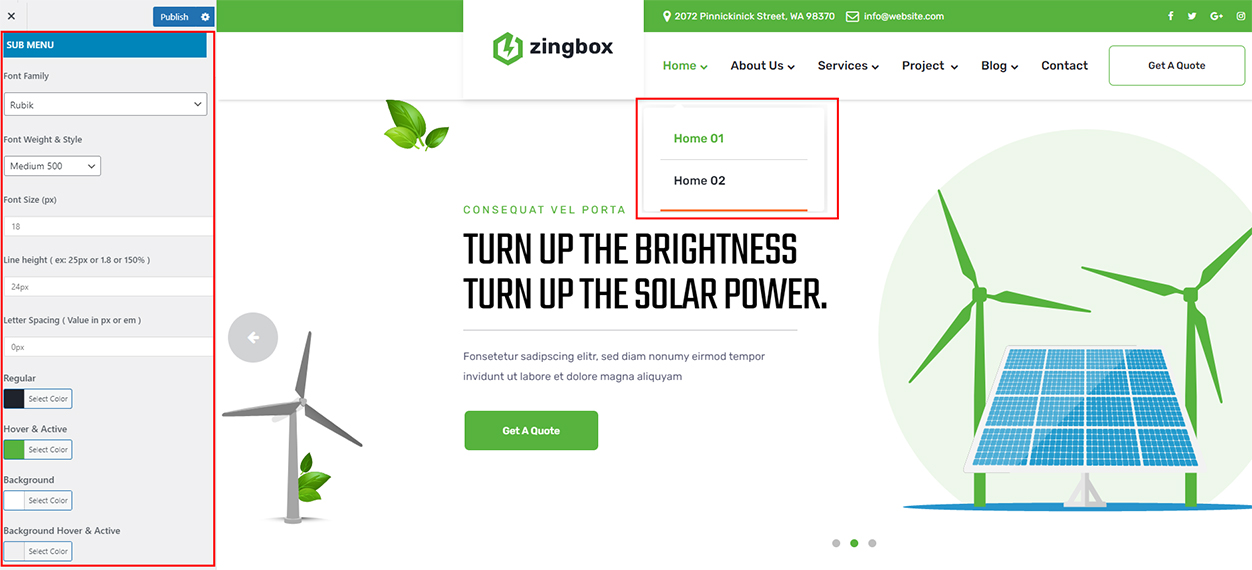
- Menu Font: You can select Font family, Font size Font weight or Font color for the menu text, submenu text
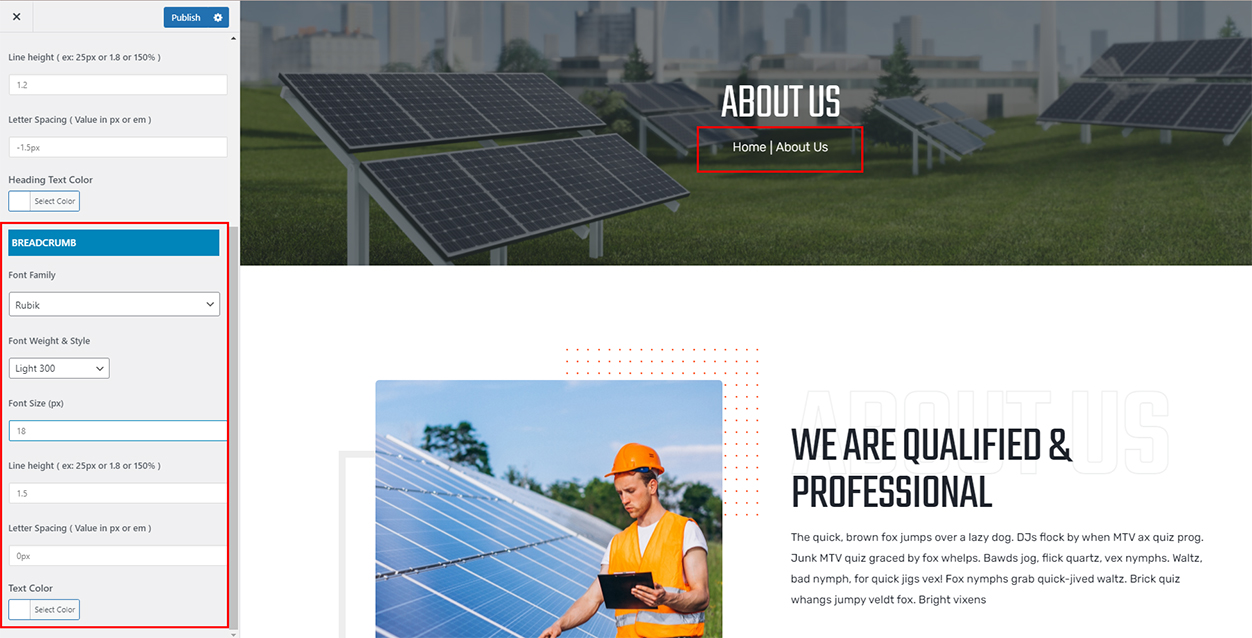
- Page Title Font: You can select Font family, Font size Font weight or Font color for the page title text, breadcrumb title text
Layout & Styles
In the section Layout & Styles, we provide some options to customize the theme layout and styles.
-
Scheme Color
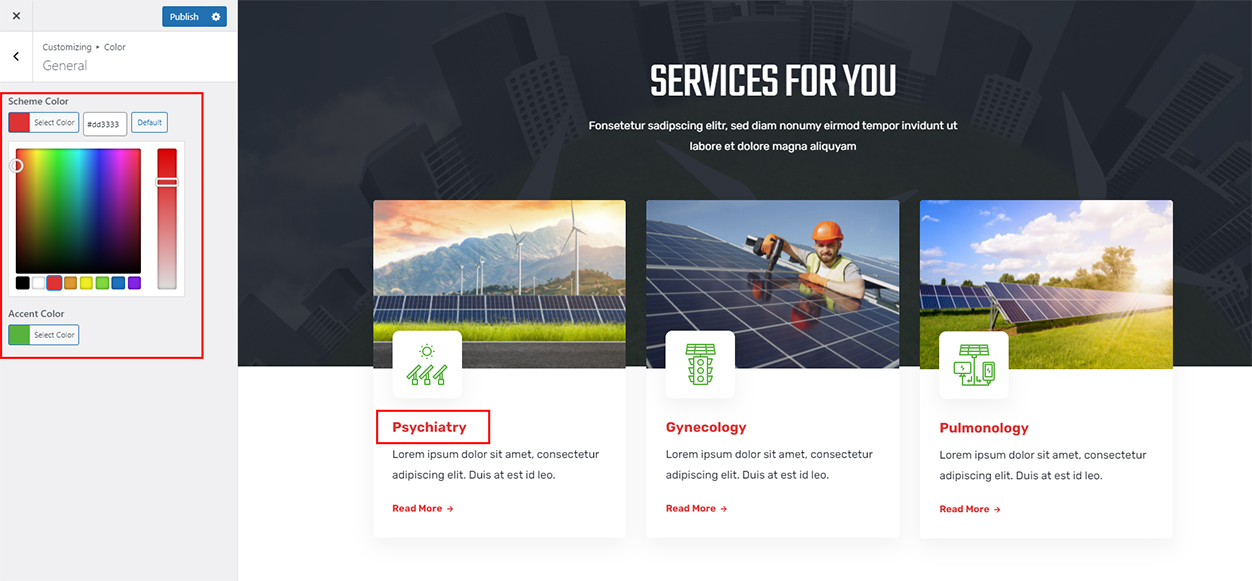
With this option, you can change unlimited color for your site
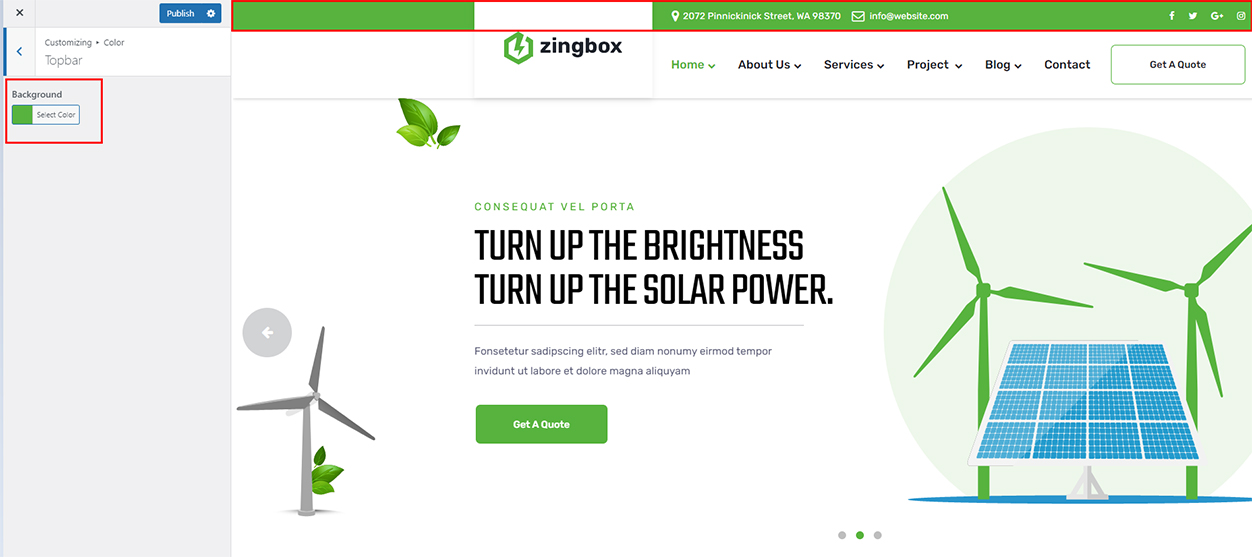
With this option, you can change unlimited color for your Top Menu
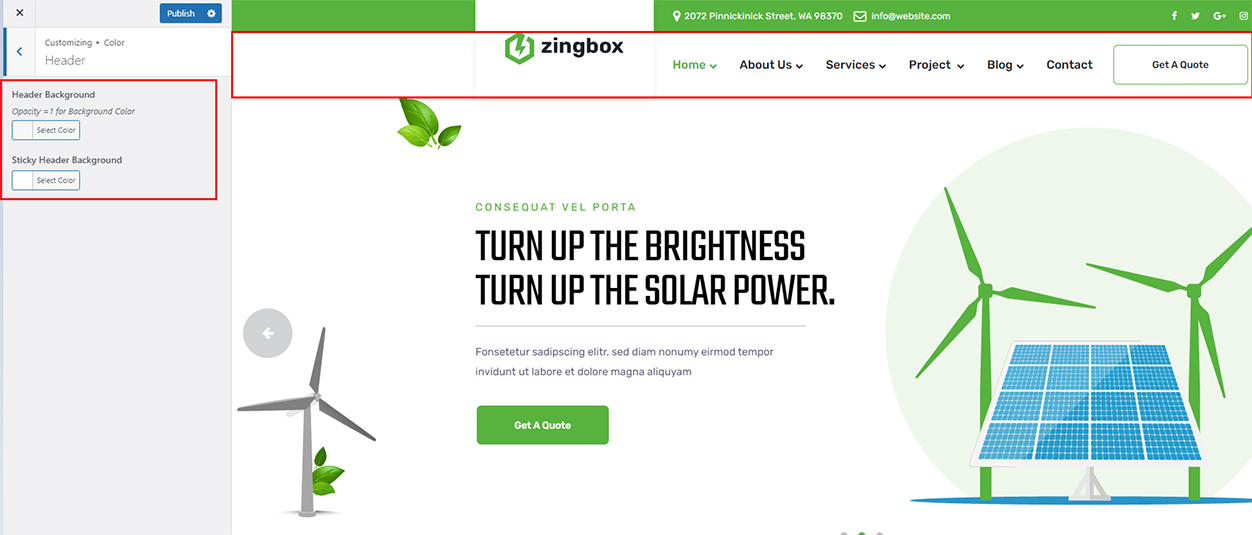
With this option, you can change unlimited color for your Header

With this option, you can change unlimited color for your footer
To start customizing Layout, in the Admin page please go to Dashboard > Appearance > Customize > Layout Style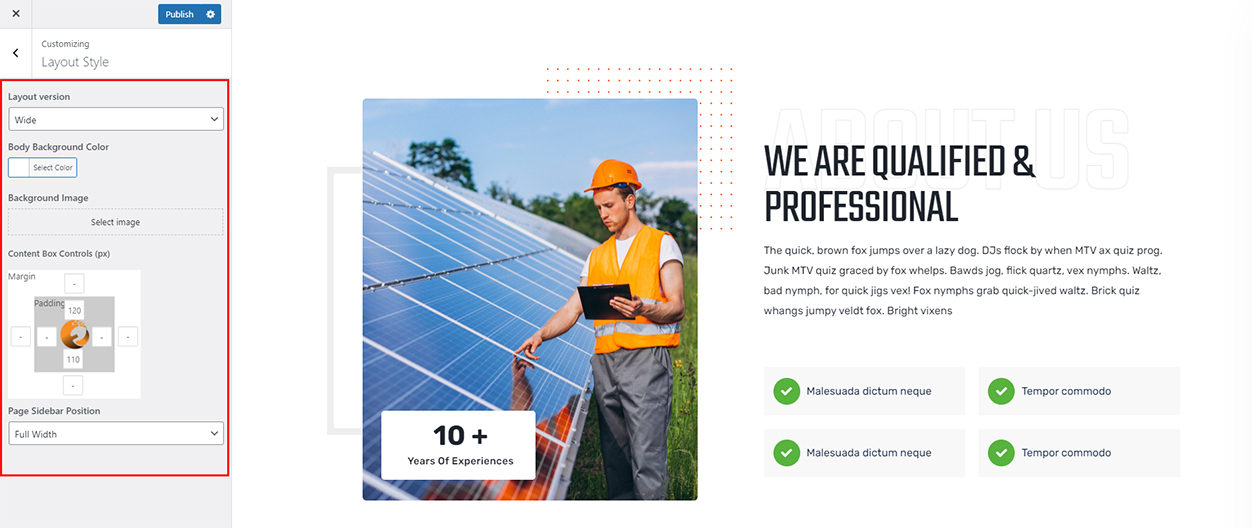
Footer
-
Footer Widgets
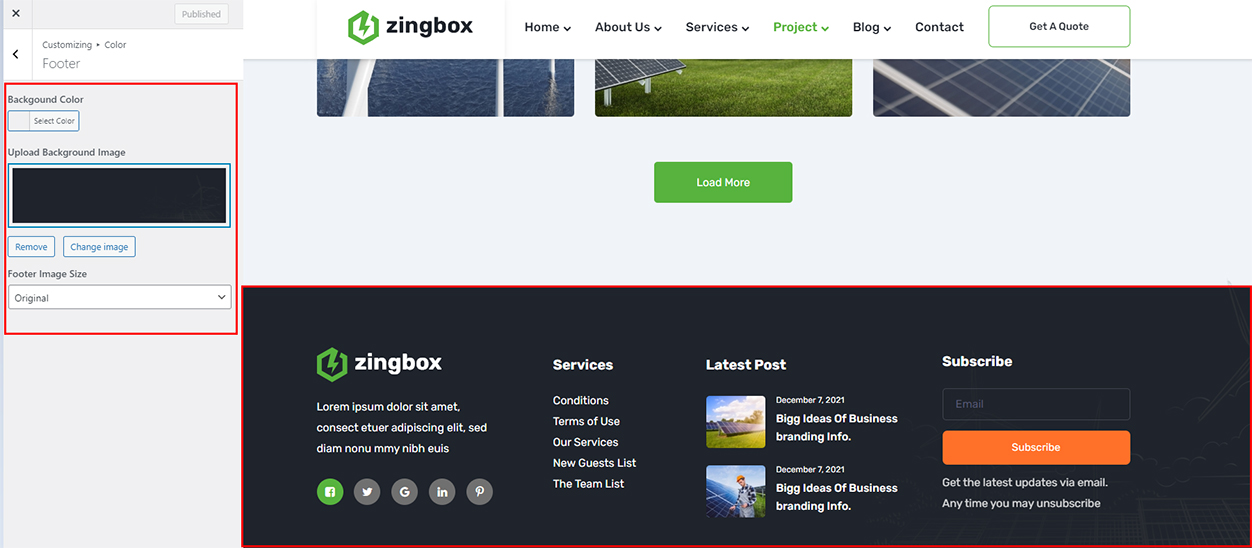
To start customizing Footer, in the Admin page please go to Dashboard > Appearance > Customize > Footer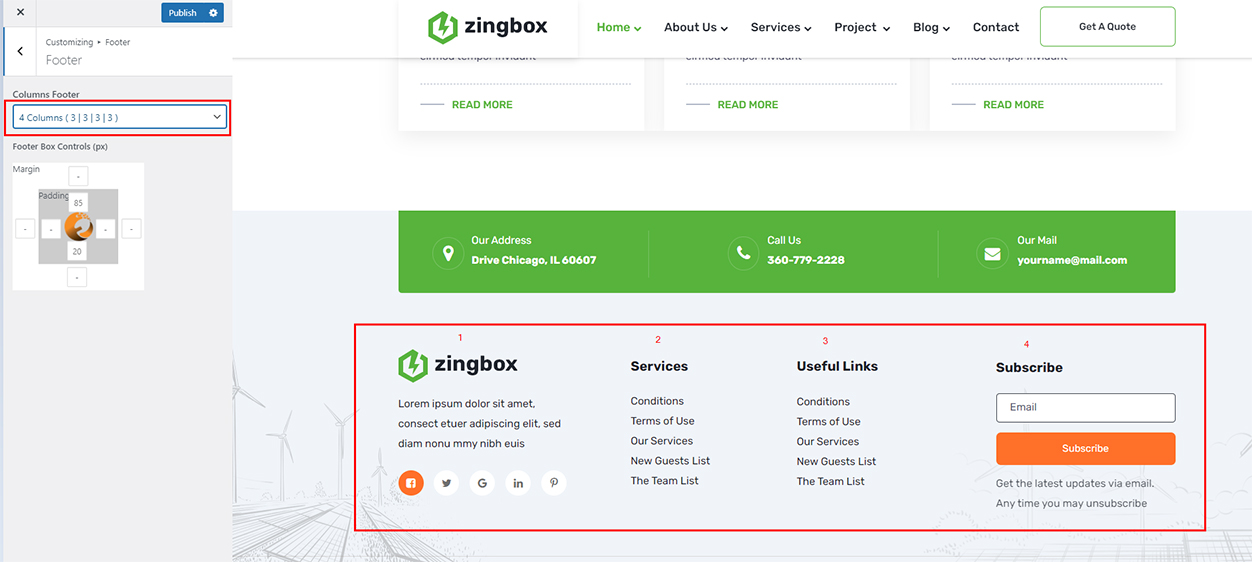
Widgets Layout Select stlye for footer default , 1, 2, 3, 4 columns
-
Custom Footer
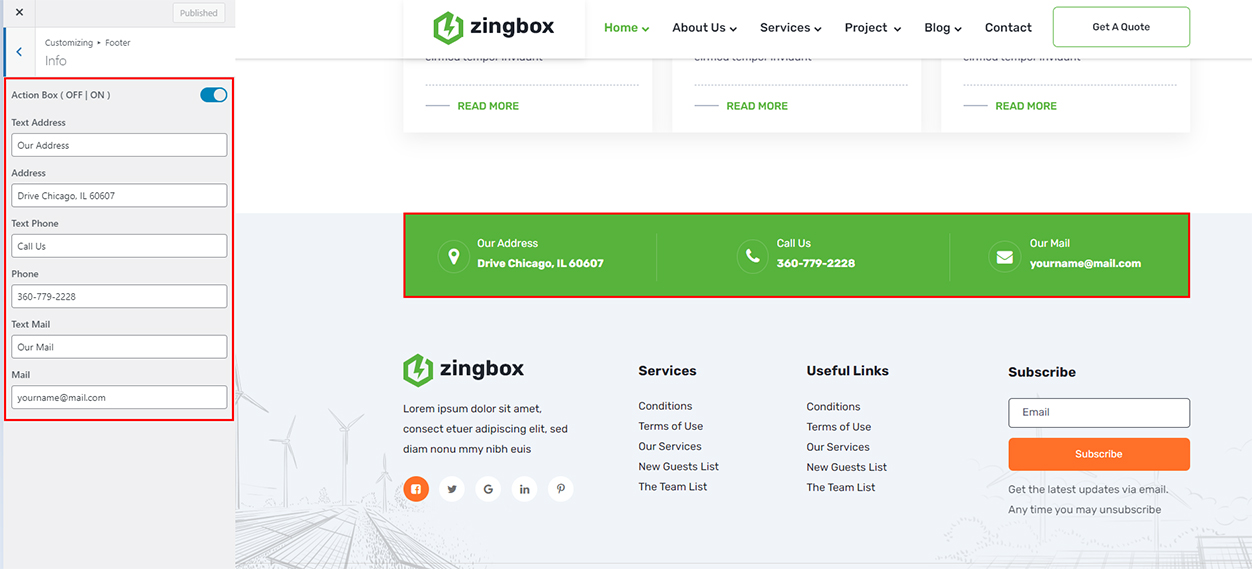
-
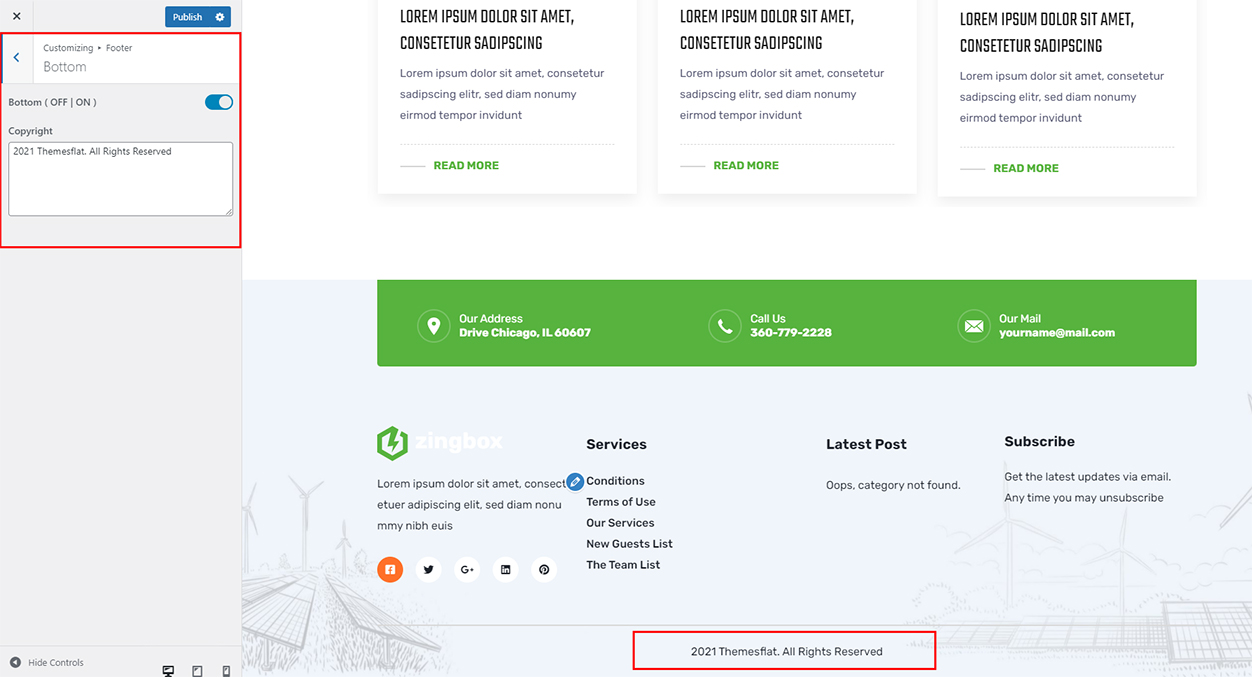
Here you can change the content displayed on the footer.
-
-
Copyright: Input information you want to display on footer copyright area
-
How to change Footer
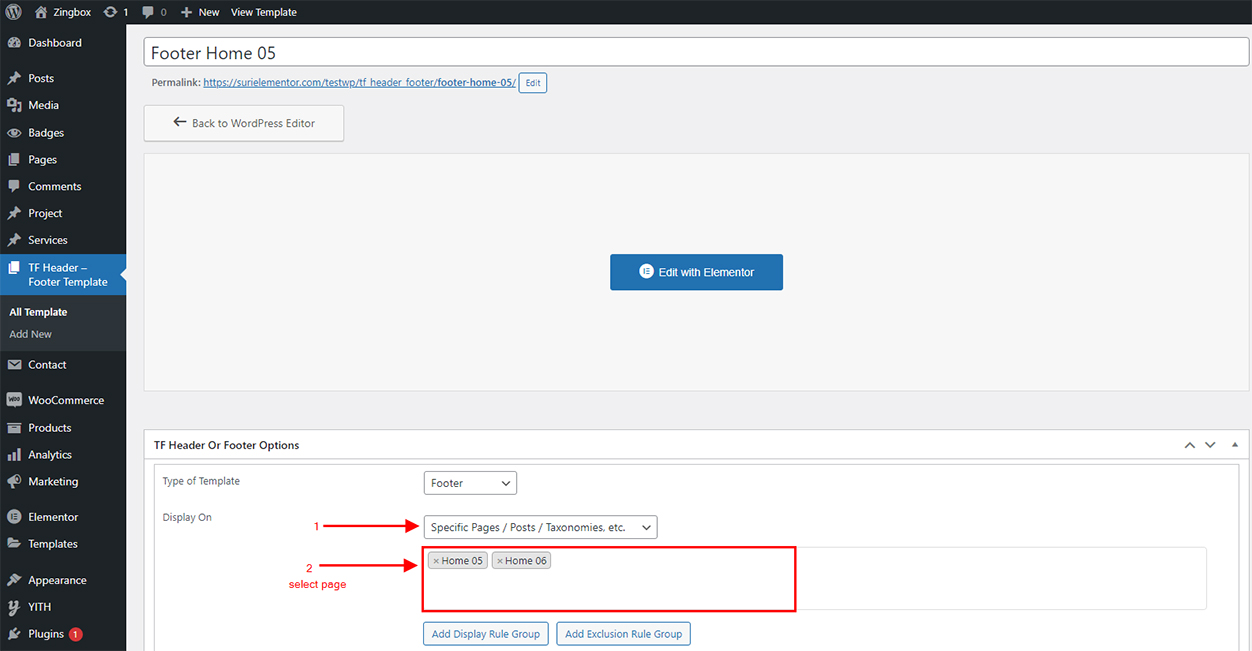
To change the Footer, please navigate to Dashboard > TF Header - Footer Template , Select the page you want to change the Feader and then click Edit
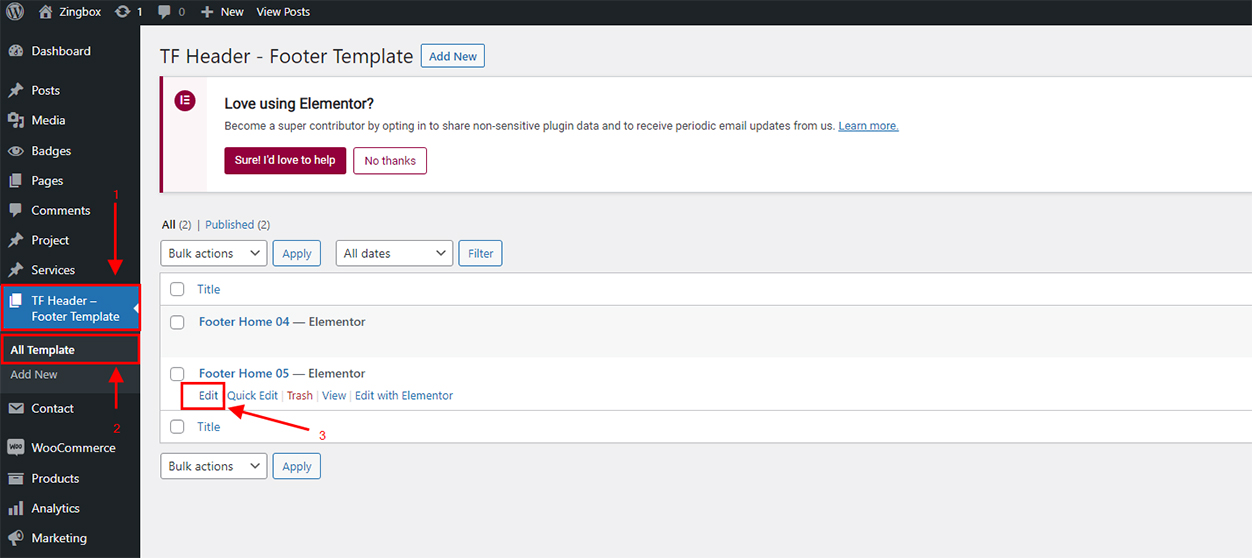
Type the name of the page you want to attach that Footer to in the box below
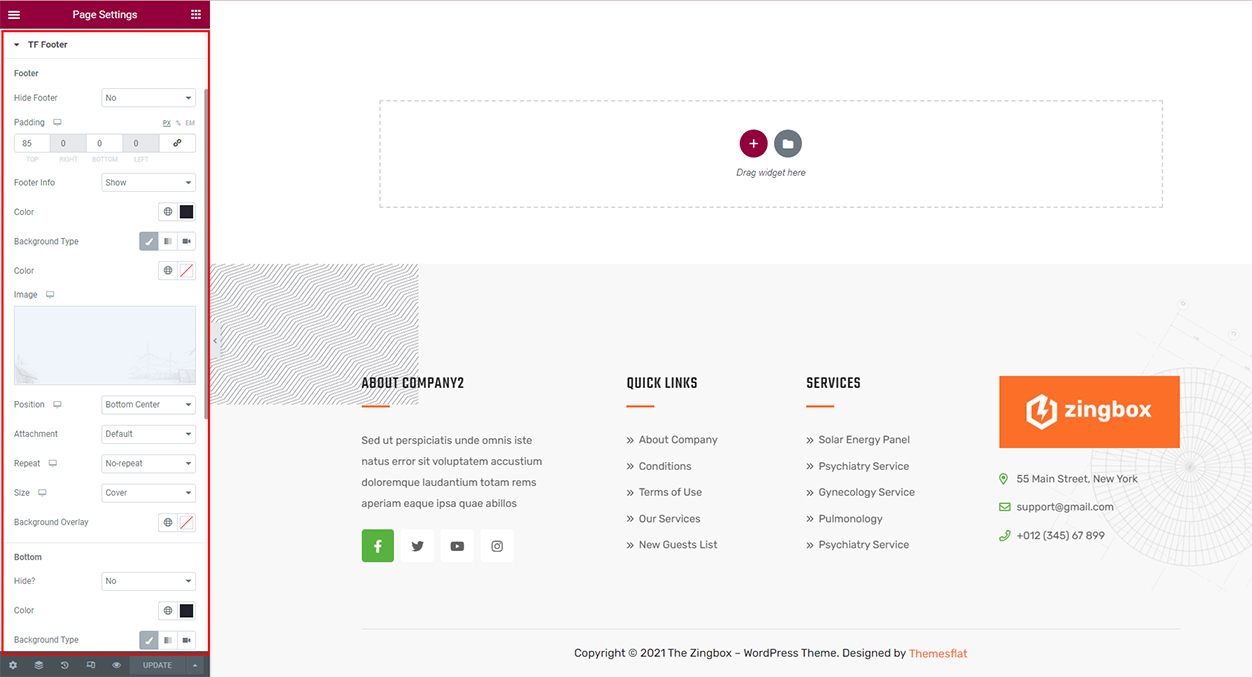
You can customize the Footer content and color by going to TF Heater - Footer Template > All Template, selecting the Footer to edit and clicking Edit with Elementor
NOTE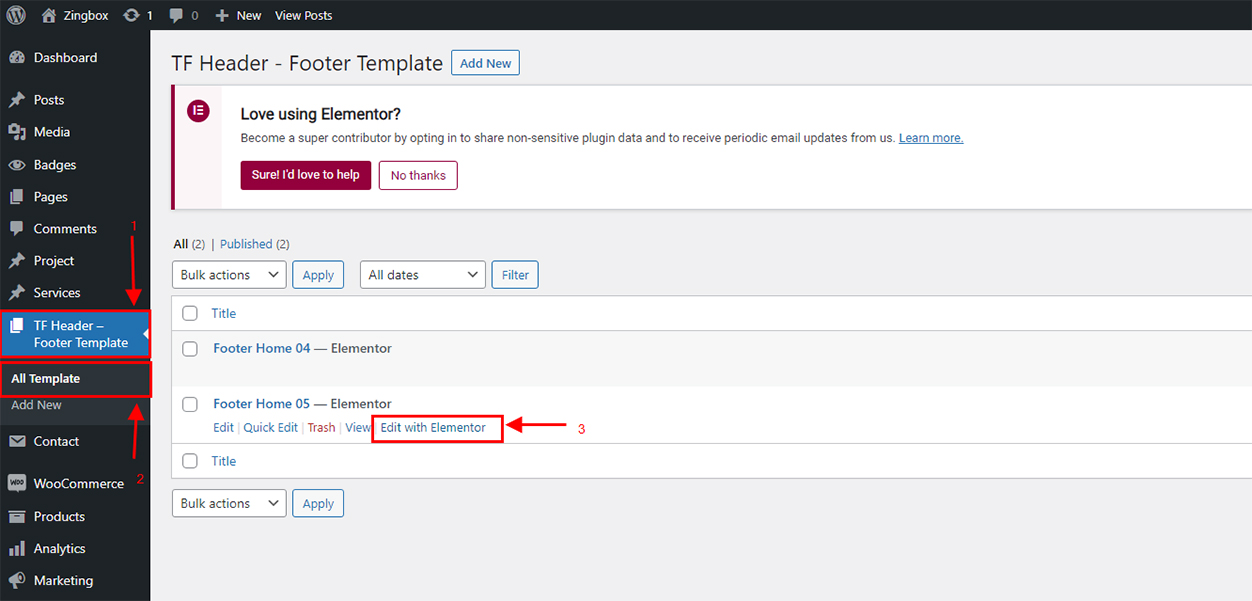
We also have default footer which is applying to home 01, home 02, home 03, you can customize it by go to Dashboard > Appearance > Widget, find and edit the content at Footer Widgets Area 1, 2, 3, 4
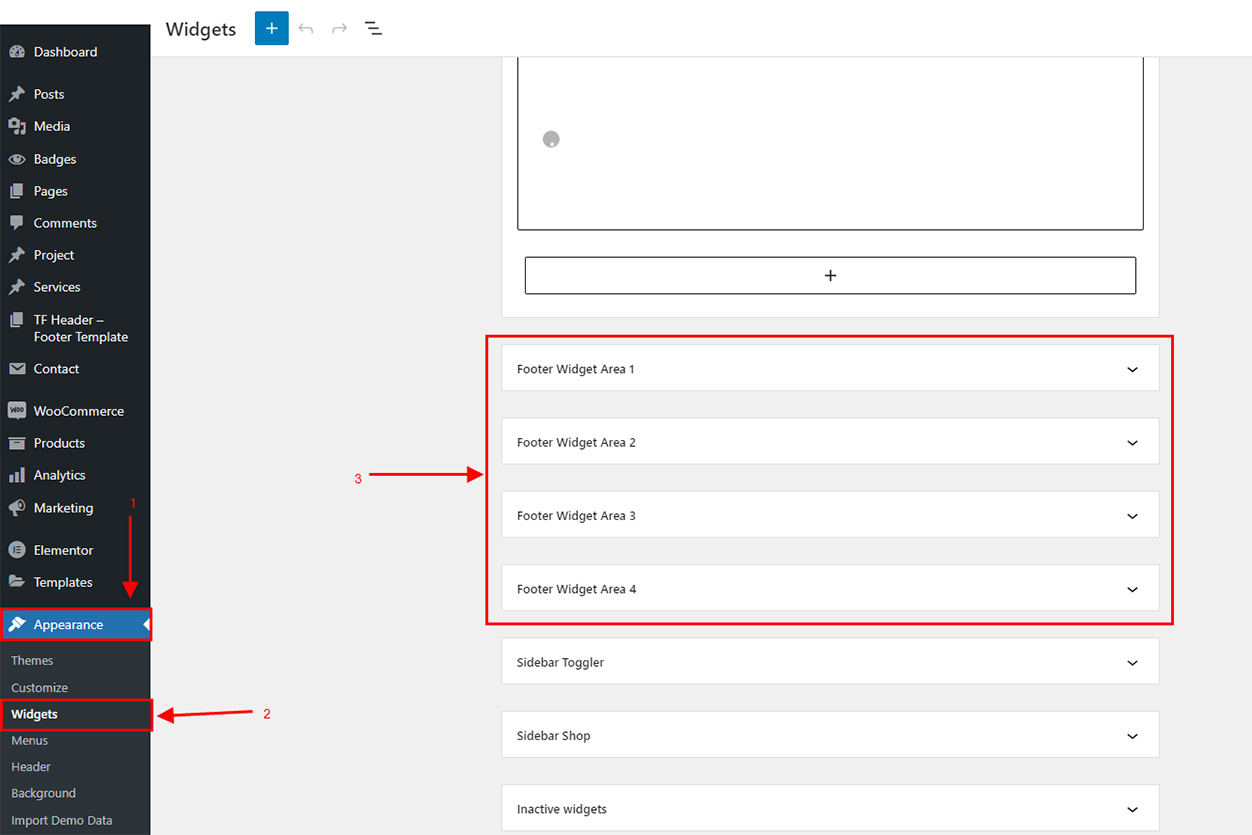
You can then customize the color of that page's footer by clicking on the settings icon -> TF Footer (This method only applies to the default footer in the Footer widget Area)
Now, you've finished the setup for your blog post.
Post
To Customize Post you go to: Dashboarb -> Appearance -> Customize -> Content
-
Post archive
To Customize Post archive you go to: Dashboarb -> Appearance -> Customize -> Content -> Blog Archive
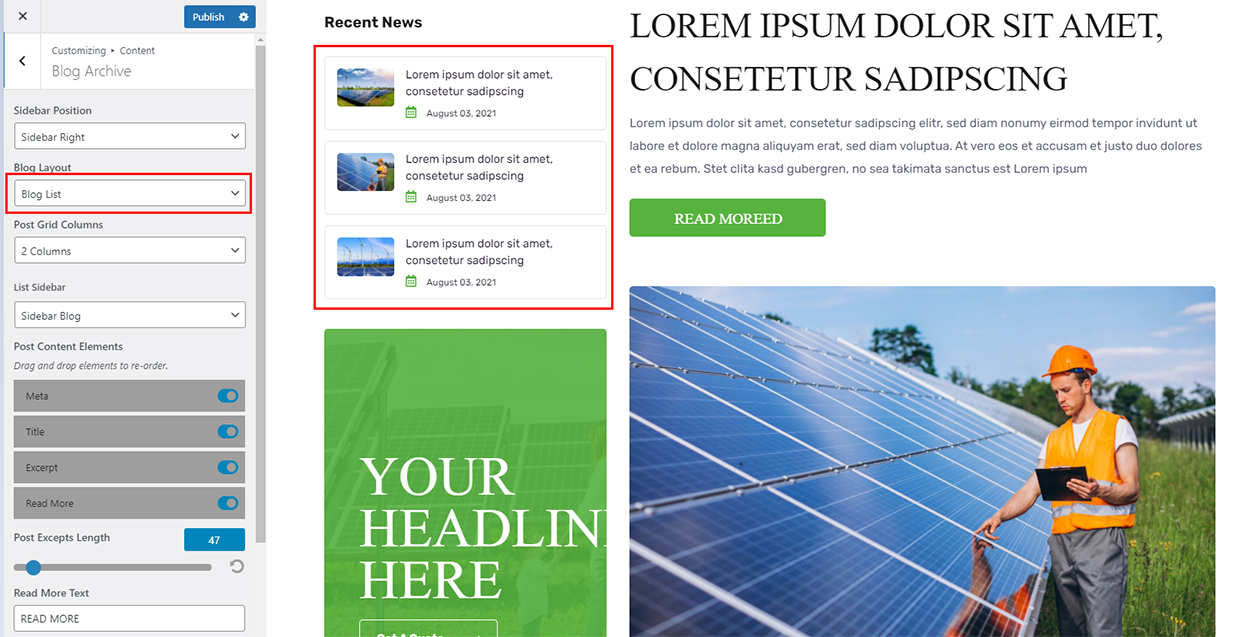
- Sidebar Position: Select sidebar position on the posts page (No Sidebar/Left/Right)
- List Layout: Select layout style for List (List/Grid)
- Post Grid Columns: Choose the number of columns to display posts per row when you enable Blog Grid mode
- List Sidebar: In the dropdown box, select the sidebar you want to display on posts page
- Post Content Elements: Choose what content will appear on the post
- Post Excepts Length: This option is only available when you turn on "Auto Post Excepts". It uses to limit the content length which is shown on posts page
- Readmore Text: You can modify the text of Read more button here
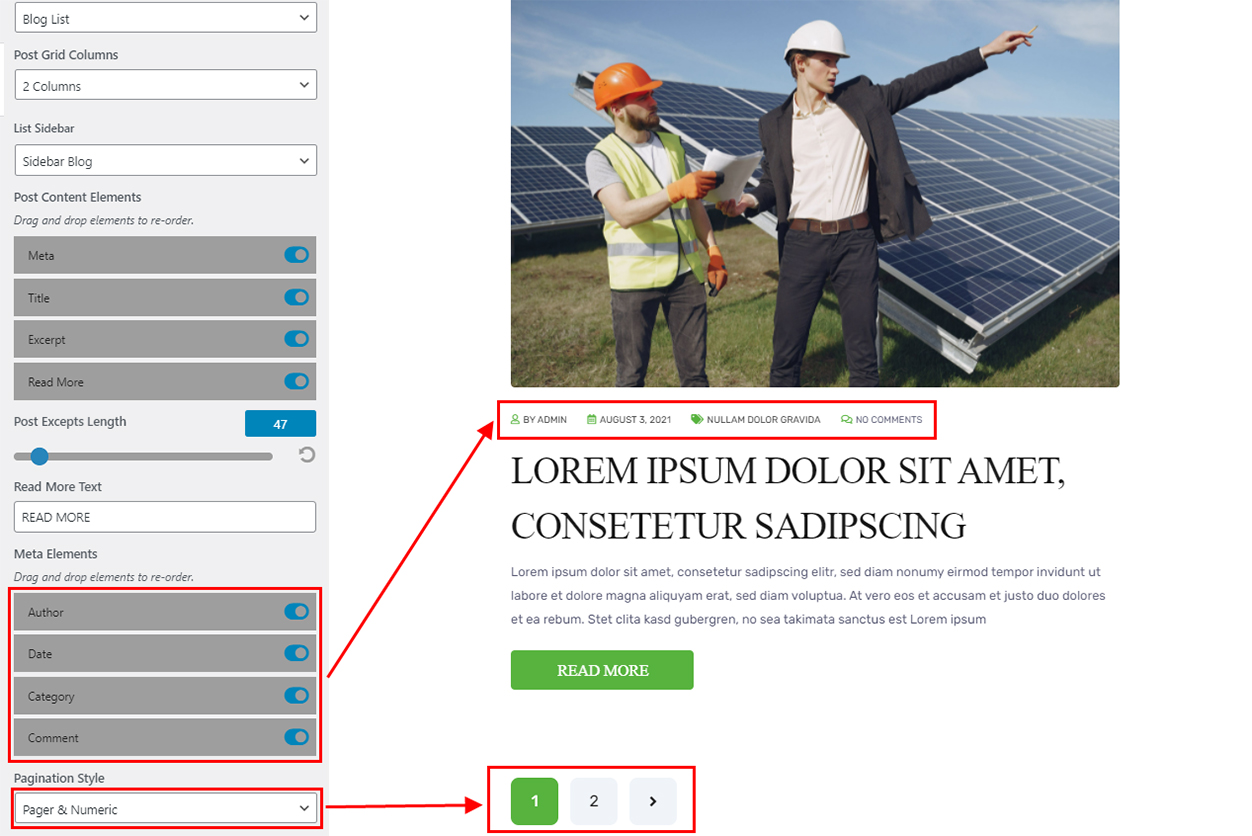
- Meta Elements: Selection of tags to be displayed on posts
- Pagination Style: Pption to navigate to the next page
-
Post Single
To Customize Post Single you go to: Dashboarb -> Appearance -> Customize -> Content -> Blog Single
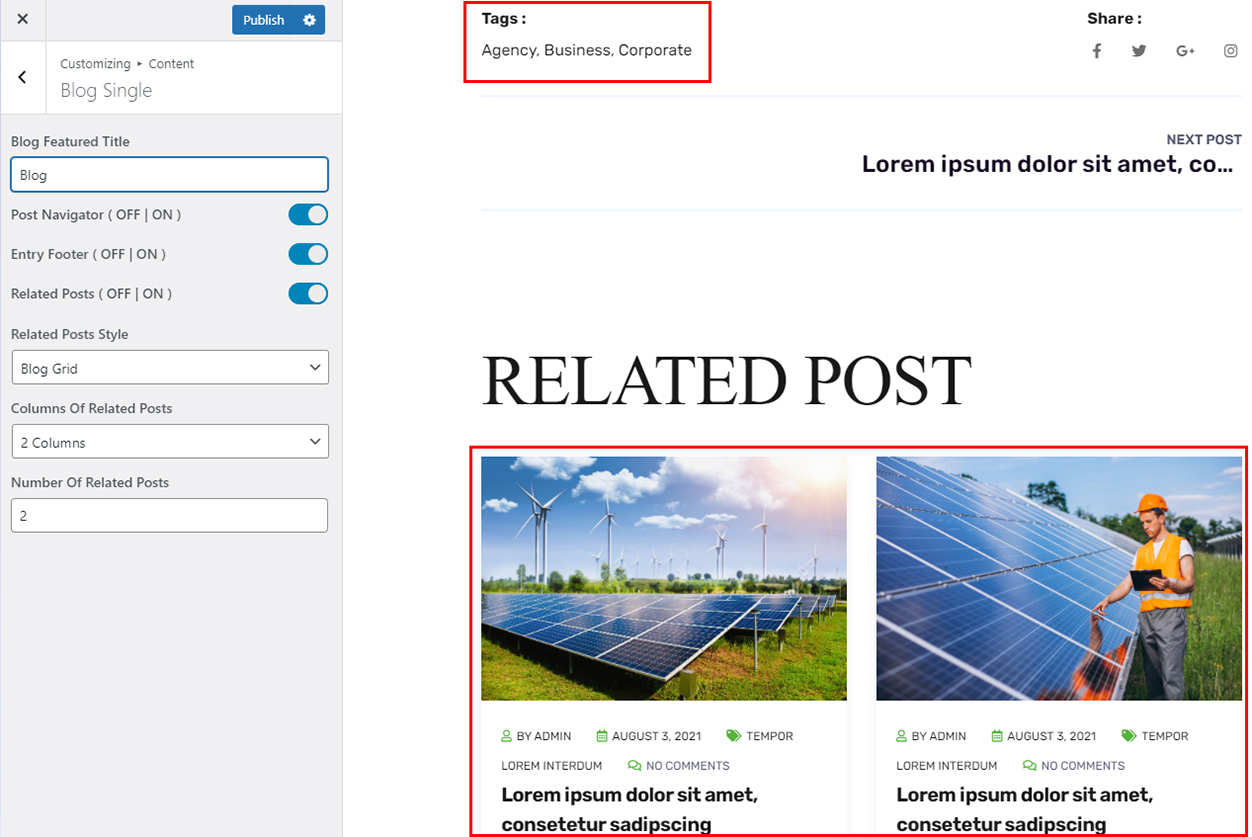
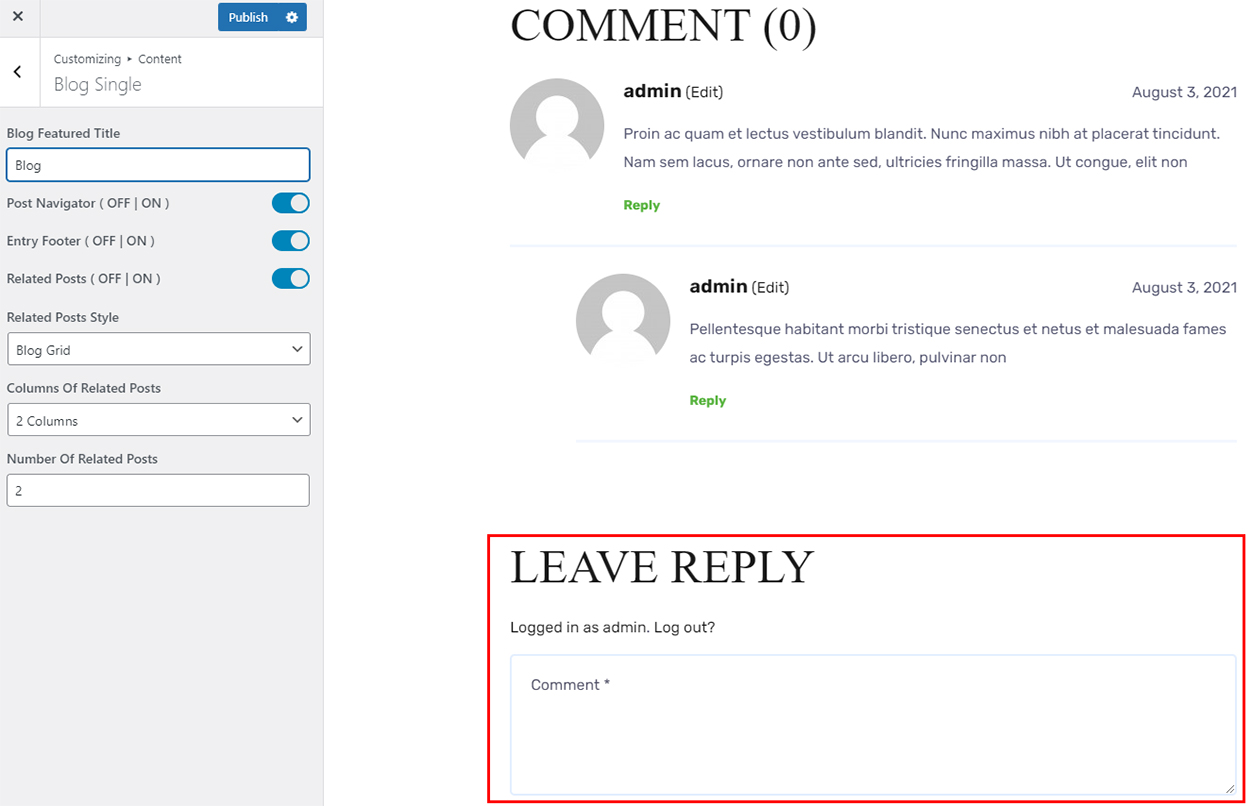
- Post Navigator: Enable Post Navigator or not
- Entry Footer: Enable Entry Footer or not
- Related Posts: Enable Related Posts or not
- Related Posts Style: Select layout style for Related Posts Style (List/Grid)
- Columns Of Related Posts: Select the number of columns to display on Related Posts
- Number Of Related Posts: Select the number Of Related Posts
-
TF Post
You can change how posts are displayed in the TF Post of Themesflat Addons
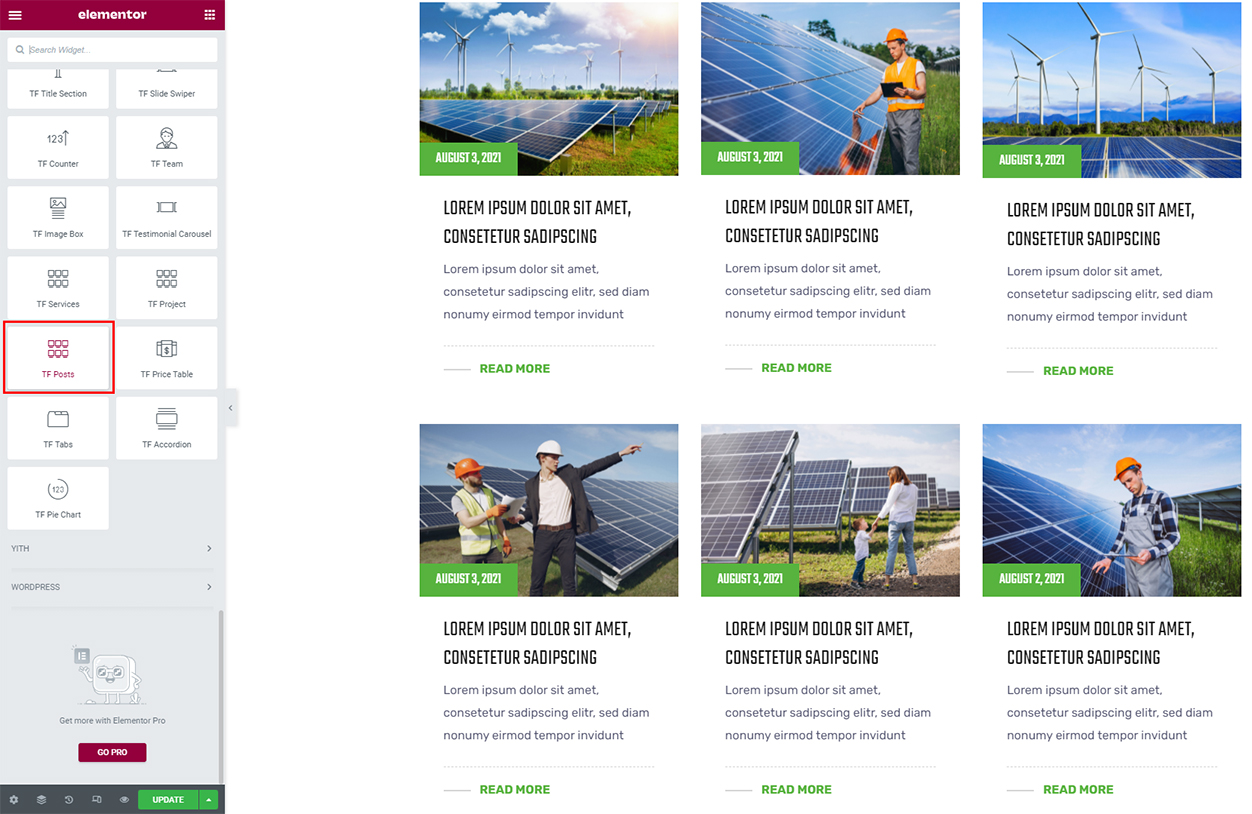
You can customize at Content and Style

Services
-
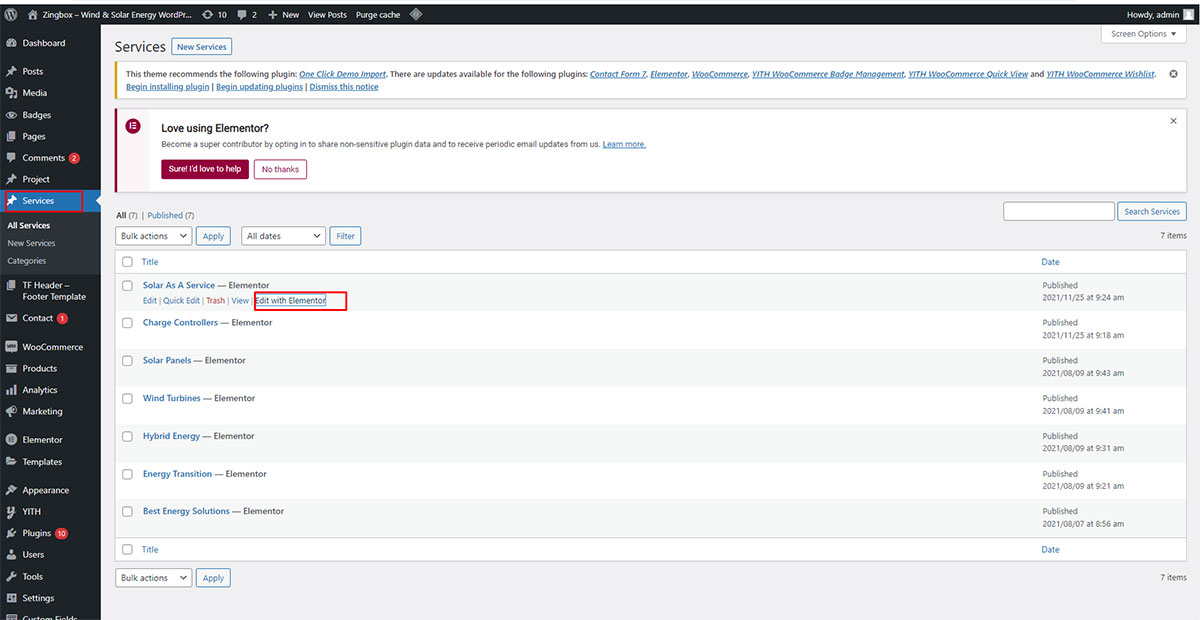
How to update icon for services post
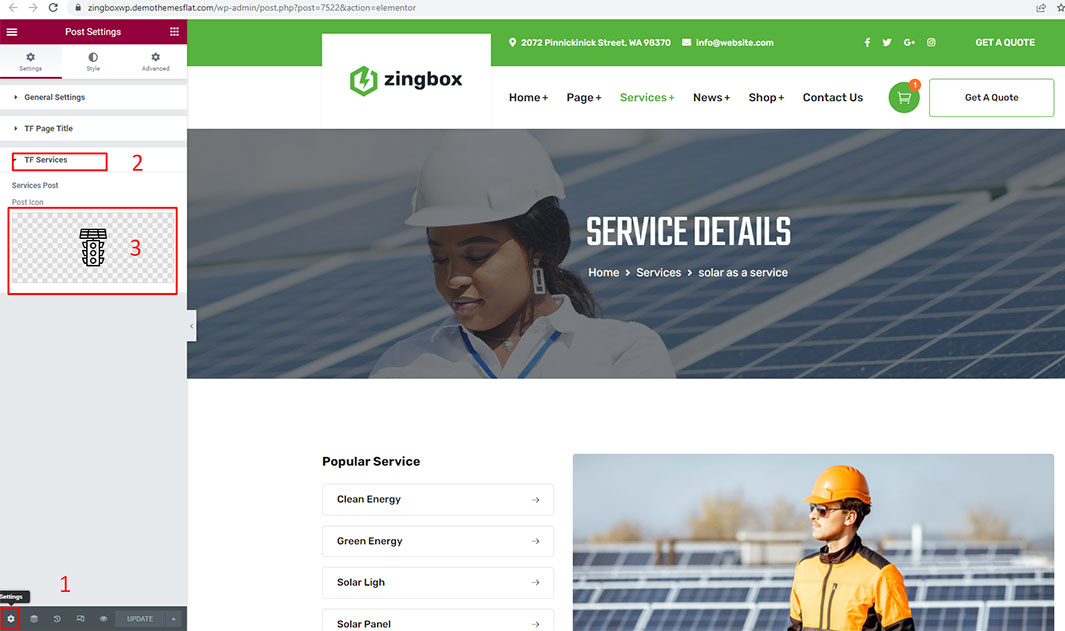
Step 1: Edit services post type
Step 2: Click 1 seting 2 Tab tf services 3 choise icon from library
Services Archive
To Customize Post archive you go to: Dashboarb -> Appearance -> Customize -> Content -> Extra Post Type
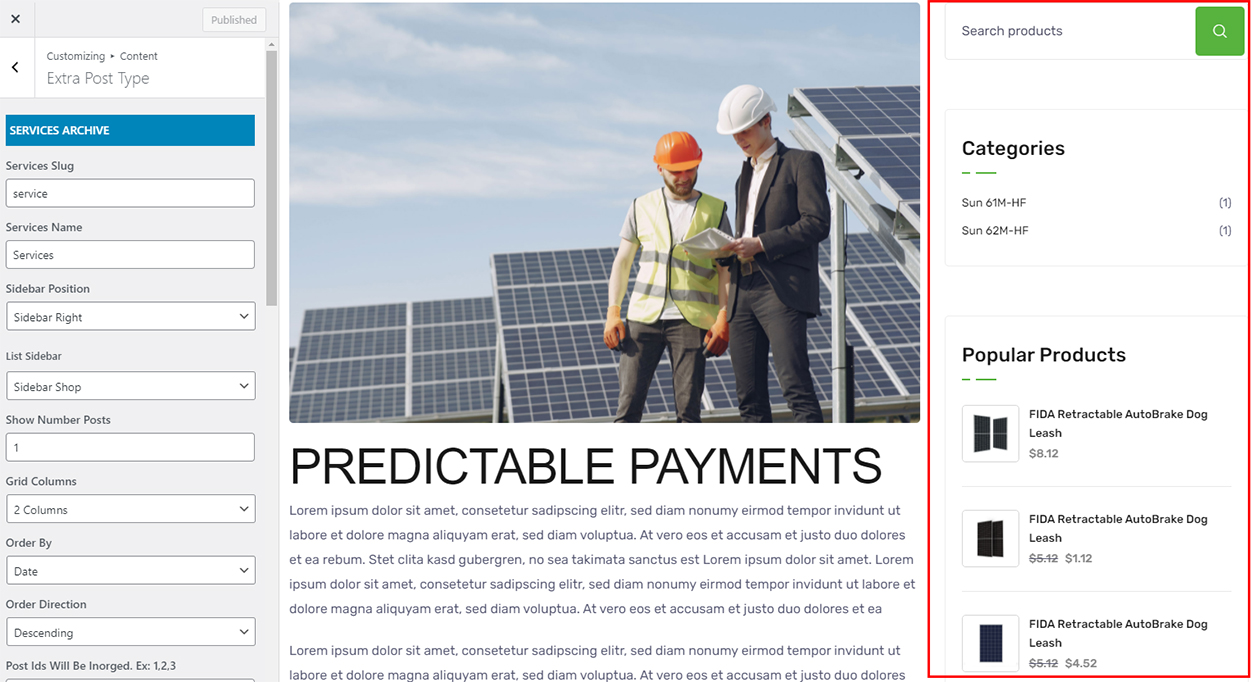
- Sidebar Position: Select sidebar position on the Services page (No Sidebar/Left/Right)
- List Sidebar: Select layout style for List
- Show Number Posts: Choose the number to display posts per row
- Grid Columns: Choose the number of columns to display posts per row
- Order By: Select the way to display in Order By
- Order Direction: Choose how to Order Direction (Descending/Assending)
-
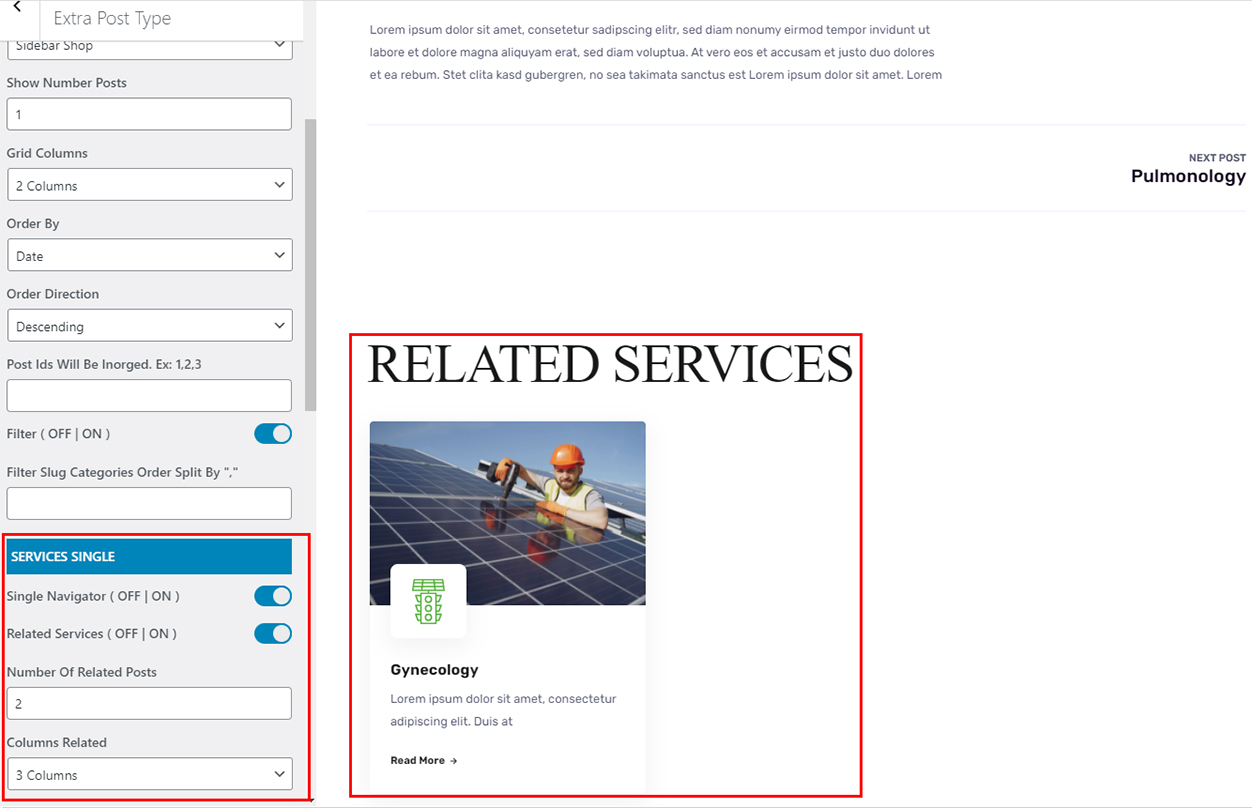
Services Single
- Single Navigator: Enable Single Navigator or not
- Related Services:Enable Related Services or not
- Number Of Related Posts:Select 1,2,3,4 for Related Posts
- Columns Related:Select 2,3,4 Columns for Related Services
-
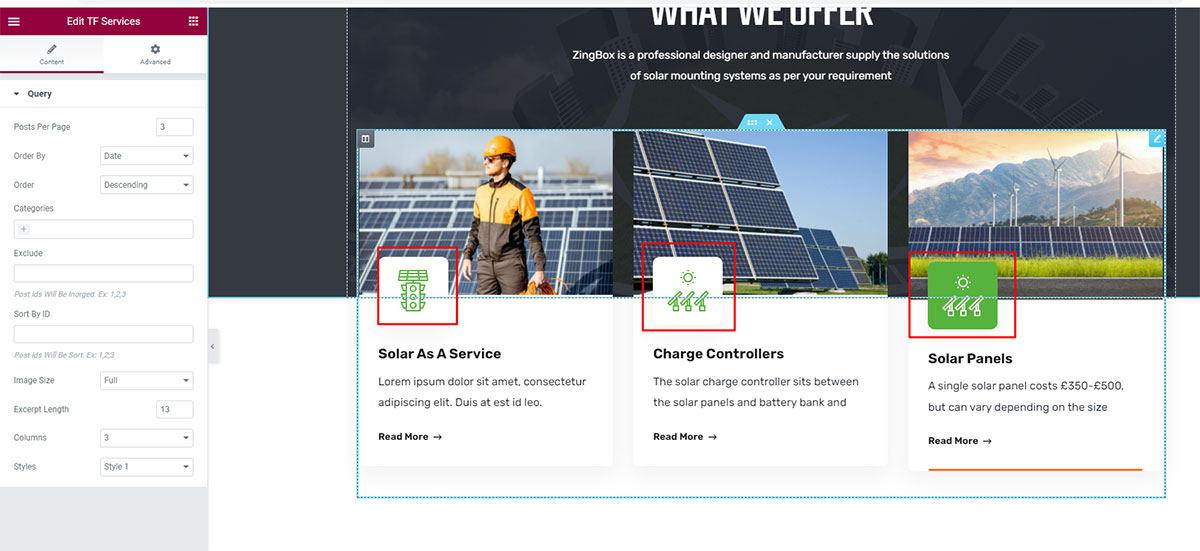
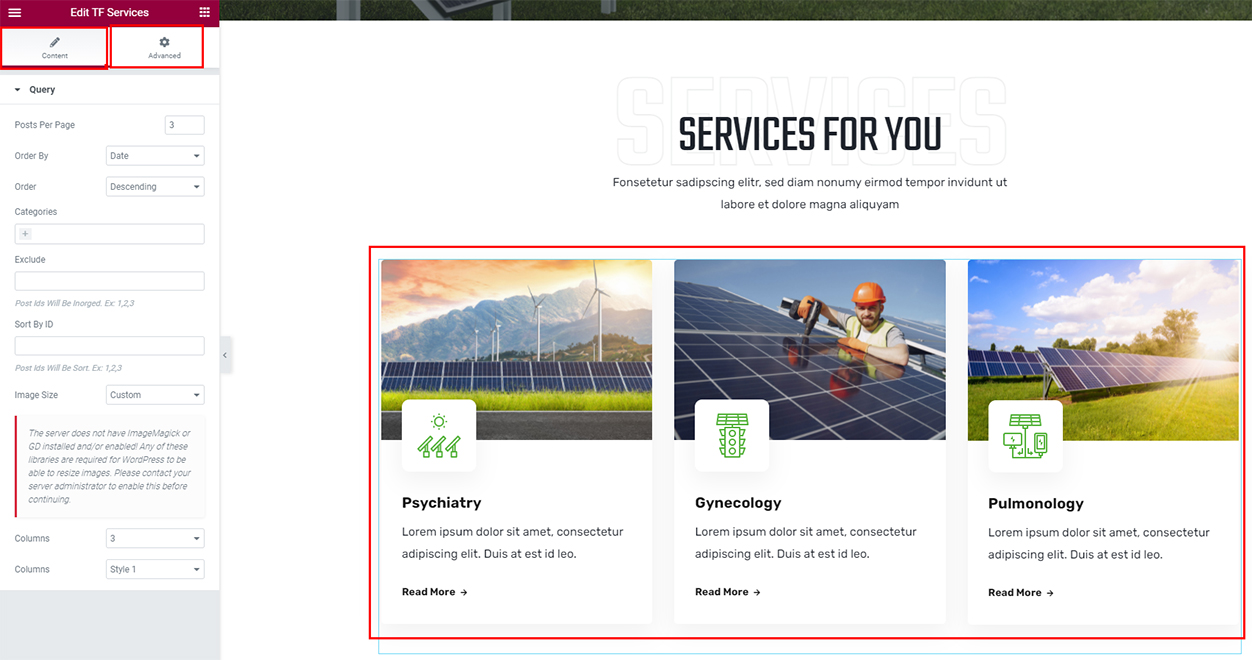
Services Themesflat Addons
You can change the service display at Themesflat Addons
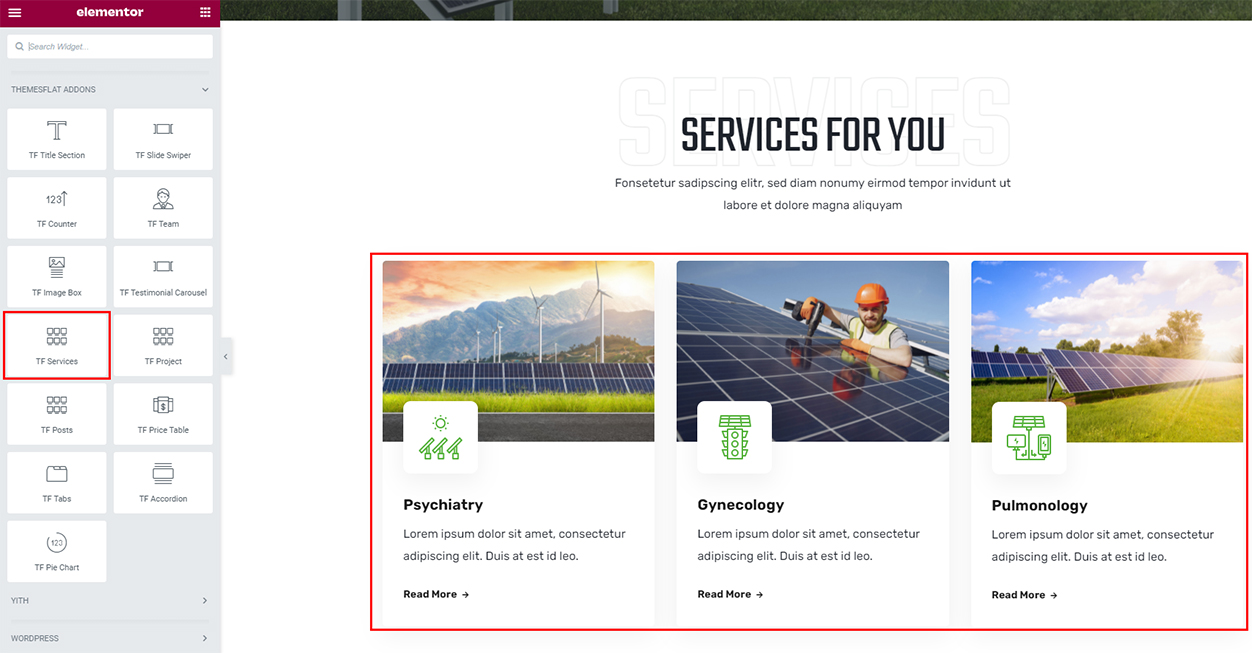
You can customize at Content and Advanced
-
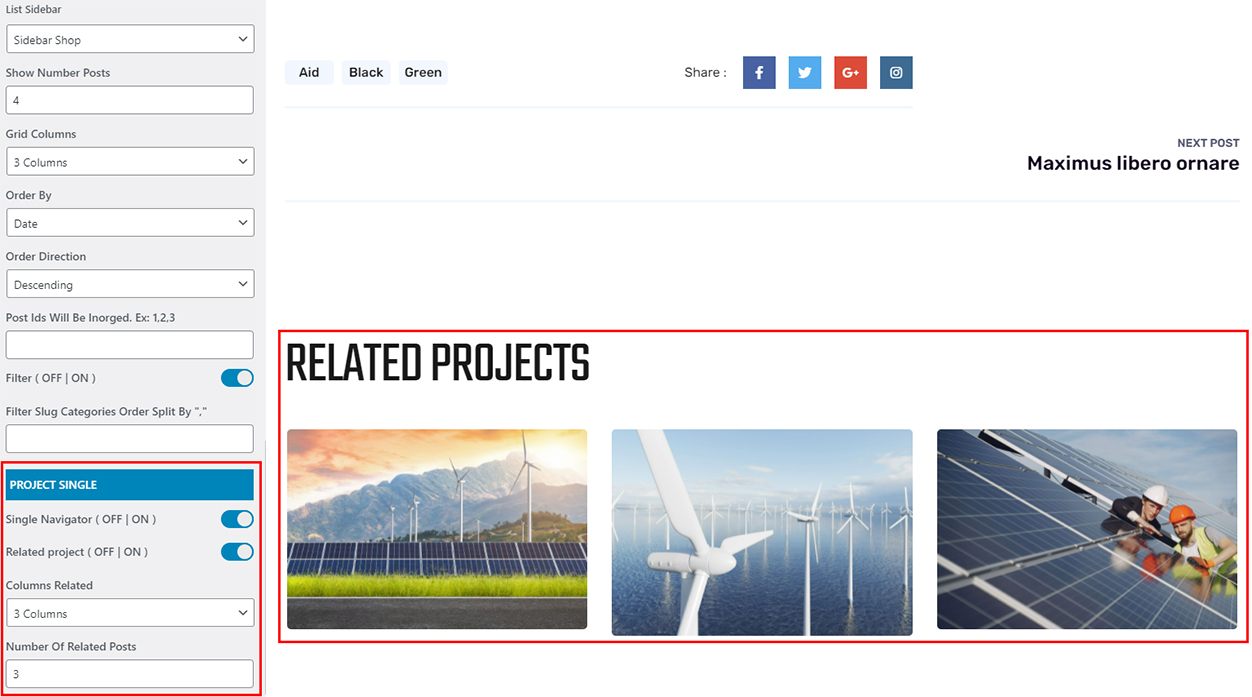
Project Archive
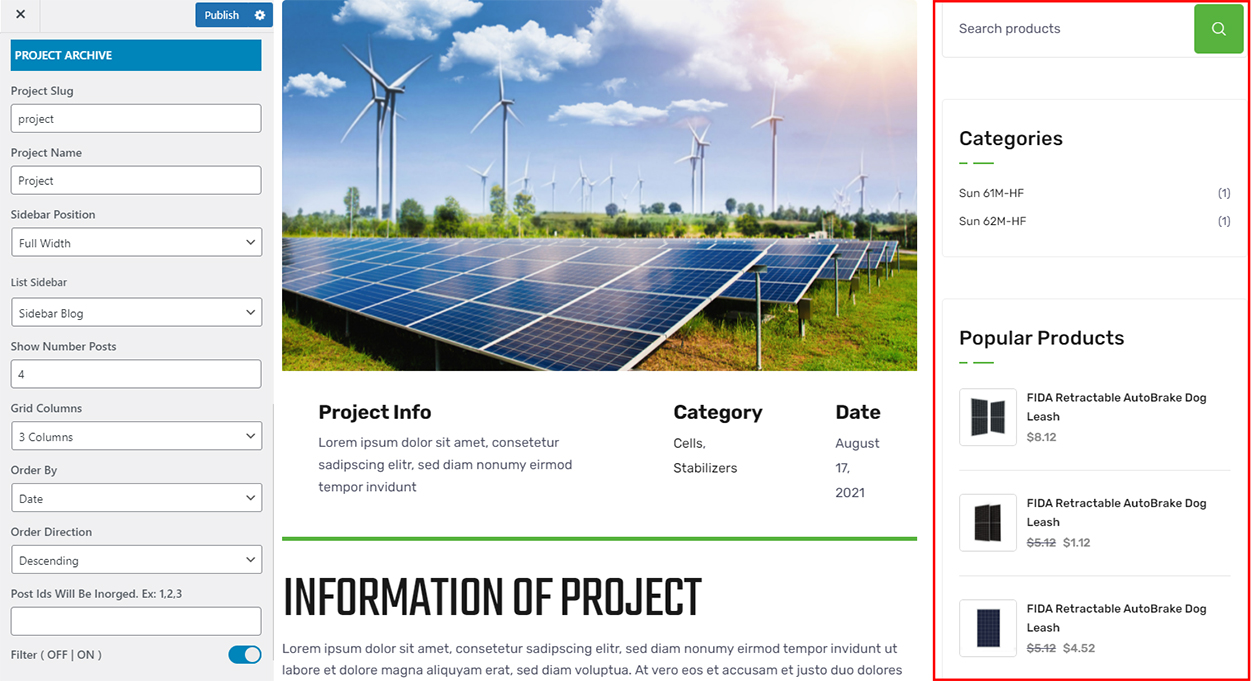
- Sidebar Position: Select sidebar position on the Project page (No Sidebar/Left/Right)
- List Sidebar: Select layout style for List
- Show Number Posts: Choose the number to display posts per row
- Grid Columns: Choose the number of columns to display posts per row
- Order By: Select the way to display in Order By
- Order Direction: Choose how to Order Direction (Descending/Assending)
-
Project Single
- Single Navigator: Enable Single Navigator or not
- Related Services:Enable Related Services or not
- Number Of Related Posts:Select 1,2,3,4 for Related Posts
- Columns Related:Select 2,3,4 Columns for Related Services
-
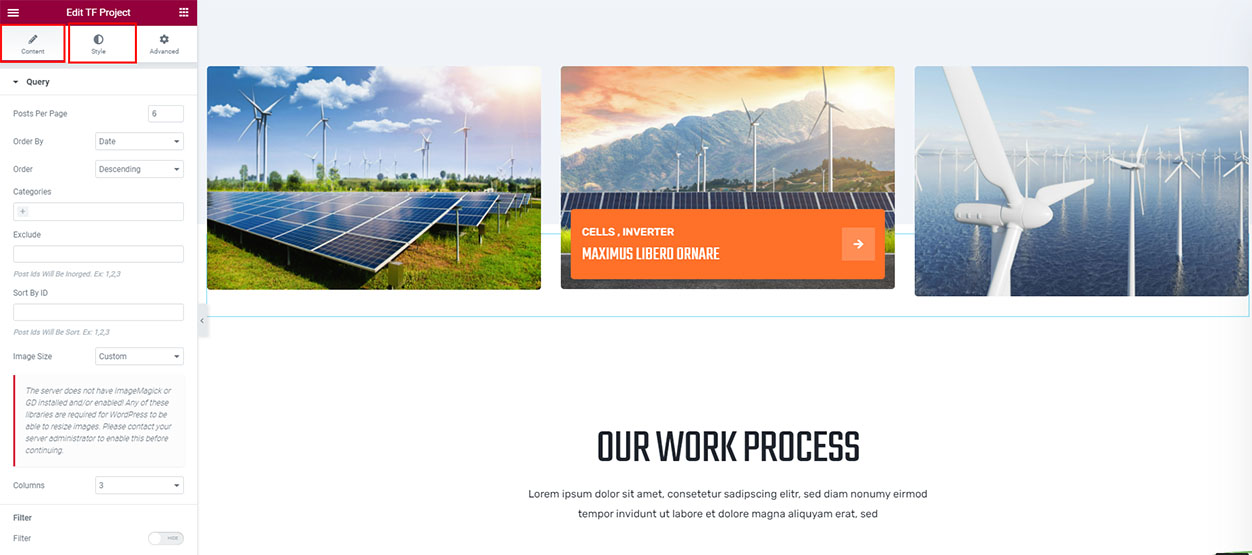
Project Themesflat Addons
You can change the service display at Themesflat Addons
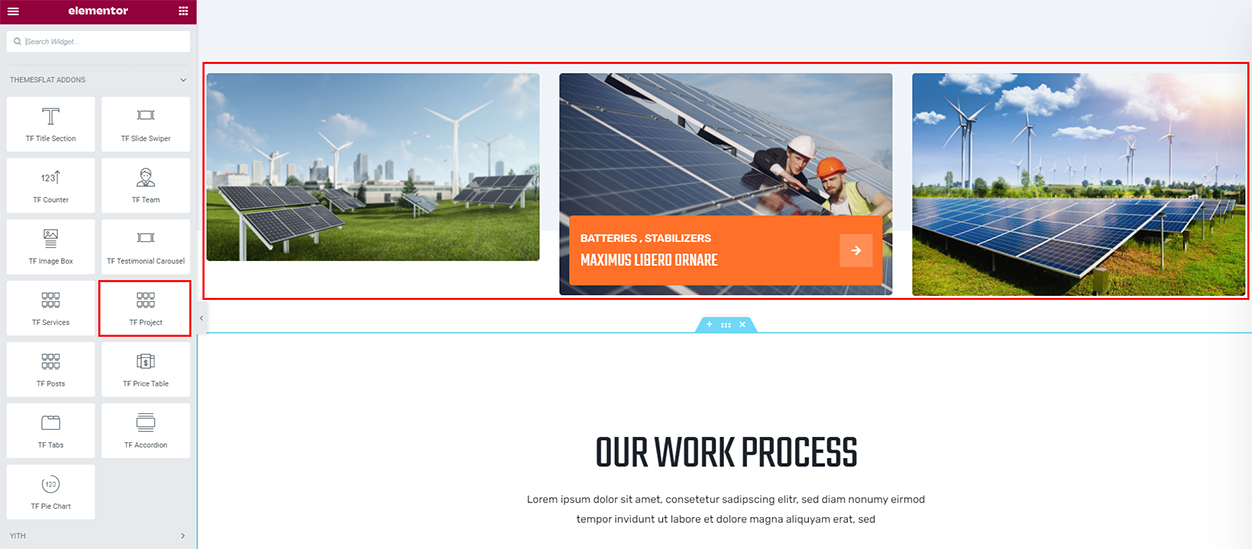
You can customize at Content and Style
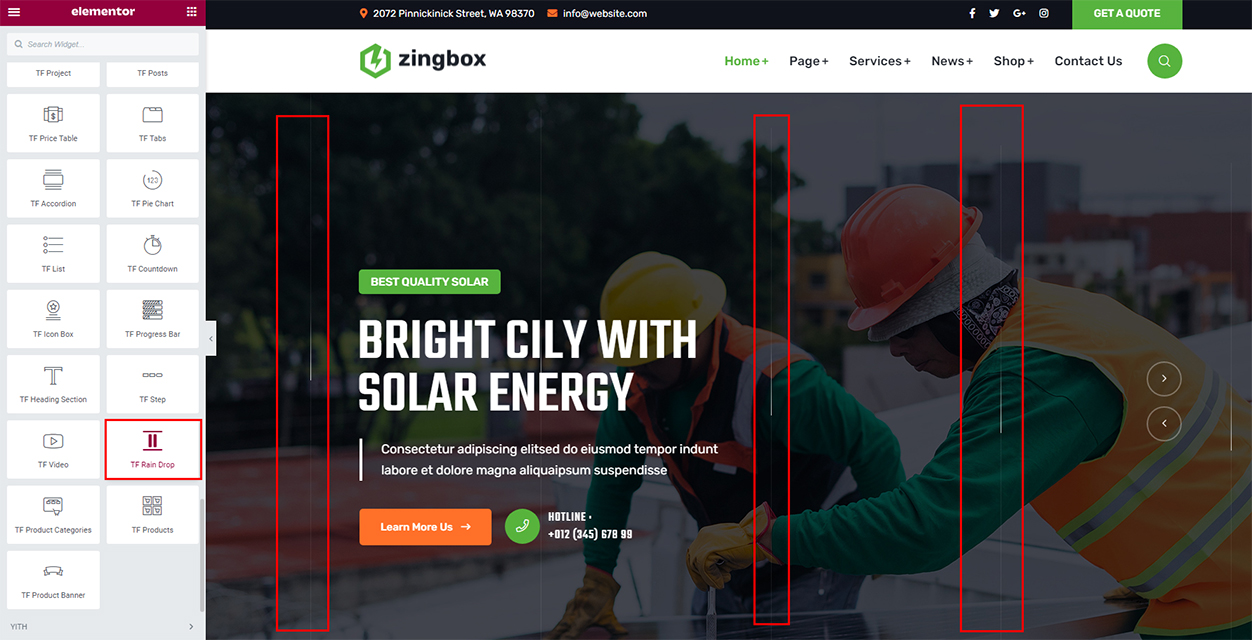
Themesflat Addons
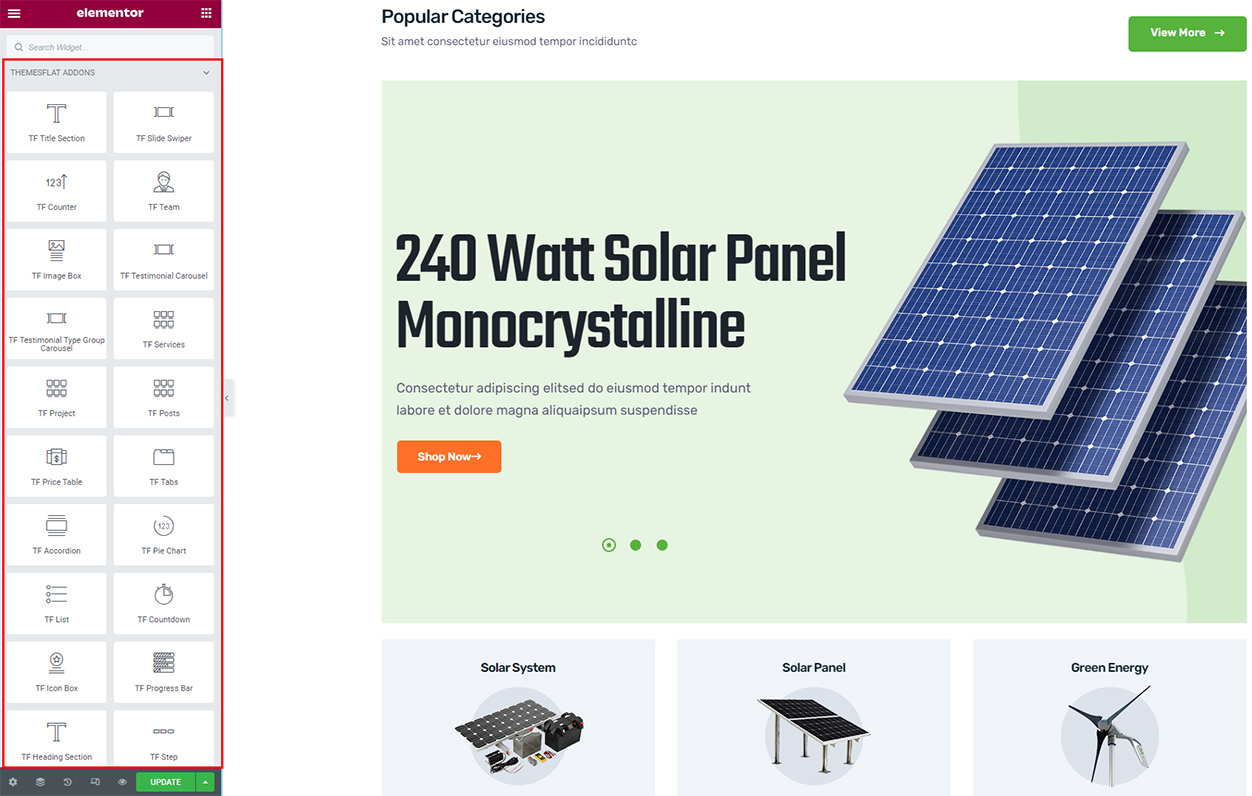
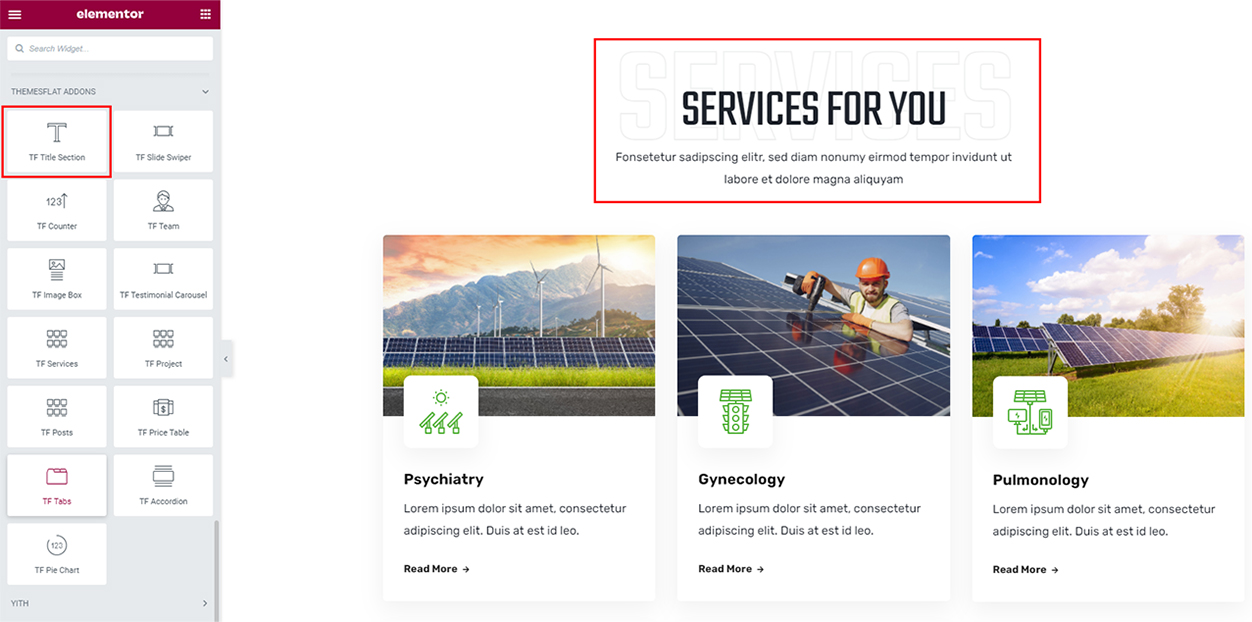
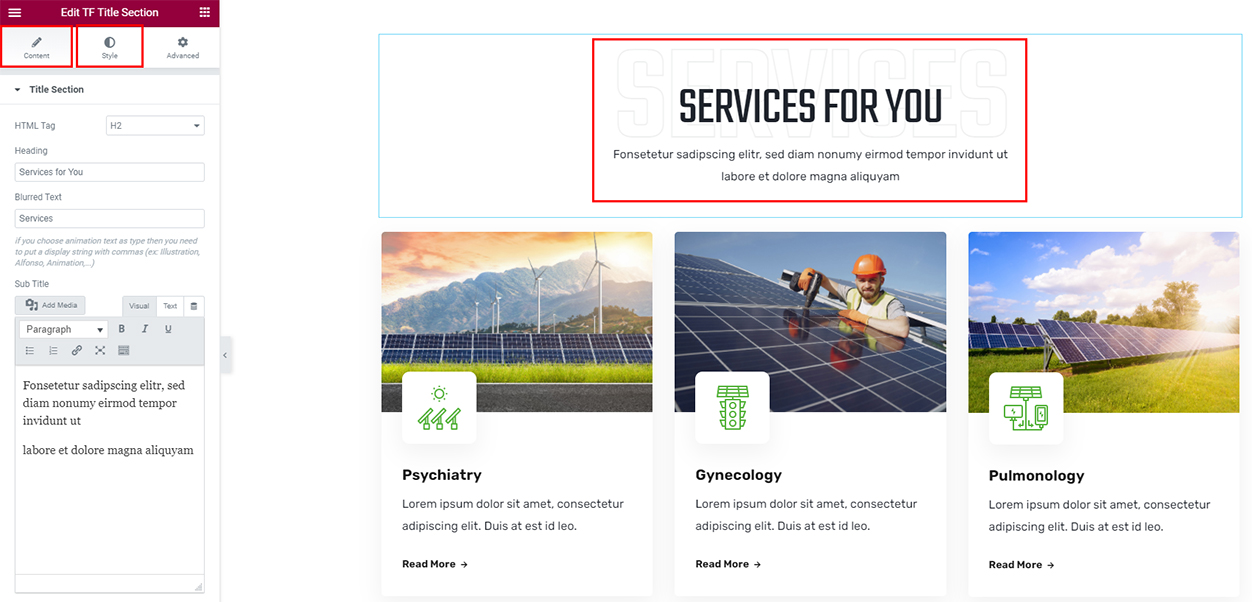
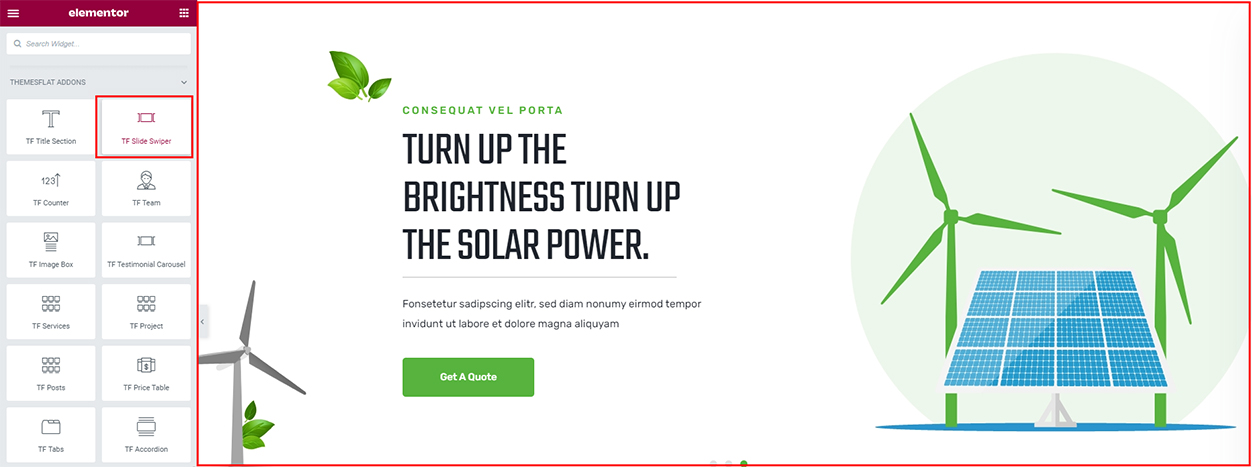
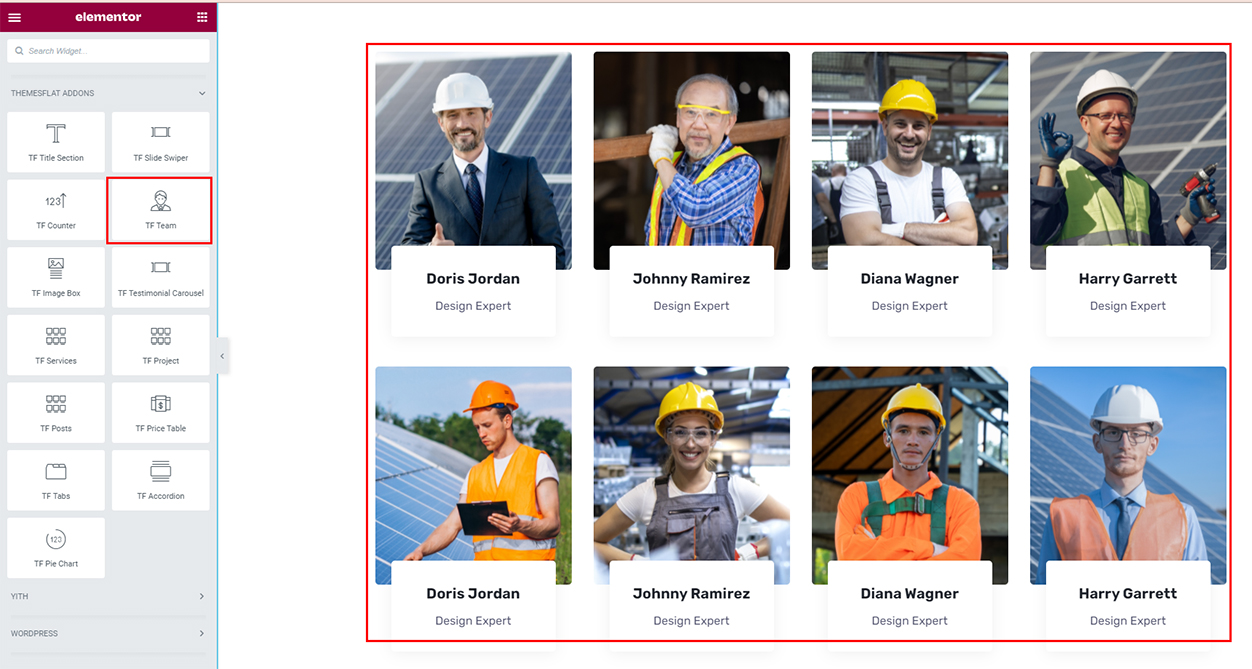
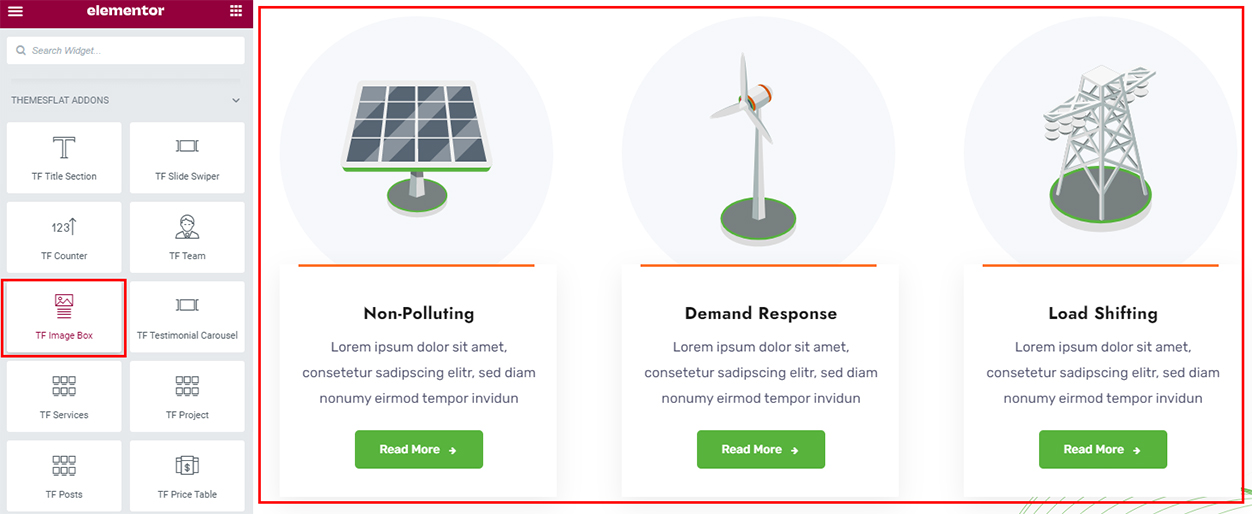
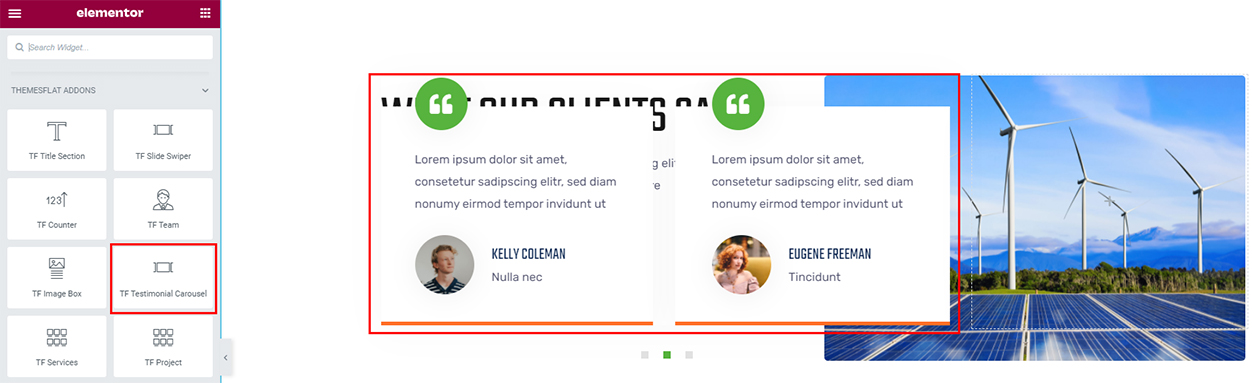
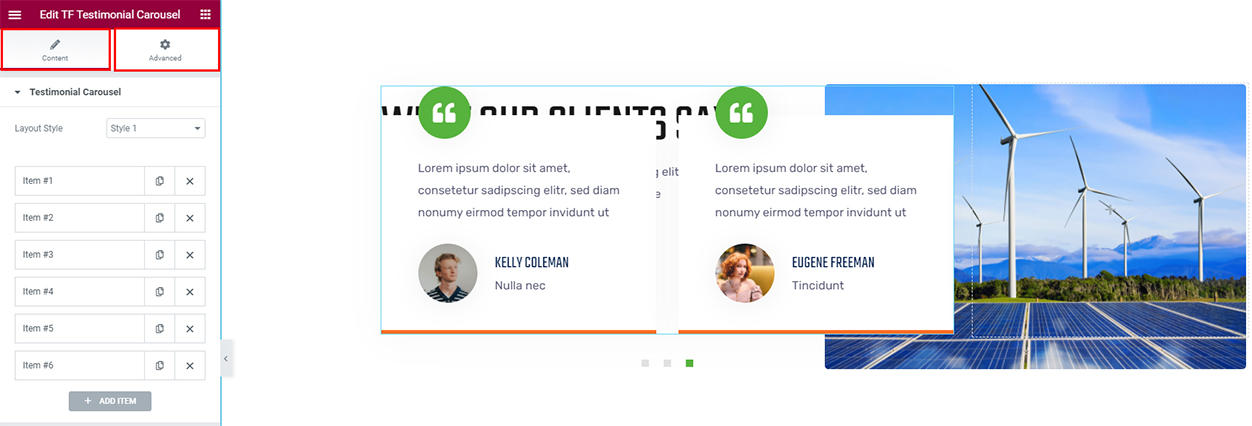
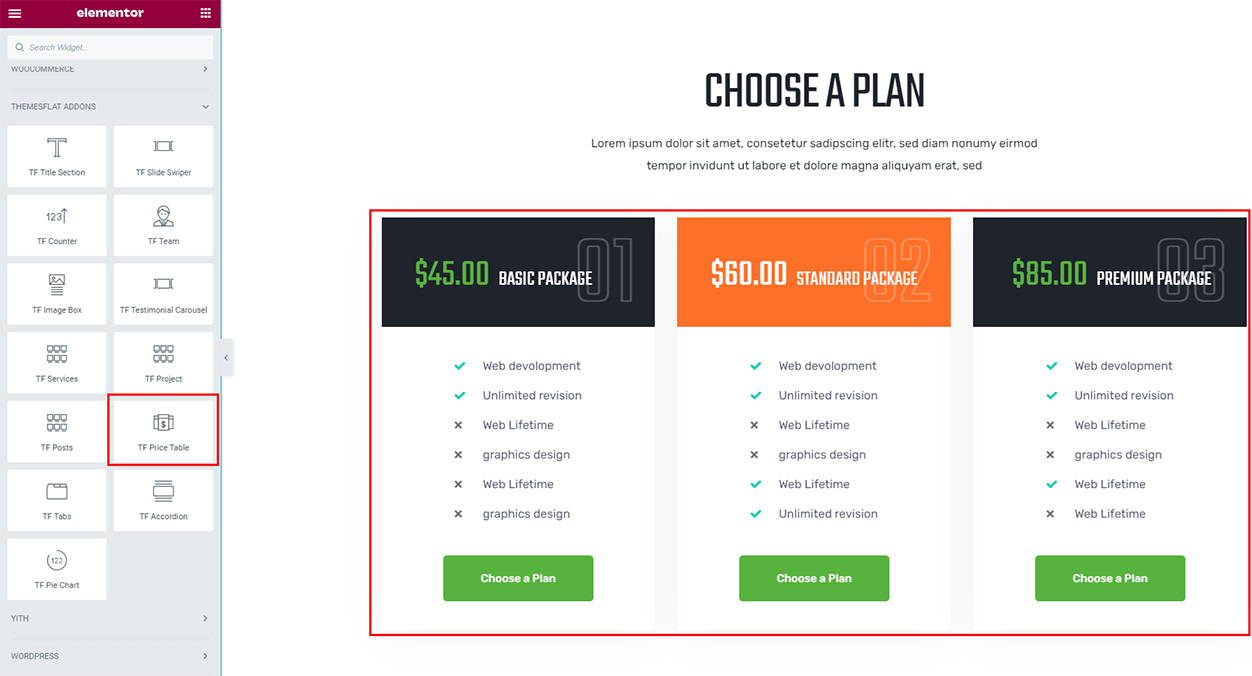
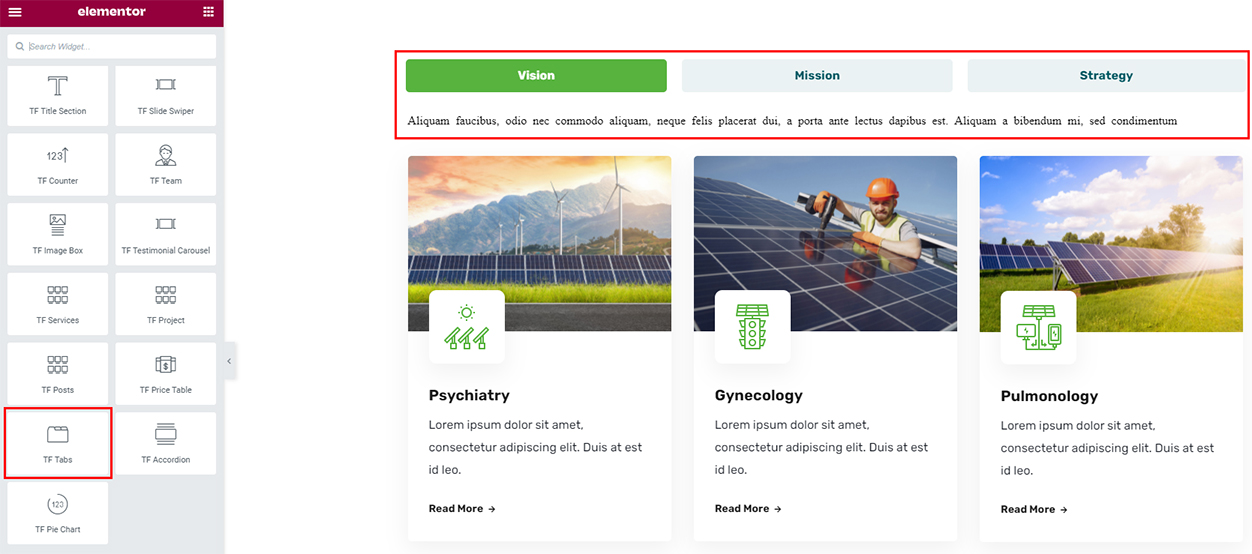
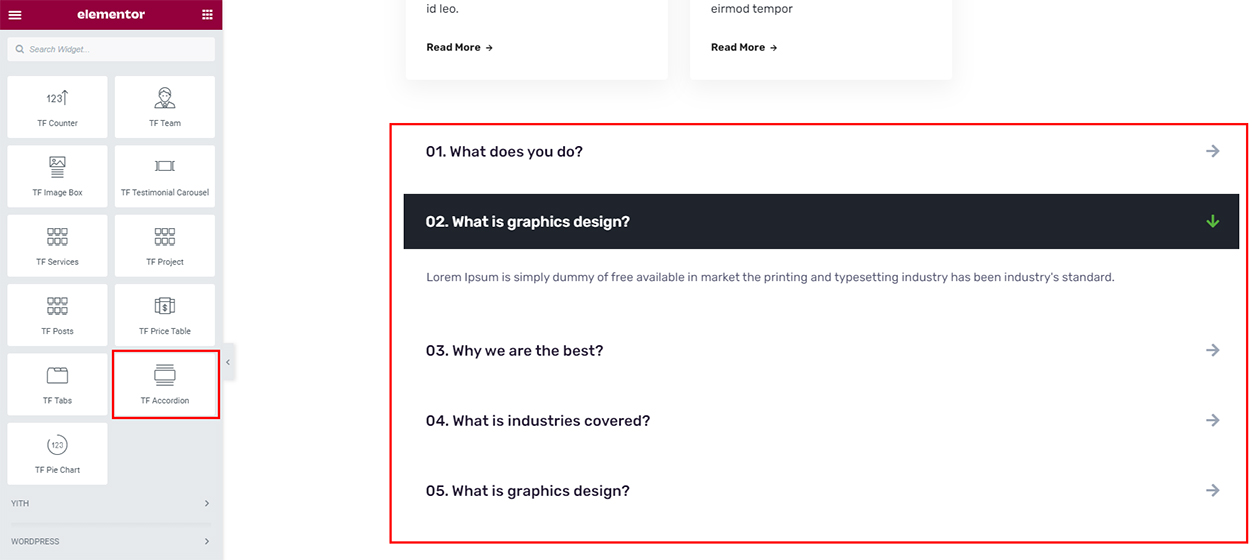
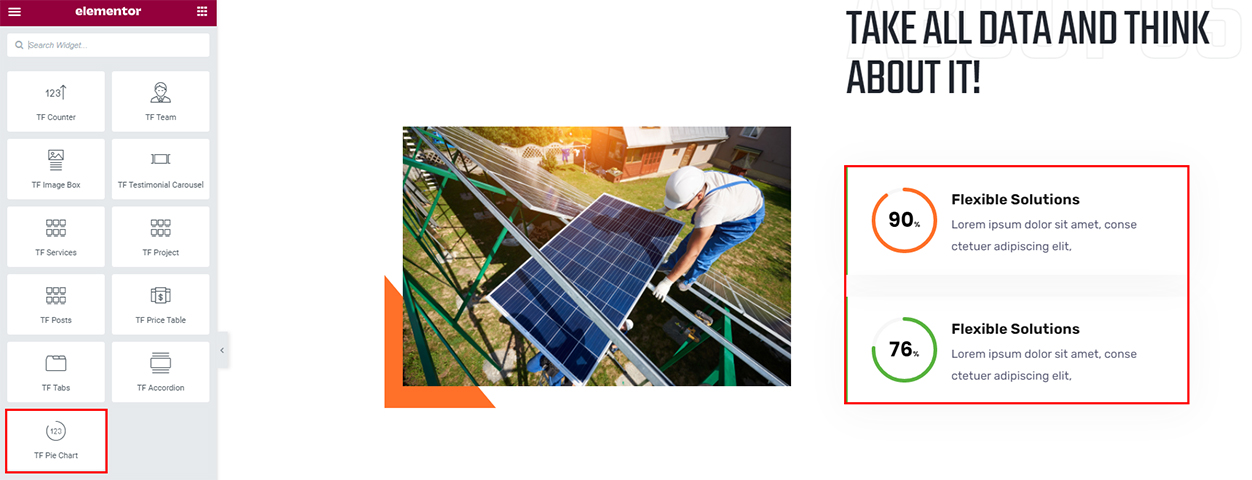
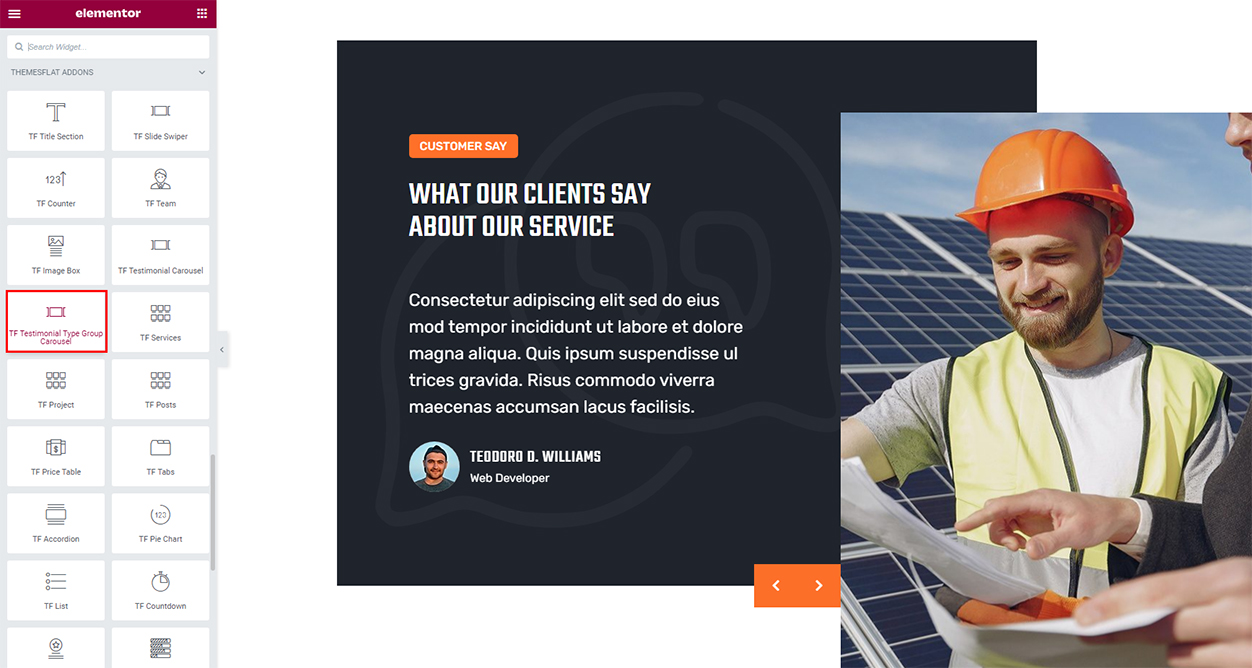
NOTE: to use all widgets of Themesflat addons, You select the page to edit or create a new page Edit with Elementor -> Elementor -> Themesflat Addons You build it at Themesflat Addons You can customize at Content and Advanced You build it at Themesflat Addons There are 2 styles to choose from There are 2 styles to choose from You can customize everything about the image box to make it appear richer You can customize everything about the Testimonial Carousel to make it appear richer You can customize at Content and Advanced You can customize Price Table You can customize Tabs here You can customize Accordion here You can customize Pie Chart here TF Testimonial Type Group Carousel will help you make Carousels in a more professional, beautiful and sophisticated way. You can list the list here You can create countdown time here You can create Icon Box here You can create Progress Bar here You can create Heading Section here You can create Step here You can create Video here You can create Step here Everything is so simple when you just need drag and drop. Wish you have a great website!
TF Title Section
TF Slider Swiper
TF Counter

TF Team
TF Image Box
TF Testimonial Carauseal
TF Price Table
TF Tabs
Accordion
TF Pie Chart
TF Testimonial Type Group Carousel
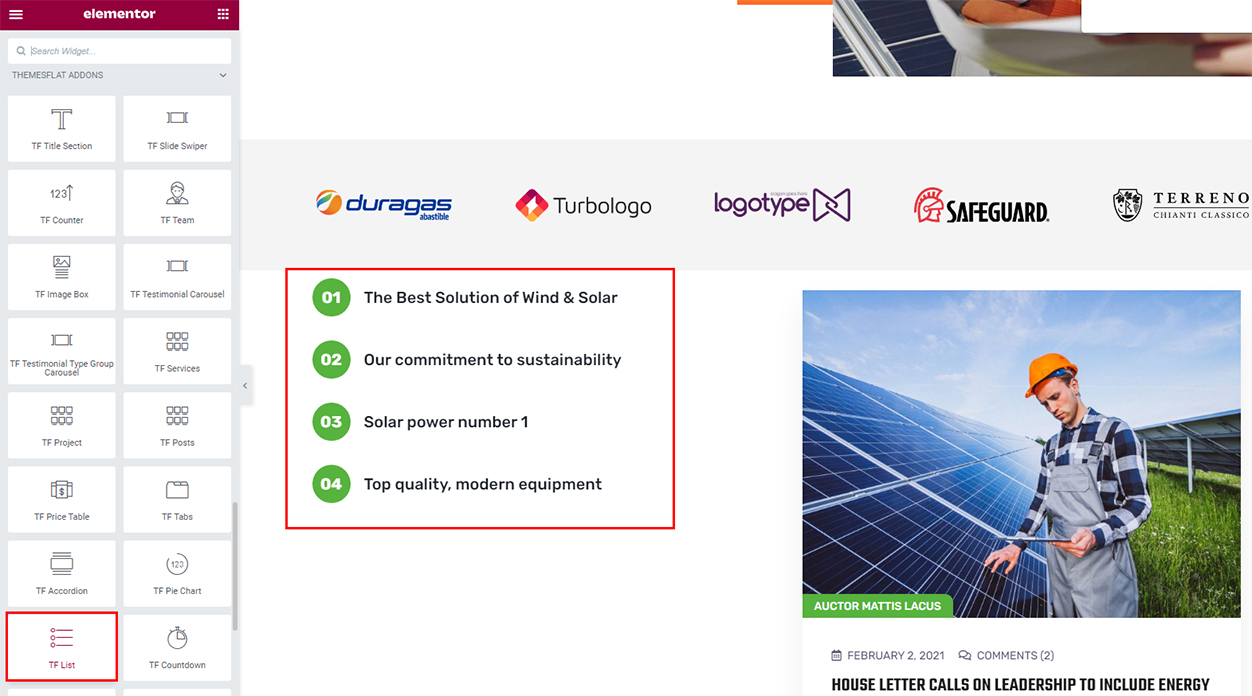
TF List
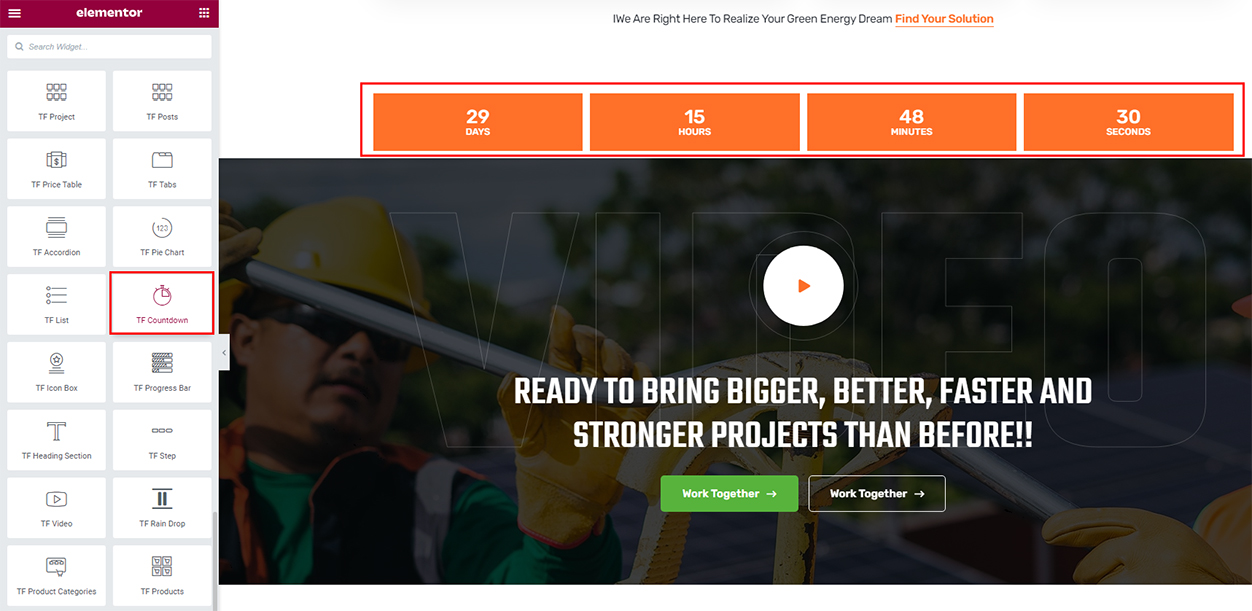
TF Countdown
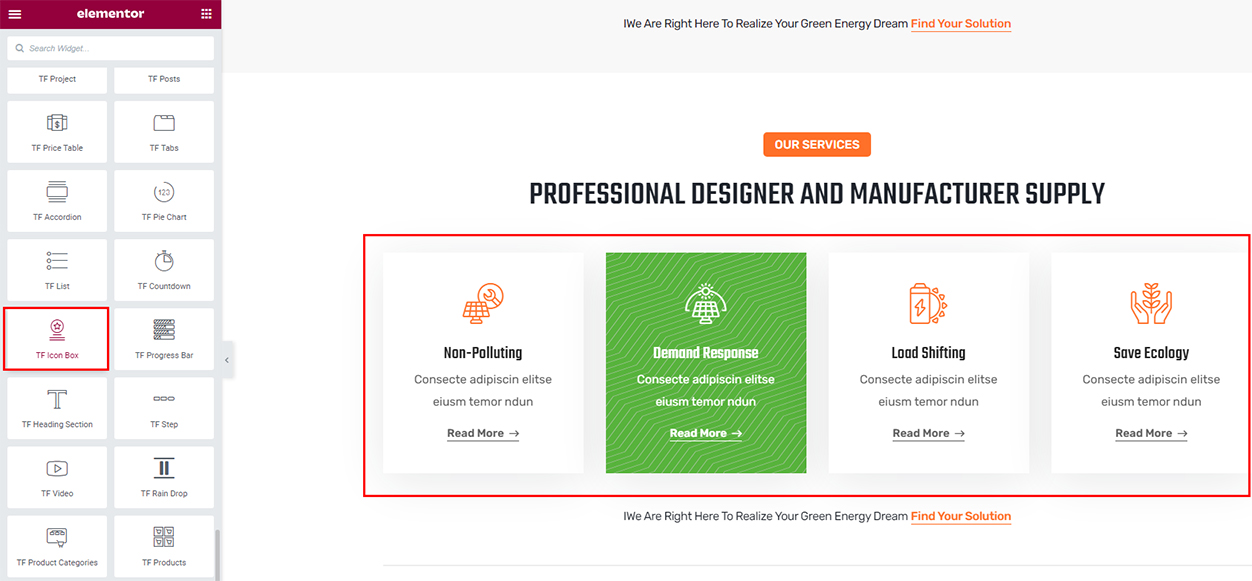
TF Icon Box
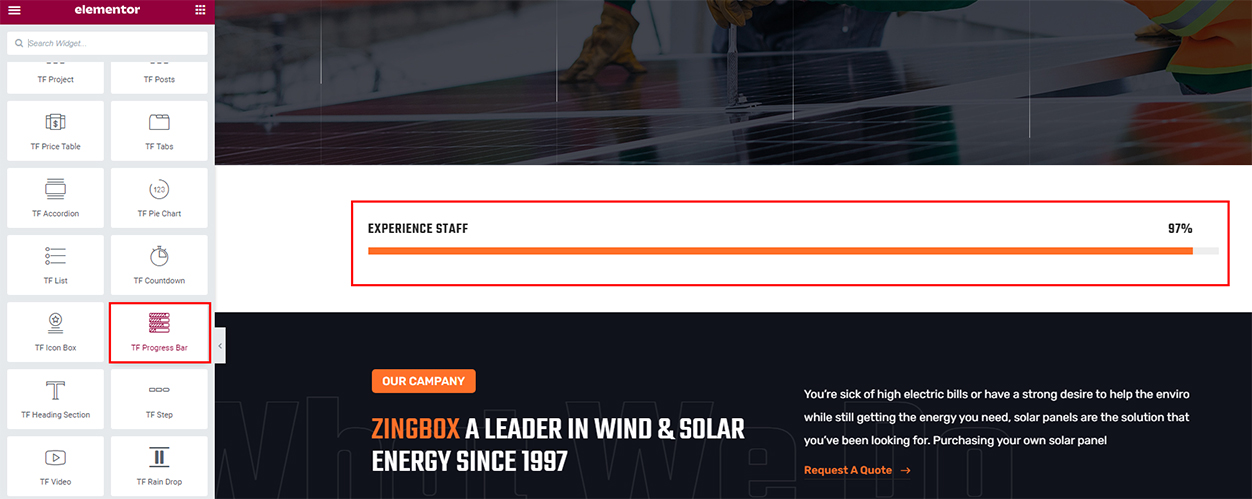
TF Progress Bar
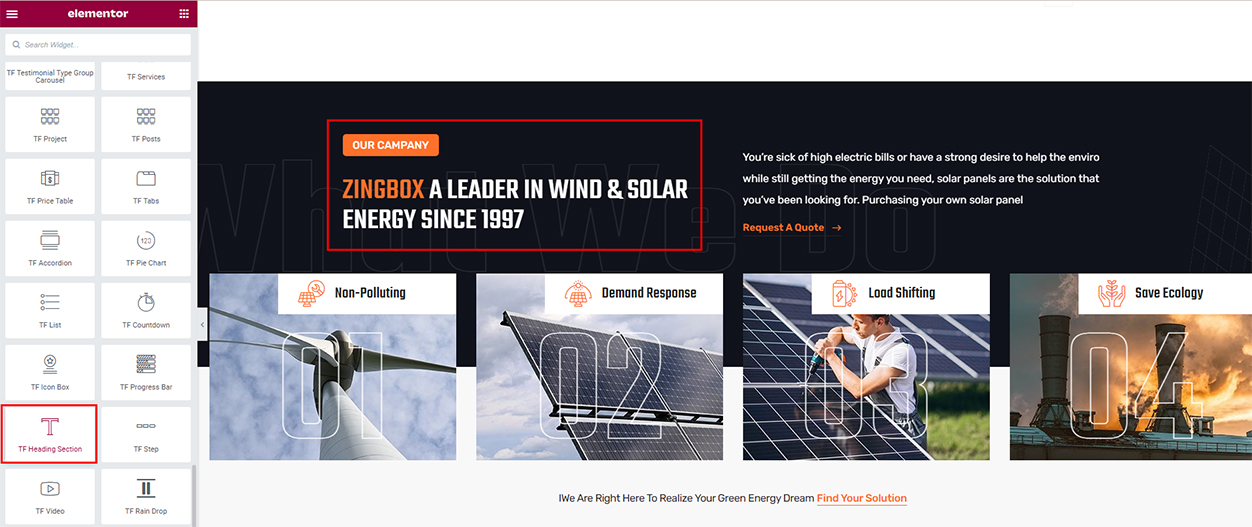
TF Heading Section
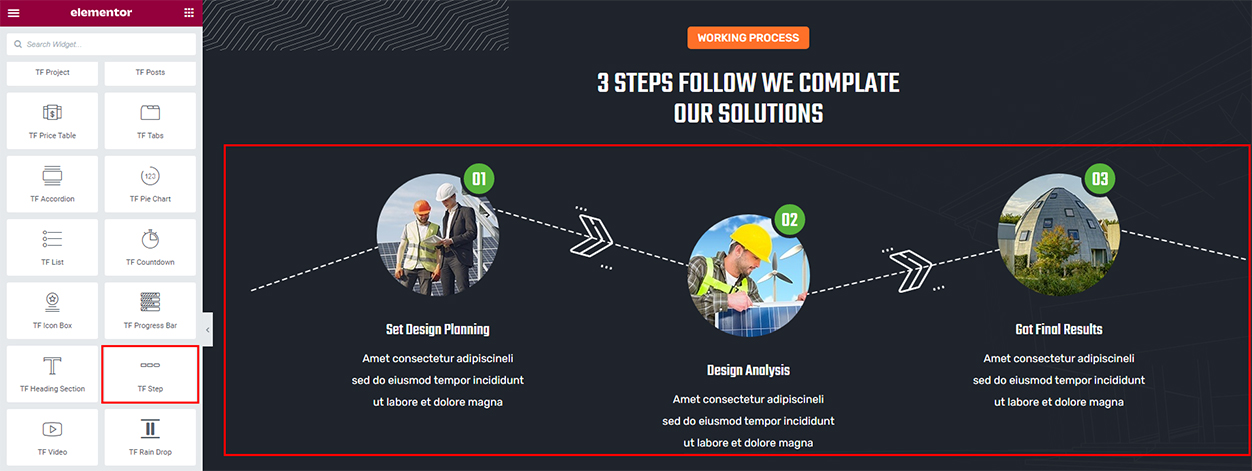
TF Step
TF Video

TF Rain Drop